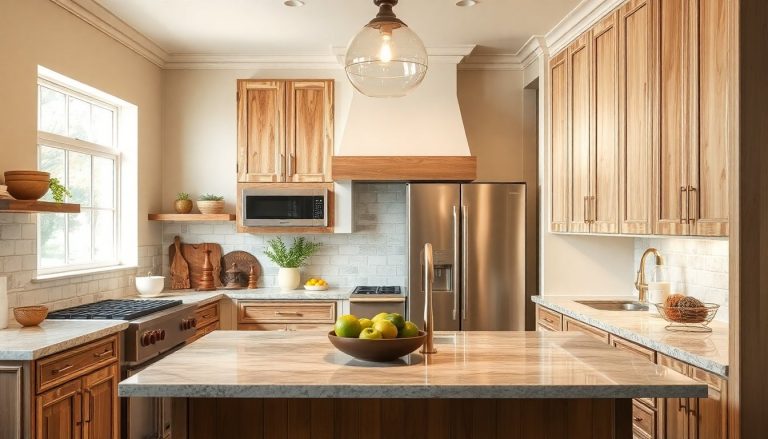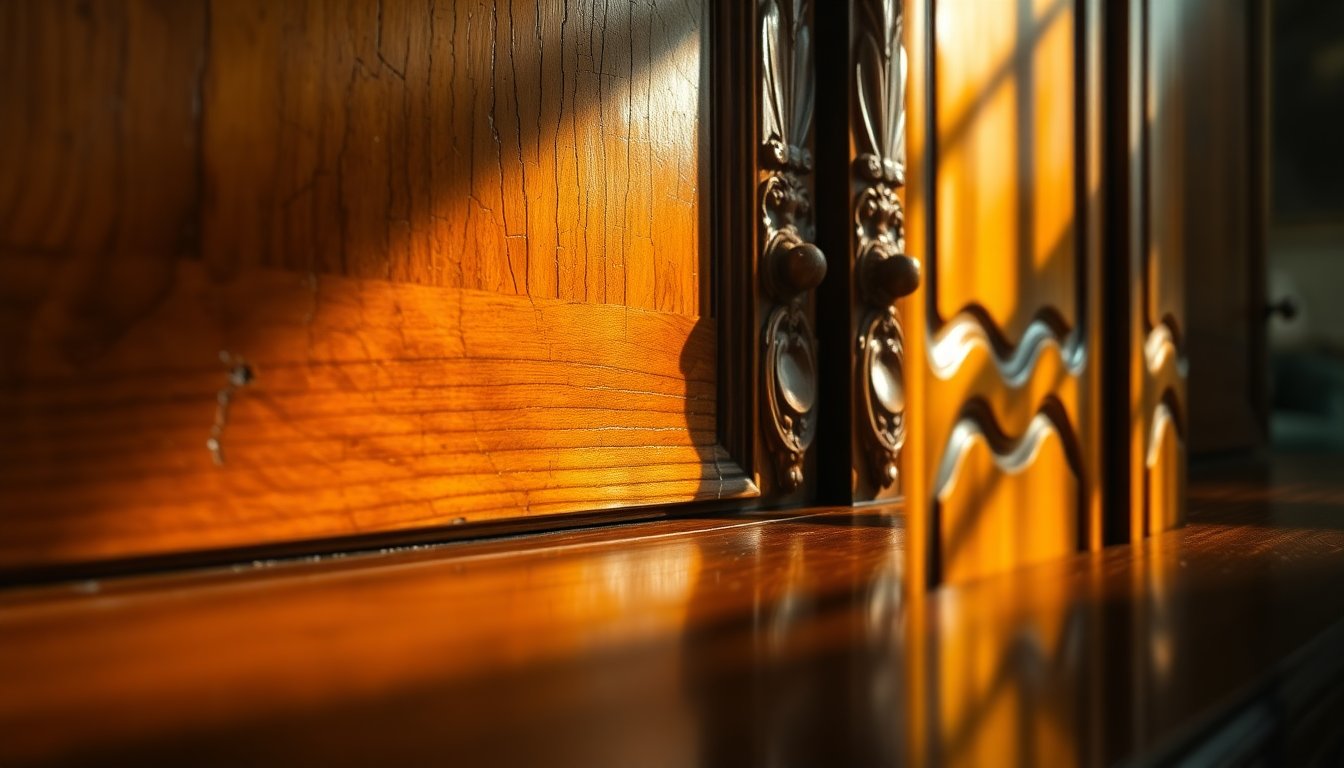
Antique Glaze Cabinet Care Tips (Expert How-To Guide)
Antique glaze cabinets bring a certain kind of warmth to a home — that soft, aged look that makes a kitchen feel timeless. At Fargos Art in Houston, we’ve spent years applying (and caring for) these beautiful finishes, and we know how special they are. But here’s the thing: an antique glaze finish needs the RIGHT kind of care to keep looking its best.
In this guide, we’ll walk you through everything you need to know about maintaining your glazed cabinets — from daily cleaning to repairing small chips. Whether your cabinets are brand new or decades old, these expert tips will help you protect that gorgeous finish for years to come.
What Is an Antique Glaze Cabinet Finish?
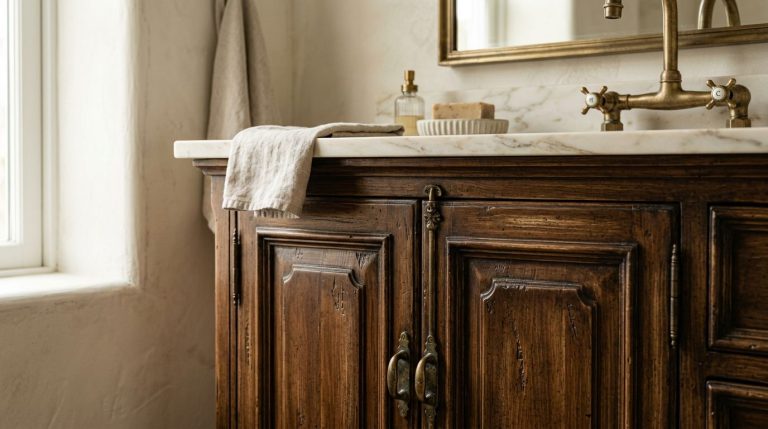
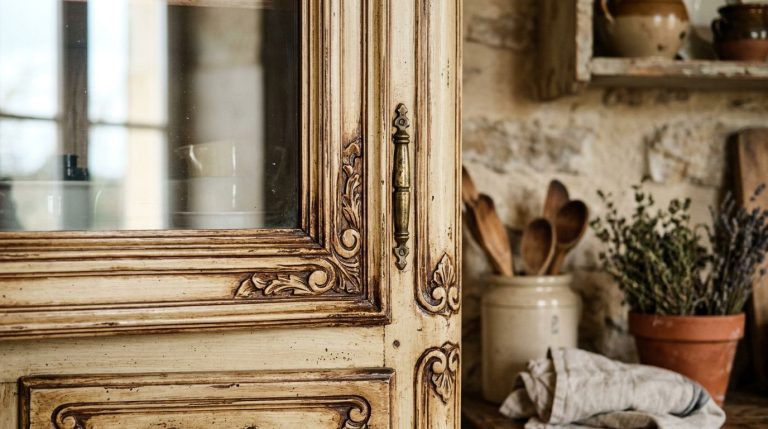
An antique glaze finish is a decorative technique where a translucent glaze is applied over a base coat of paint or stain. The glaze settles into the grooves, corners, and details of the cabinet — creating depth, dimension, and that lovely “aged” character. It’s what gives cabinets that hand-crafted, old-world feel (without actually being a hundred years old).
The magic is in the layering. A skilled artisan applies the glaze and then carefully wipes it back, leaving just enough to highlight the details. The result? A finish that looks rich, complex, and completely unique. Here’s what makes an antique glaze finish stand out:
- Depth and dimension — the glaze adds visual richness that flat paint simply can’t match.
- Highlighted details — raised panels, edges, and carvings really pop.
- A vintage, timeworn look — perfect for traditional, French country, and transitional kitchens.
- Custom color combinations — glazes can be tinted to complement any base color.
- A protective top layer — the sealant helps guard against everyday wear (when maintained properly).
How to Clean Antique Glaze Cabinets Without Damaging the Finish
Cleaning glazed cabinets is not the same as cleaning regular painted ones. The glaze layer is delicate — and harsh scrubbing or the wrong chemicals can dull it or wear it away. The goal is GENTLE. Always. If you want a deeper breakdown, we’ve put together some helpful advice on the best way to clean glazed cabinets that pairs perfectly with the steps below.
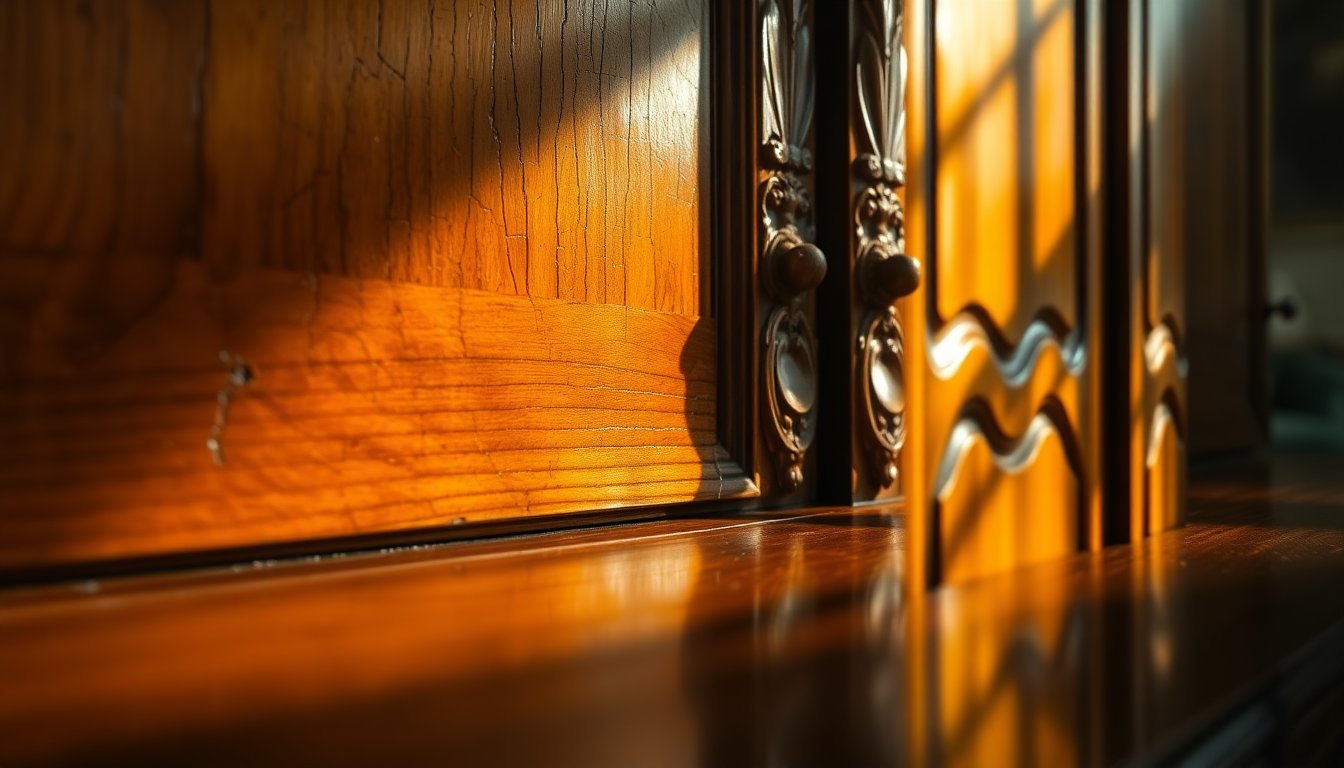
- Dust first. Grab a soft, dry microfiber cloth and wipe away loose dust and debris. This prevents you from grinding grit into the finish.
- Mix a mild solution. Combine a few drops of dish soap with warm water. That’s it — no need for anything stronger.
- Dampen (don’t soak) your cloth. Wring it out well. Too much water can seep into seams and loosen the finish over time.
- Wipe with the grain. Gently follow the direction of the wood or brush strokes. Never scrub in circles.
- Rinse lightly. Use a second cloth dampened with clean water to remove any soap residue.
- Dry immediately. Buff the surface with a dry microfiber cloth to prevent water spots and streaking.
Do this once a week (or as needed) and your cabinets will stay looking fresh. For grease-prone areas near the stove, you may need to wipe a little more often — but stick to the same gentle method.
Best Products for Maintaining Glazed Cabinet Surfaces
Using the right products makes ALL the difference. The wrong cleaner can strip the glaze or leave a hazy film. When in doubt, less is more — gentle and non-abrasive is the rule. Here are the products we recommend for keeping glazed surfaces healthy:
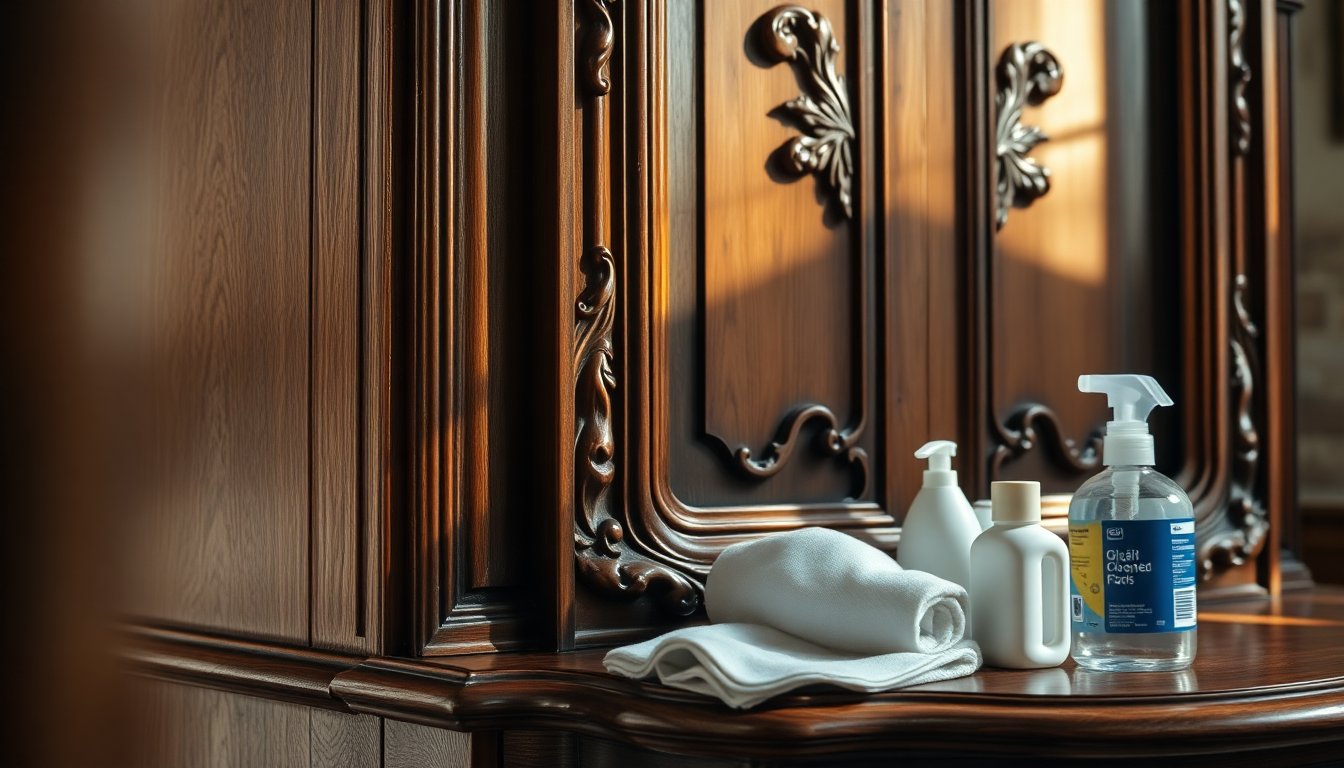
- Microfiber cloths — soft, lint-free, and won’t scratch. Keep a few dedicated ones for cabinet care.
- Mild dish soap — a tiny amount in warm water handles most everyday grime.
- pH-neutral cleaners — if you prefer a store-bought option, choose one labeled safe for finished wood or painted surfaces.
- White vinegar (diluted, used sparingly) — for occasional grease buildup, but ALWAYS test in a hidden spot first.
- Furniture polish or wax made for finished cabinets — a light application every few months can add protection and shine (make sure it’s compatible with your finish).
- Soft-bristle toothbrush — perfect for gently loosening grime in carved details and corners.
What to AVOID? Ammonia-based cleaners, bleach, abrasive scrubbing pads, “magic erasers,” and anything gritty. These can permanently damage the glaze — and once it’s gone, it’s gone.
How to Prevent Fading and Wear on Antique Glaze Cabinets
Prevention is easier (and cheaper) than repair. A few smart habits will keep your finish looking beautiful for the long haul. If you’re curious about how these finishes are built to last, our overview of the antique glaze cabinet refinishing process explains why proper sealing matters so much.
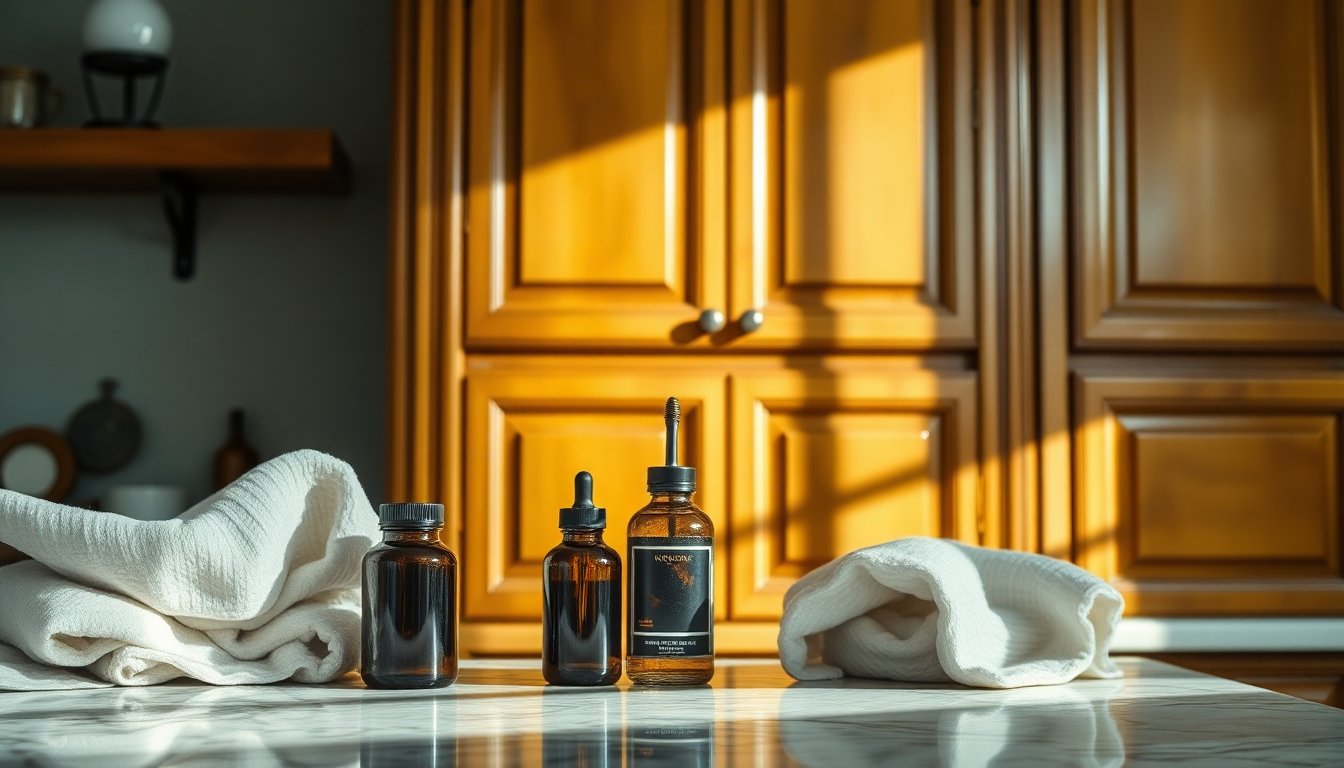
Control Sunlight Exposure
Direct sunlight is one of the biggest culprits behind fading. UV rays can slowly lighten glazes and dull the finish over time. If your cabinets get a lot of afternoon sun, consider window treatments, UV-blocking film, or simply rotating any decorative items that sit on top so wear stays even.
Manage Humidity and Heat
Houston humidity is no joke. Excess moisture and temperature swings can cause finishes to expand, contract, and eventually crack. Keep your kitchen well-ventilated, use your range hood while cooking, and try to maintain a stable indoor climate.
Protect High-Touch Areas
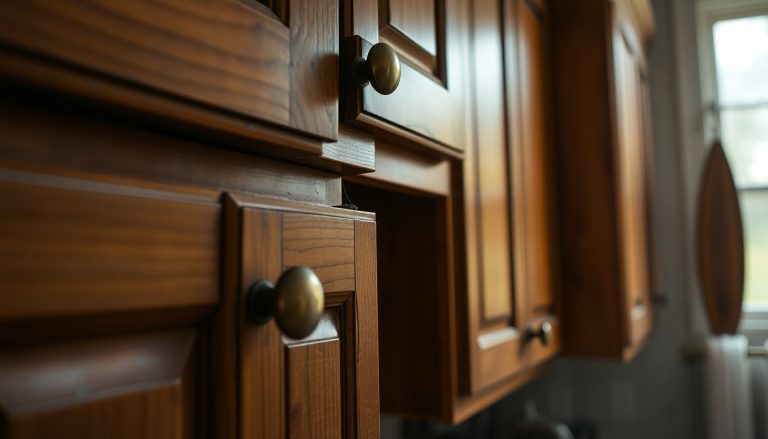
The spots around handles, knobs, and edges take the most abuse. Oils from your hands can break down the finish over time. Wipe these areas gently and regularly — and consider adding cabinet hardware if you don’t already have it, so fingers touch metal instead of the finish.
Use Felt Pads and Liners
Add soft bumpers to cabinet doors and drawers to soften the impact of closing. Line shelves and drawers to protect interior surfaces from scratches caused by dishes and cookware sliding around.
Address Spills Immediately
Don’t let spills sit — especially anything acidic like wine, citrus, or vinegar. Wipe them up right away with a damp cloth, then dry. The faster you act, the less chance of staining or etching.
How to Repair Chips and Scratches on Glazed Cabinets
Even with the best care, small chips and scratches happen. The good news? Minor damage can often be touched up at home. For anything major (or if the glaze pattern is complex), it’s worth bringing in a pro. Here’s how to handle those little nicks:
- Clean the area. Gently wipe the damaged spot with mild soapy water and let it dry completely. You want a clean surface to work with.
- Assess the depth. Is it just a surface scratch, or does it go down to the wood? This determines your approach.
- Match the color. For light scratches, a matching furniture touch-up marker or a bit of matching paint on a fine brush can work wonders.
- Apply thin layers. Dab (don’t smear) the color into the chip. Build it up SLOWLY — thin coats blend better than one thick blob.
- Recreate the glaze effect. This is the tricky part. Once the base color dries, apply a small amount of tinted glaze and wipe it back to match the surrounding finish.
- Seal it. Add a light coat of compatible topcoat over the repair to protect it and blend the sheen.
- Let it cure. Give the repair plenty of time to fully dry before touching or cleaning the area.
Honestly, matching an antique glaze finish is an art form — and it takes practice. If you’re unsure whether to tackle it yourself, our comparison of DIY vs professional antique cabinet glazing can help you decide what’s right for your project and your budget.
Common Mistakes to Avoid When Caring for Glaze Cabinets
We’ve seen a lot of well-intentioned homeowners accidentally damage their beautiful cabinets. It usually comes down to a handful of avoidable mistakes. Steer clear of these and you’ll be in great shape:
- Using harsh chemicals. Ammonia, bleach, and degreasers are too aggressive — they eat away at the glaze and topcoat.
- Scrubbing too hard. Abrasive pads and rough scrubbing remove the finish, not just the dirt.
- Over-wetting the surface. Soaking cabinets lets water sneak into seams and under the finish. Damp, not dripping.
- Ignoring spills. Letting spills sit — especially acidic ones — leads to staining and etching.
- Skipping regular dusting. Built-up grime becomes harder to remove and can dull the finish over time.
- Using furniture products that aren’t compatible. Some polishes leave residue or react badly with certain finishes. Always test first.
- DIY-ing major repairs without the right skills. A botched touch-up can be harder (and pricier) to fix than the original damage.
- Cleaning in circular motions. This can create swirl marks and uneven wear. Go with the grain.
Little habits add up. Avoid these missteps and your antique glaze cabinets will keep their charm for many years — no drama required.
Conclusion
Caring for antique glaze cabinets really comes down to a few simple principles: clean GENTLY, protect the finish from sun and moisture, address damage early, and skip the harsh chemicals. Treat them with a little care and they’ll reward you with that timeless, dimensional beauty that made you fall in love with them in the first place.
At Fargos Art, we specialize in antique glaze cabinet refinishing and a full range of decorative finishes for homes across Houston, River Oaks, Memorial, Tanglewood, Upper Kirby, West University Place, Bellaire, Katy, Spring Branch, and Sugar Land. If your cabinets need a refresh — or you’re dreaming of a brand-new custom finish — we’d love to help bring your vision to life.