How Long Does the Antique Glaze Cabinet Refinishing Process Take? (Step-by-Step Guide)
Are you curious about how long the antique glaze cabinet refinishing process takes? At Fargos Art in Houston, we transform ordinary cabinets into timeless pieces with our expert antique glaze techniques. With years of experience in cabinet refinishing, we know how important it is for homeowners to have a clear understanding of the time commitment involved in revamping their kitchen or bathroom.
In this article, we’ll walk you through the factors that affect the duration of the antique glaze process, provide detailed steps on how to prepare and apply the glaze, and discuss the expected timeline for each step. So, if you’re ready to give your cabinets a stunning new look, we’ve got the insights you need to plan your project with confidence. Let’s dive in and unlock the secrets to achieving that beautiful, antique finish!
What Factors Affect the Duration of the Antique Glaze Cabinet Refinishing Process?
The time it takes to refinish cabinets with an antique glaze is not set in stone. Several factors come into play, which can either speed up or slow down the process. Understanding these can help you better plan your project and set realistic expectations.
Here’s what can influence the timeline:
- Condition of the Cabinets: Older or damaged cabinets may need more prep work, like sanding or filling in gaps and scratches.
- Size of the Project: More cabinets mean more time. A small kitchen might take a few days, whereas a sprawling space could take significantly longer.
- Type of Wood: Different woods absorb glaze differently. Some may require multiple coats to achieve the desired look.
- Experience Level: Experienced DIYers or professionals typically work faster. Novices might need more time to avoid mistakes.
- Tools and Materials: Using the right tools, such as quality brushes and effective sealants, can save time and ensure better results. For further insights on the best tools and techniques, you might find this cabinet refinishing guide helpful.
- Drying Times: Humidity and temperature affect drying times for paint and glaze, adding hours or even days to the process.
By considering these factors, you can more accurately estimate the time needed for your cabinet refinishing project and avoid unexpected delays.
How to Prepare Your Cabinets for Antiquing Glaze?
Preparing your cabinets before applying antique glaze is ESSENTIAL for achieving a smooth, professional finish. Proper preparation ensures the glaze adheres well and enhances the cabinets’ appearance.
Before diving in, make sure to gather all necessary tools and materials. This will save you time and ensure you cover all bases efficiently.
- Clean the Cabinets: Use a gentle cleaner to remove dirt, grease, and grime from the cabinet surfaces. A clean surface is crucial for the glaze to stick properly. For more detailed guidance, check out the best way to clean glazed cabinets.
- Remove Hardware: Take off all knobs, handles, and any other hardware. This protects them from the glaze and allows you to reach all cabinet areas.
- Sand the Surface: Lightly sand the cabinets to remove any old finish. This helps the glaze adhere better to the wood. Be gentle—use fine-grit sandpaper to avoid damage.
- Wipe Away Dust: After sanding, wipe the cabinets with a damp cloth to remove any dust particles. A dust-free surface is key to a smooth glaze application.
- Tape Off Areas: Use painter’s tape to protect areas you don’t want to glaze, such as adjoining walls or cabinet interiors.
- Prime If Necessary: Depending on the original color and condition, consider applying a primer to ensure even glaze application and to prevent the wood tone from altering the glaze color.
Once your cabinets are prepped, you’re ready to move on to the fun part—applying the antique glaze. Proper preparation sets the foundation for a beautiful finish, enhancing the character and charm of your cabinets.
What Are the Steps Involved in Applying Antique Glaze to Cabinets?
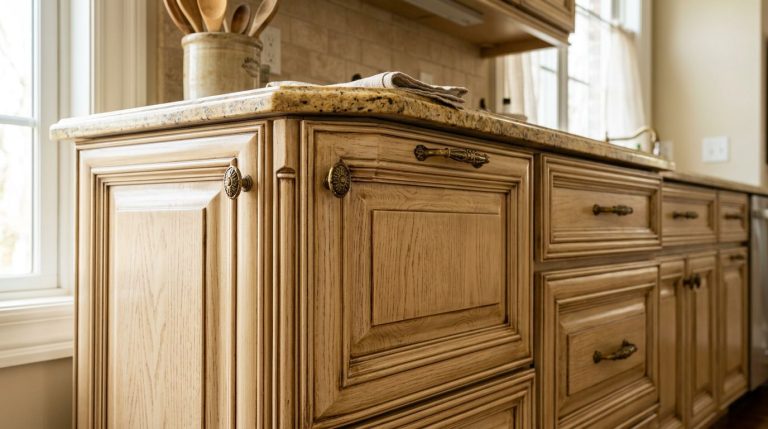
Applying an antique glaze to cabinets can transform your space, giving them a timeless, vintage look. The process requires patience and attention to detail, but with the right approach, it can greatly enhance the character of your kitchen or bathroom. Here’s how you can achieve that beautifully aged finish:
- Clean the Cabinets: Ensure all surfaces are free of grease and dust. A clean surface allows the glaze to adhere properly and ensures a smooth finish.
- Remove Cabinet Hardware: Take off handles, knobs, and any other hardware. This prevents them from getting stained and makes the application process easier.
- Sand the Surface: Lightly sand the cabinets to create a surface texture that will help the glaze stick. Be sure to wipe away any dust with a damp cloth afterward.
- Apply a Base Coat: Use a high-quality paint as a base coat and let it dry completely. This sets the stage for the antique glaze to work its magic.
- Mix the Glaze: Prepare the glaze by mixing it properly according to the product instructions. Consistency is key—aim for a smooth, even mixture.
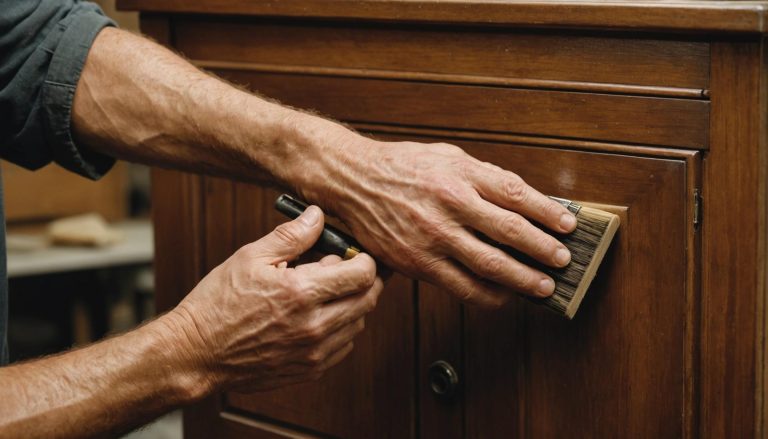
- Apply the Glaze: Using a brush or sponge, apply the glaze in small sections. Work quickly and focus on one area at a time to ensure even coverage.
- Wipe and Blend: Use a clean, damp cloth to wipe excess glaze, following the grain of the wood. This creates the desired aged look. Adjust the pressure based on the depth of aging you want to achieve.
- Let it Dry: Allow the glaze ample time to dry—patience here ensures a strong bond and a lasting finish.
- Reattach Hardware: Once the glaze is dry and you’re satisfied with the look, reattach any cabinet hardware you had removed.
- Apply a Sealant (Optional): For added protection, consider applying a clear sealant to make your antique-glazed cabinets last longer.
And that’s it! You’ve given your cabinets a charming, antique feel. Next, explore tips on ensuring the best finish when using antique glaze, including whether cabinet glaze finishes can be applied to painted cabinets.
How Long Should Each Step of the Refinishing Process Take?
Refinishing cabinets with an antique glaze is a multi-step process that requires patience and precision to achieve that classic, aged look. Knowing how much time to allocate for each step can help you plan better and avoid rush mistakes. Here’s a breakdown:
Cleaning and Preparation
The first step—cleaning and prepping your cabinets—shouldn’t be underestimated. Expect to spend around 2-3 hours, depending on the condition and size of your cabinets. This involves removing grease, dirt, and old finishes to ensure your glaze adheres smoothly.
Sanding
Sanding is crucial to create a good surface for the glaze. You should allocate about 1-2 hours for this step. Be thorough but gentle to ensure you don’t damage the wood.
Applying Base Coat
Once prepped, it’s time to apply the base coat. This step usually takes about 1-2 hours, including drying time. Make sure each layer is even for the best results.
Antiquing with Glaze
This is where the magic happens! Apply your antique glaze, and allow around 1-2 hours for application, plus another 2-4 hours for the glaze to dry properly. This time can vary based on humidity and the type of glaze used. For more detailed insights into the antique glaze cabinet refinishing process, consider exploring expert resources.
Finishing Coats and Drying
To seal in your work and ensure durability, apply finishing coats. Set aside about 1-2 hours for this process, including drying time between layers. Ensure the finish is fully dry before touching or reassembling the cabinets.
Each of these steps is crucial to achieving a long-lasting finish. The key is patience—don’t rush it. Let the glaze cure properly and enjoy the transformation of your cabinets into stunning antique-looking pieces!
What Materials and Tools Are Needed for Antique Glaze Cabinet Refinishing?
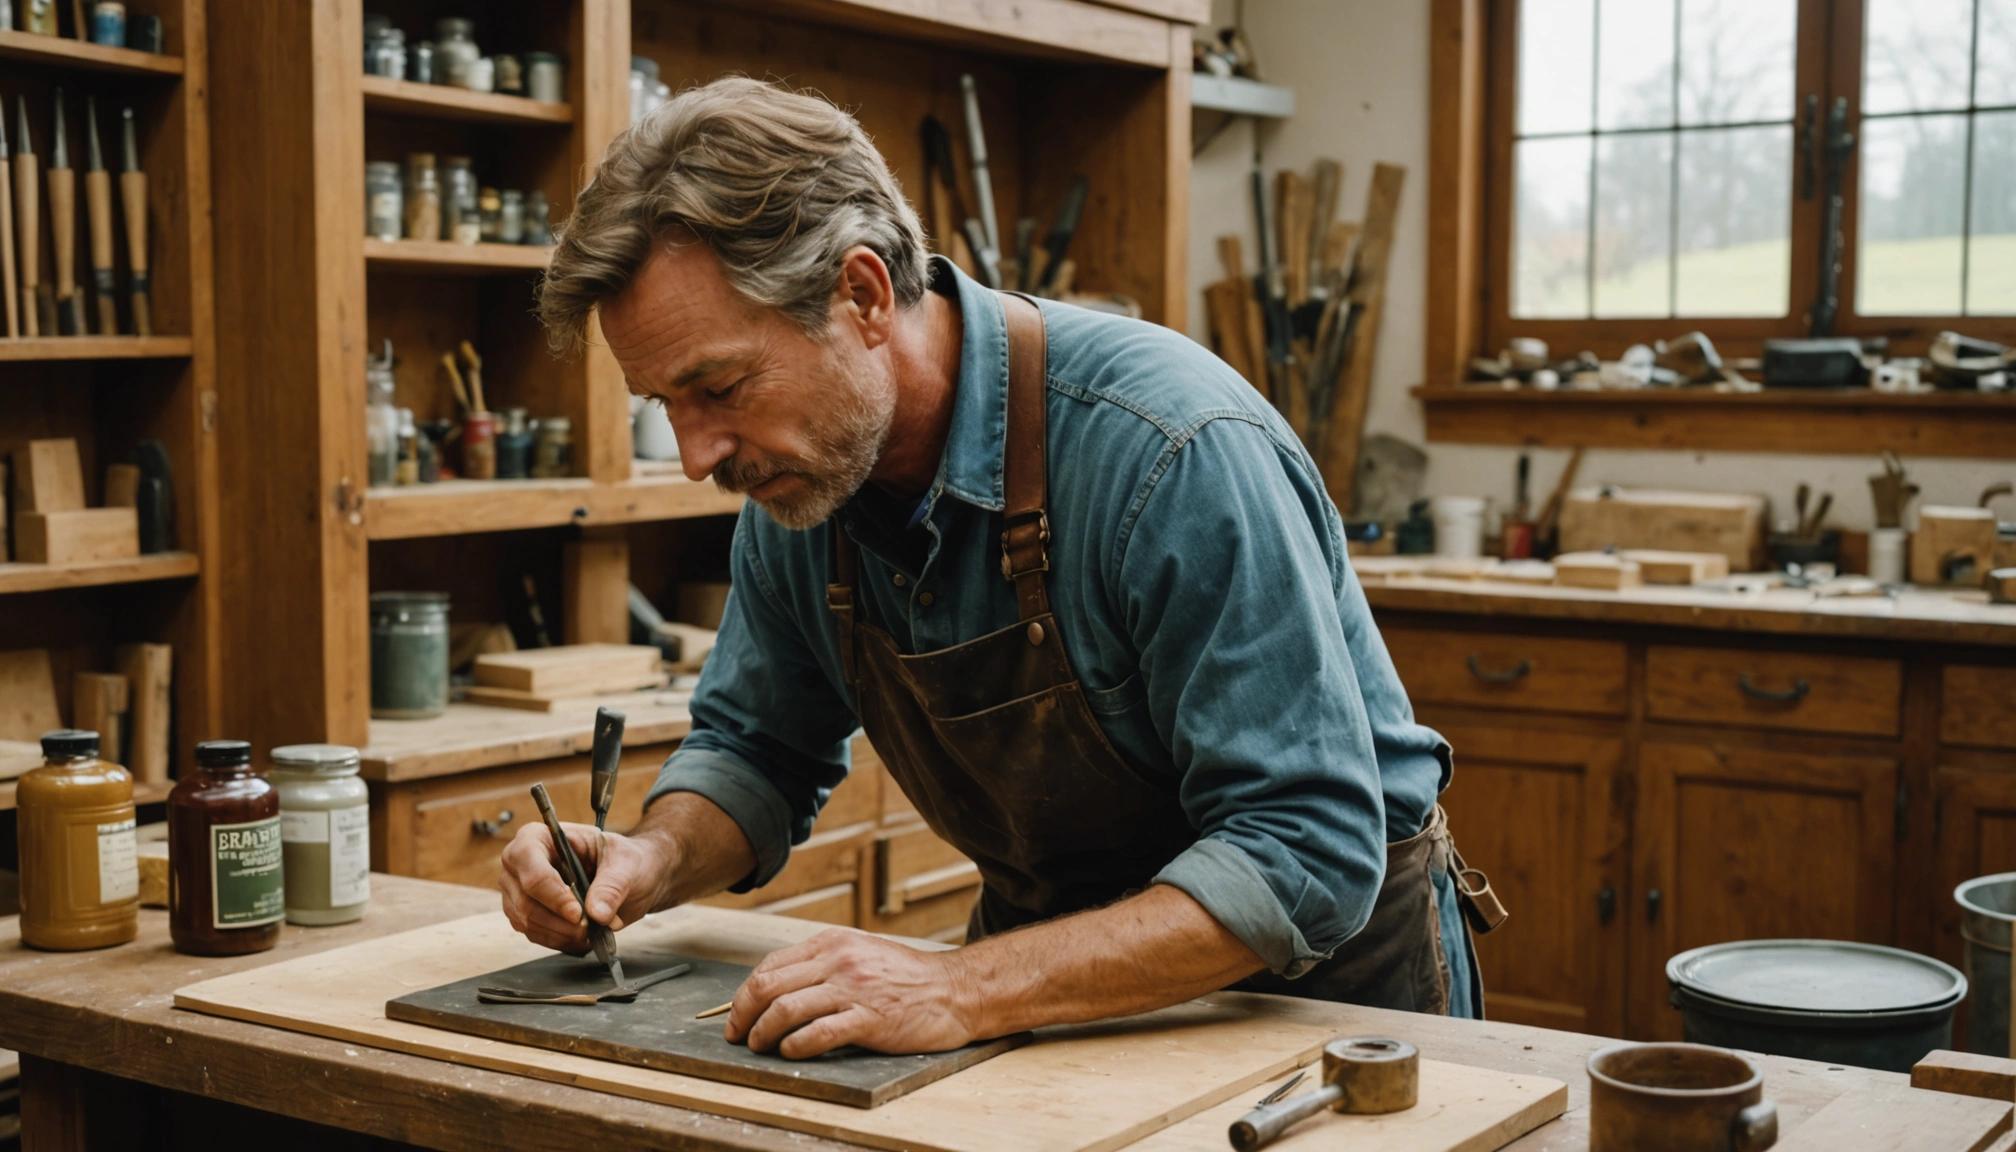
Before diving into the antique glaze cabinet refinishing process, it’s essential to gather all the necessary materials and tools. Having everything at your fingertips will make the job smoother and more efficient. Here’s a list to help you get started:
- Sandpaper: Essential for sanding down the cabinet surfaces before applying the glaze. Medium to fine grit works best.
- Cleaning Solution: Use a degreaser or mild soap to clean cabinets before refinishing, ensuring all dirt and grease are removed.
- Glaze: Choose an antique glaze that complements your desired look—available in various tones and finishes.
- Paint Brushes: High-quality brushes help apply the glaze evenly. Consider different sizes for different areas.
- Protective Gear: Wear gloves and a mask to protect your skin and lungs from dust and chemicals.
- Drop Cloth or Tarp: Protect floors and surrounding areas from spills and splatters.
- Stir Sticks: Ensure your glaze is mixed properly before application.
- Cloth Rags: Useful for wiping excess glaze and achieving a distressed look.
- Painters Tape: Protect areas you don’t want glazed by taping them off.
- Sealer: A clear top coat to protect your newly refinished cabinets and prolong the life of the glaze.
Gathering these supplies in advance will set you up for success as you transform your cabinets with antique glaze. For more detailed guidance, you can explore antique glaze cabinet refinishing techniques. Up next, we’ll dive into the step-by-step process of applying the glaze to achieve a perfect finish.
How to Ensure the Best Finish When Using Antique Glaze on Cabinets?
Achieving that perfect antique look on your cabinets requires a balance of technique and patience. Here are crucial steps to ensure you get the best finish with an antique glaze.
Prepare Thoroughly Before You Start
The foundation of a great finish is proper preparation. Make sure your cabinets are clean and free from grease. Sand the surfaces lightly to ensure the glaze adheres well.
Don’t skip the primer—this step is essential for an even base, especially if you’re working with a porous or previously painted surface.
Choose the Right Glaze
Different glazes offer varying levels of transparency and drying times. Opt for a quality glaze that suits the desired depth and antiquing effect. Test your glaze on a sample cabinet or scrap wood to see how it dries. For more insights on selecting the best glaze, you can explore antique glaze cabinet refinishing techniques from experts in Sugar Land, TX.
Application Technique Matters
Apply the glaze evenly using a brush or a cloth, depending on the effect you want. Use long, smooth strokes for consistency. Work in sections to prevent uneven drying or visible lines.
Remember to wipe off excess glaze gently with a clean cloth before it dries completely if you want a lighter antique effect.
Seal the Finish
Once you’re satisfied with the look, protect the finish with a clear sealant. This will not only enhance the depth of the glaze but also ensure durability against daily wear and tear.
Choose a non-yellowing, water-based sealant if you’re concerned about altering the color over time.
Allow Sufficient Drying Time
Patience is key. Ensure you give ample time for each layer to dry fully—especially before applying a sealant. This step is critical for preventing smudges and ensuring longevity.
Follow the manufacturer’s instructions on drying times as they can vary based on the product and environmental conditions.
Conclusion
Refinishing your cabinets with an antique glaze can transform your space and breathe new life into your kitchen or bathroom. The process, although detailed, is well worth the time investment to achieve a beautifully refined finish. With a keen eye for detail and a dedication to quality, a professional like those at Fargos Art can streamline the antique glaze cabinet refinishing process, ensuring your cabinets are not only elegant but also long-lasting.
At Fargos Art, led by Ileana Farias, we offer more than just refinishing; we create art for your space. Operating in the Houston area, including neighborhoods like River Oaks, Memorial, and Sugar Land, our team is dedicated to delivering top-notch services, including cabinet glaze finishes and more. If you’re ready to enhance your home’s appeal with expert craftsmanship, reach out to us at (832) 277-6757 or fargosartco@gmail.com. Let us help you make your vision a reality.