Antique Glaze Cabinet Refinishing Bathroom Vanities (2026 How-To Guide)
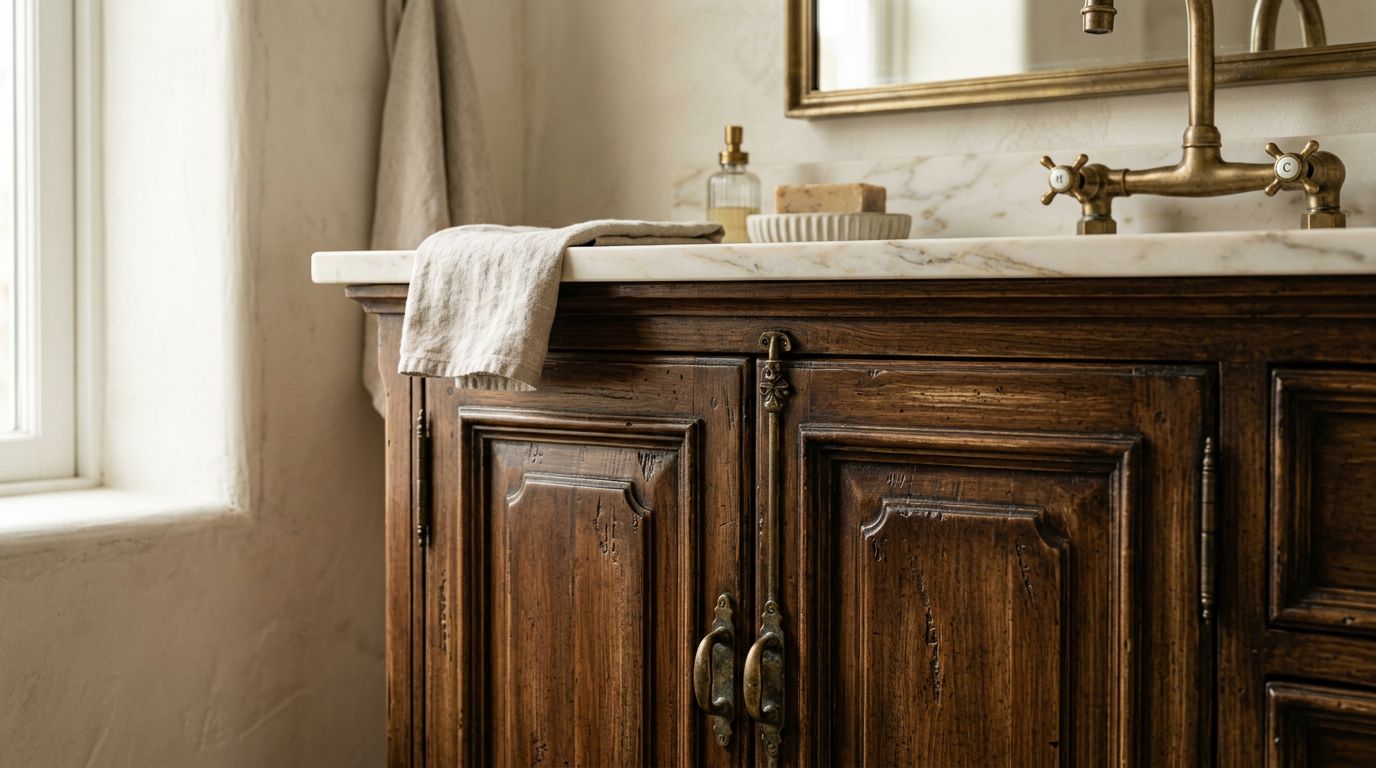
There is something magical about walking into a bathroom and seeing a vanity that looks like it belongs in a European villa. That rich, aged character does not happen by accident. It comes from a technique we love here at Fargos Art in Houston called antique glaze cabinet refinishing. It turns tired, flat cabinets into warm, dimensional showpieces without the cost of full replacement.
In this 2026 how-to guide, we will walk you through everything. What the process actually is, the tools you need, step-by-step application, the best colors for the year ahead, real cost expectations, and the mistakes we see people make all the time. Let us get into it.
What Is Antique Glaze Cabinet Refinishing?
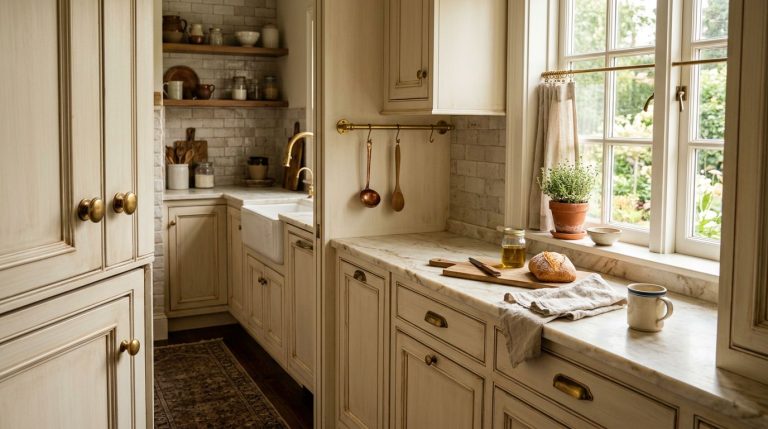
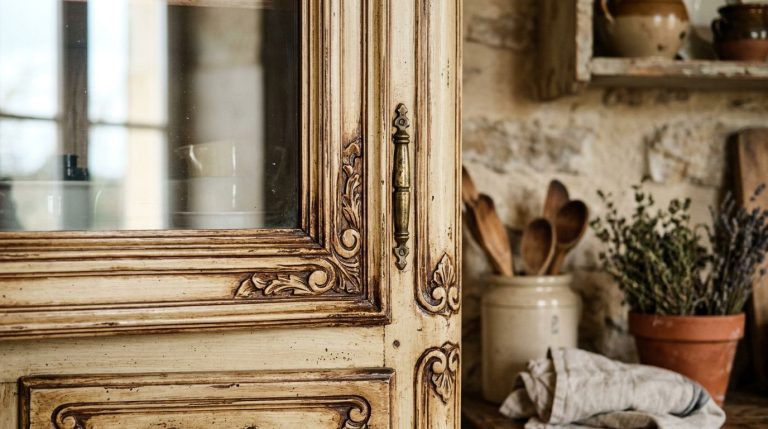
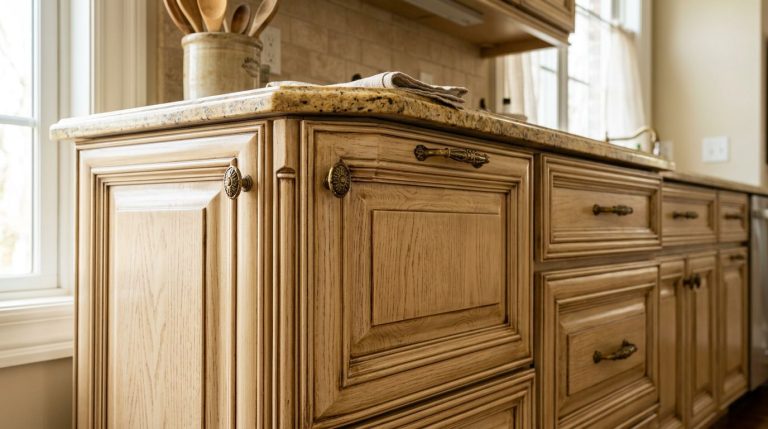
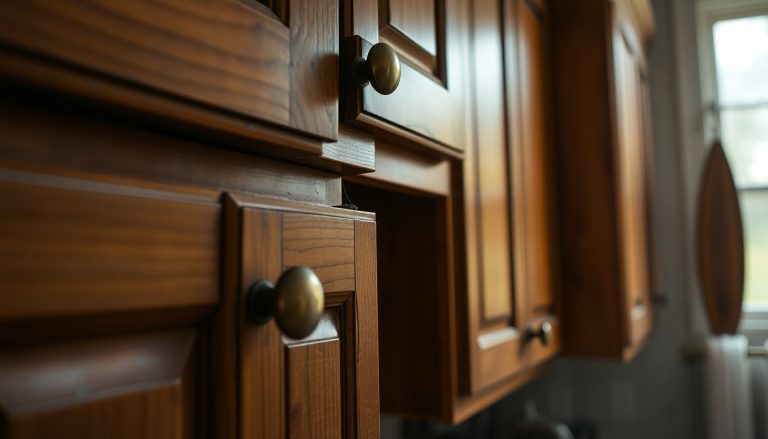
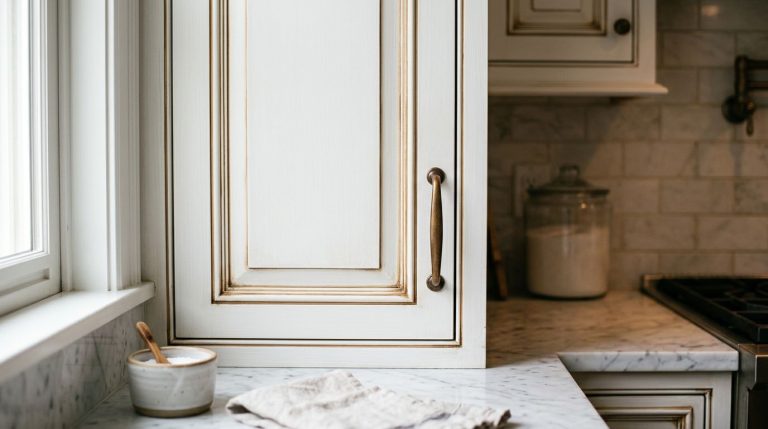
Antique glaze cabinet refinishing is a decorative finishing technique that adds depth, warmth, and an aged look to bathroom vanities and cabinetry. Instead of a flat, one-note paint job, glaze settles into the grooves, corners, and detailed edges of your cabinets. This creates shadows and highlights that mimic the natural wear of a well-loved antique piece. The result is a finish with CHARACTER, not just color.
The glaze itself is a translucent coating, usually tinted a darker shade than the base color. When applied over painted cabinets and then wiped back, it leaves color where the details are and reveals the base coat on the flat surfaces. It is a look that feels custom and expensive because, well, it looks that way. Here is what makes this technique stand out:
- It highlights architectural details like raised panels, moldings, and beveled edges.
- It adds visual depth that flat paint simply cannot achieve.
- It hides minor imperfections and wear on older cabinets.
- It gives new cabinets an instant sense of history and warmth.
- It is fully customizable in color and intensity.
- It costs far less than replacing an entire vanity.
If you want to understand the full method from prep to finish, our detailed breakdown of the antique glaze cabinet refinishing process covers the finer points that separate a good finish from a great one.
Tools and Materials Needed for Refinishing Bathroom Vanities
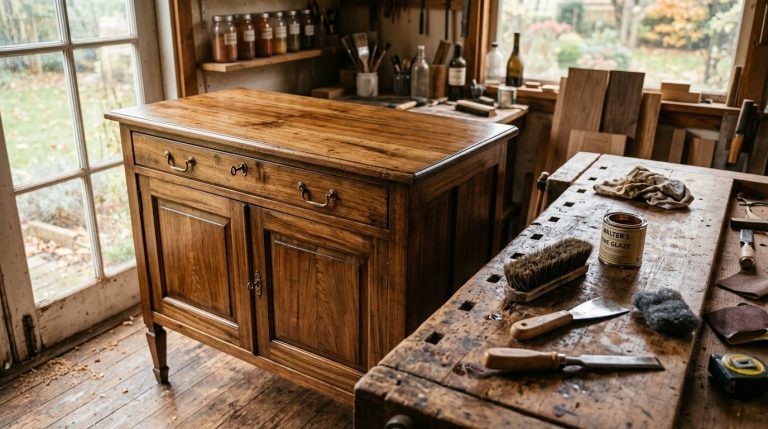
Before you touch a single cabinet door, you need to gather your supplies. A glaze finish is only as good as the prep and the tools behind it. Rushing to the store mid-project is the fastest way to ruin your momentum. We always lay everything out first so the workflow stays smooth. Bathrooms have humidity and tight spaces, so quality products matter even more here.
Here is the core list of tools and materials you will want on hand:
- Screwdriver or drill for removing doors, drawers, and hardware.
- Degreaser or TSP cleaner to strip away grime and old residue.
- Sandpaper in medium and fine grits (150 and 220 work well).
- Tack cloths to remove dust before painting.
- Painters tape and drop cloths to protect walls, floors, and countertops.
- Quality primer that bonds to your cabinet surface.
- Base coat paint in a satin or semi-gloss finish.
- Antiquing glaze in your chosen tint.
- Angled brushes and foam rollers for smooth base coats.
- Lint-free rags and cheesecloth for wiping back the glaze.
- Chip brush or glaze brush to work glaze into details.
- Clear protective topcoat to seal everything and resist moisture.
- Gloves and a respirator for safety and comfort.
Investing in good brushes and a moisture-resistant topcoat is not optional in a bathroom. Cheap tools leave streaks, and weak sealers fail fast in a humid room. If you want to see how these pieces come together in practice, our team also offers custom cabinet glaze finishes and other decorative work throughout the Houston area.
How to Apply Antique Glaze to a Bathroom Vanity Step by Step
This is where the transformation happens. Applying glaze is not hard, but it does reward patience and a steady hand. The most important thing to remember is that glaze is FORGIVING while wet. If you do not like how a section looks, wipe it back and try again before it dries. Work in small areas so you never lose control of the glaze open time.
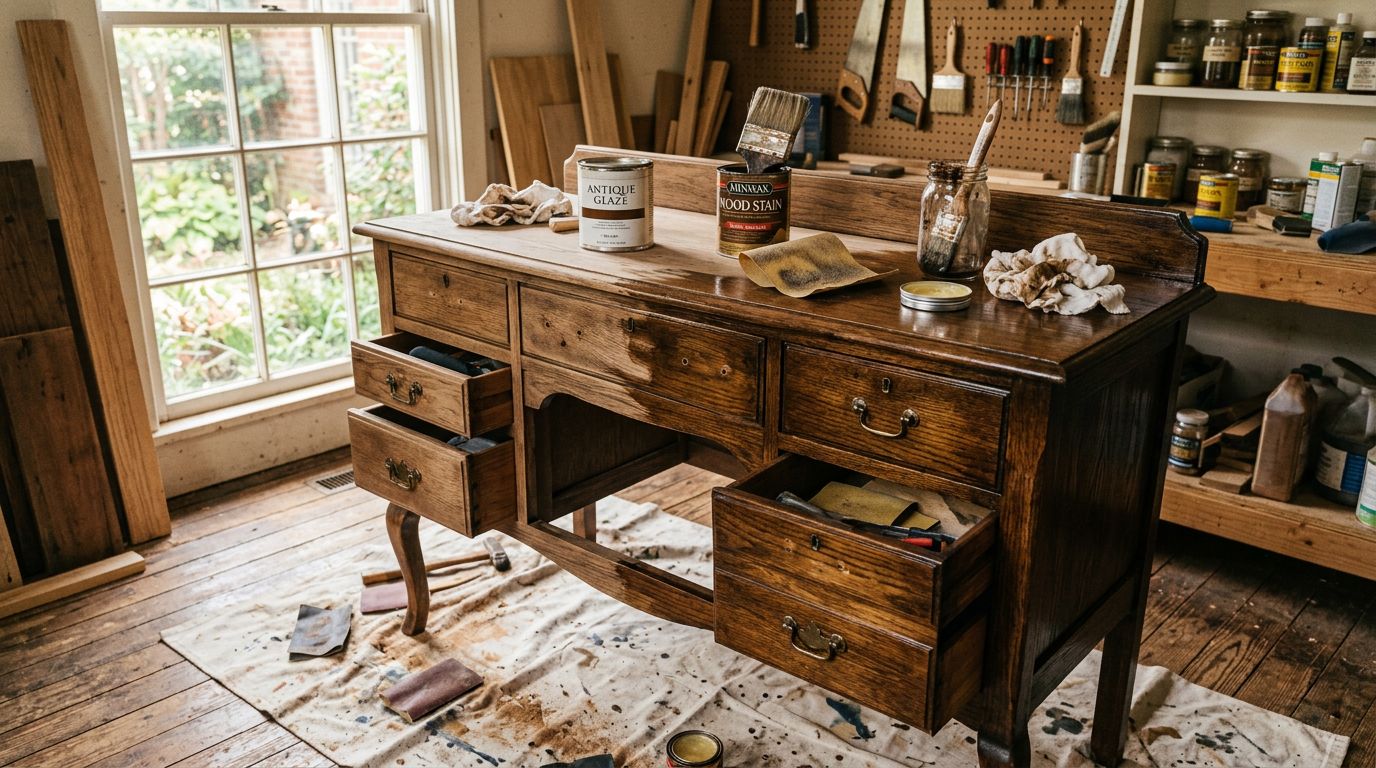
Follow these steps in order for the cleanest, most professional result:
- Remove everything. Take off cabinet doors, drawers, knobs, and pulls. Label each piece so reassembly is easy.
- Clean thoroughly. Bathrooms collect soap film and hairspray. Scrub every surface with a degreaser and let it dry completely.
- Sand the surfaces. Scuff sand with 150 grit to give the primer something to grip. Wipe away all dust with a tack cloth.
- Apply primer. Use a bonding primer and let it cure fully. This step prevents peeling later.
- Paint your base coat. Apply two thin coats of your chosen base color. Let each coat dry per the label instructions.
- Mix and test the glaze. Stir your glaze well. Test it on a hidden spot or scrap piece to check the color and wipe-back look.
- Apply glaze in sections. Brush glaze onto one door or a small area. Push it into the grooves and detailed edges.
- Wipe it back. Using a lint-free rag, gently wipe the flat surfaces. Leave glaze in the recesses. Adjust until you love the depth.
- Let it dry. Allow the glaze to cure fully before handling. Rushing this causes smears.
- Seal with topcoat. Apply a clear, moisture-resistant topcoat to protect the finish from water and daily use.
- Reassemble. Reattach hardware, hang the doors, and slide the drawers back in.
Take your time with the wipe-back stage since that is what defines the whole look. For a more detailed walkthrough with extra tips, our full step-by-step guide to refinishing glazed cabinets is a great companion to keep nearby while you work.
Best Paint and Glaze Colors for Antique Bathroom Vanities in 2026
Color choice makes or breaks the antique look. In 2026, we are seeing homeowners move toward warm, grounded palettes that feel calm and timeless. The base color sets the tone, and the glaze tint adds the aged drama. Here are the combinations we recommend most this year.
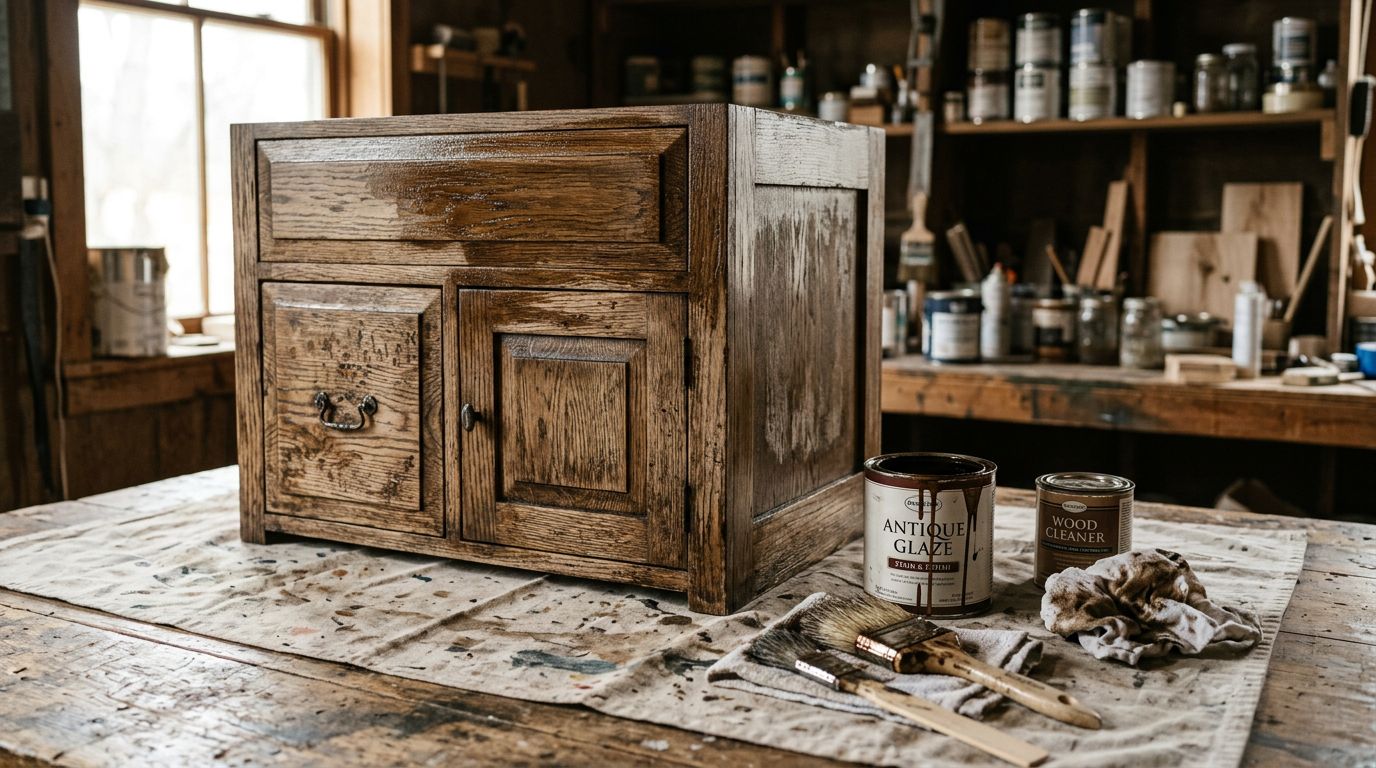
Creamy White with Warm Brown Glaze
This is the classic French country look and it never goes out of style. A soft, creamy white base paired with a warm brown or coffee glaze creates that gently aged, cozy feel. It works beautifully in traditional and transitional bathrooms and brightens smaller spaces.
Sage Green with Bronze Glaze
Muted greens are HUGE for 2026. A dusty sage base with a soft bronze or umber glaze feels organic and spa-like. It pairs perfectly with natural stone counters and brass fixtures for a grounded, earthy vibe.
Charcoal Gray with Black Glaze
For a bold, modern take on the antique finish, deep charcoal with a black glaze delivers real drama. It emphasizes cabinet details with rich shadows and looks stunning against light walls and marble surfaces.
Greige with Taupe Glaze
Greige, that perfect blend of gray and beige, remains a go-to neutral. A slightly darker taupe glaze on top adds subtle depth without shouting. This combo suits almost any style and resells well.
Navy Blue with Gold-Tinted Glaze
Want something rich and luxurious? A deep navy base with a faint gold or antique brass glaze feels regal and warm. It is a favorite for powder rooms where you want a wow moment.
How Much Does Antique Glaze Cabinet Refinishing Cost?
Cost is always one of the first questions we hear, and the honest answer is that it depends on several factors. The size of your vanity, the condition of the existing cabinets, the number of doors and drawers, and whether you go DIY or hire a professional all affect the final number. That said, refinishing is ALWAYS cheaper than replacing your cabinets outright, often by a wide margin.
Here are the main cost factors to keep in mind when budgeting:
- Vanity size. A single-sink vanity costs far less than a large double-sink setup.
- Number of doors and drawers. More surfaces mean more glazing time and materials.
- Cabinet condition. Heavy repairs, stripping, or damage add to the labor.
- Material quality. Premium primers, paints, and topcoats cost more but last longer.
- Custom color matching. Specialty glaze tints can raise the price slightly.
- DIY vs professional. Doing it yourself saves on labor but takes real time and skill.
DIY projects mostly cost you materials and your weekend, while professional work adds labor but guarantees a flawless, durable finish. If you are on the fence, our comparison of DIY versus professional antique cabinet glazing breaks down when it makes sense to hire an expert and when a confident homeowner can tackle it alone.
Common Mistakes to Avoid When Glazing Bathroom Vanities
We have refinished countless vanities across Houston, and we have seen the same handful of mistakes trip people up again and again. The good news is that every one of them is avoidable once you know what to watch for. Bathrooms are unforgiving because of moisture and constant use, so cutting corners shows up fast.
Steer clear of these common pitfalls:
- Skipping the cleaning step. Grease and soap film prevent proper adhesion. Always clean first.
- Not sanding. Glaze and paint will not bond to a slick surface. A light scuff sand is essential.
- Skipping primer. Without a bonding primer, your finish can peel within months.
- Applying glaze too thick. Heavy glaze looks muddy and hides your cabinet details. Less is more.
- Working in large sections. Glaze dries fast. Big areas dry before you can wipe them back evenly.
- Wiping too aggressively. Remove too much and you lose the aged effect entirely.
- Forgetting the topcoat. In a bathroom, an unsealed finish will not survive humidity and water splashes.
- Rushing the dry times. Impatience causes smears, streaks, and a finish that never fully cures.
- Choosing the wrong glaze color. A tint that clashes with your base can ruin the whole look. Always test first.
Most of these come down to patience and prep. Slow down, respect the dry times, and test everything before you commit to the full vanity. That single habit will save you hours of frustration and rework.
Conclusion
Antique glaze cabinet refinishing is one of the smartest ways to upgrade a bathroom without a full renovation. It adds warmth, depth, and timeless character to your vanity for a fraction of replacement costs. The key steps are simple: clean well, sand, prime, base coat, glaze in small sections, wipe back with care, and seal it all with a moisture-resistant topcoat. Pick a 2026-friendly color combo, avoid the common mistakes, and you will end up with a vanity that looks custom and expensive.
At Fargos Art, we bring this craftsmanship to homeowners across Houston, River Oaks, Memorial, Tanglewood, Upper Kirby, West University Place, Bellaire, Katy, Spring Branch, and Sugar Land. If you want a flawless, hand-finished vanity that turns heads, we would love to help bring your vision to life.