Cabinet Glaze Finish Sheen Levels (Complete Guide 2026)
Choosing the right cabinet glaze finish sheen level can completely transform the look and feel of your kitchen or bathroom. Here at Fargos Art in Houston, we’ve spent years perfecting cabinet glaze finishes for homeowners who want that custom, high-end look without replacing their cabinets. And one question comes up again and again — which sheen level is RIGHT for me?
In this complete 2026 guide, we’ll break down everything you need to know about cabinet glaze sheen levels. From matte to high-gloss, we’ll cover how each one works, how to choose, and how to apply glaze for a smooth, consistent finish. Let’s dive in.
What Is a Cabinet Glaze Finish and How Does It Work
A cabinet glaze finish is a semi-transparent layer of colored medium applied OVER your painted or stained cabinets. It settles into corners, grooves, and details — adding depth, dimension, and that rich, aged character people love. Think of it as makeup for your cabinets (it accents the features that are already there).
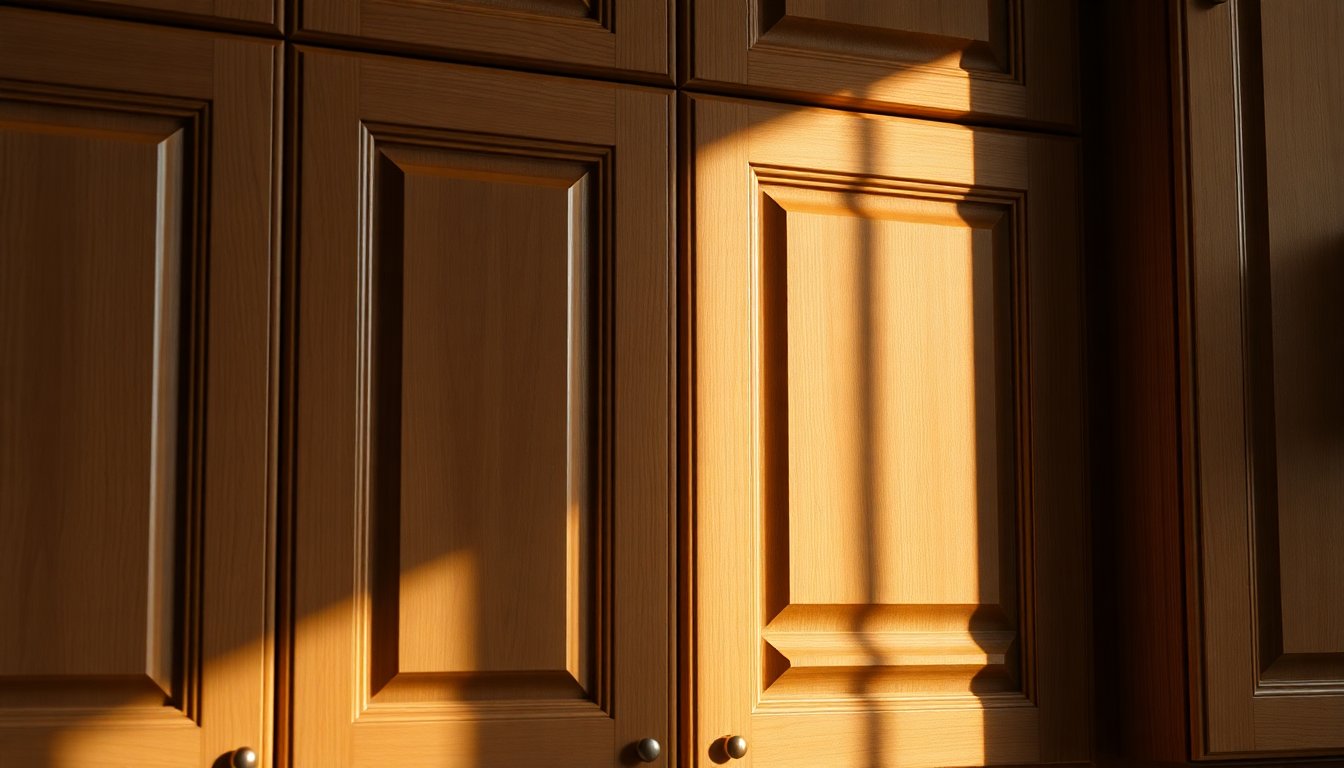
Glaze doesn’t just add color. It changes how light hits the surface, which is exactly why sheen level matters so much. Once the glaze is applied and wiped back, a protective topcoat locks everything in — and that topcoat is where the sheen really lives. If you’re curious about the deeper benefits, our breakdown of what glaze actually does for cabinets is a great place to start.
Here’s how the process works at a glance:
- Base coat — Your cabinets get a clean, painted or stained foundation.
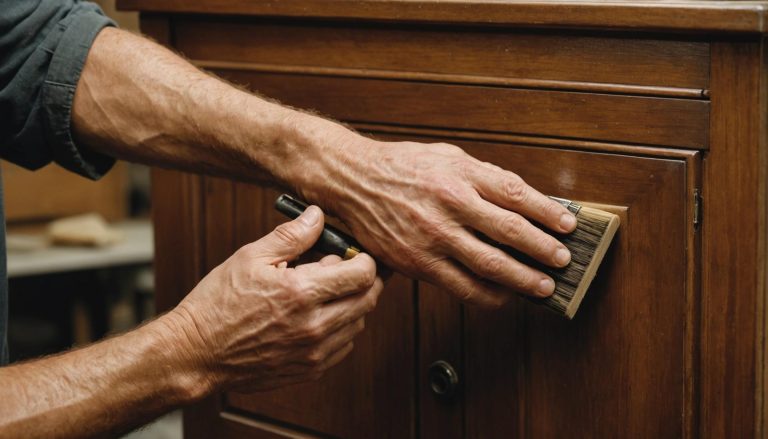
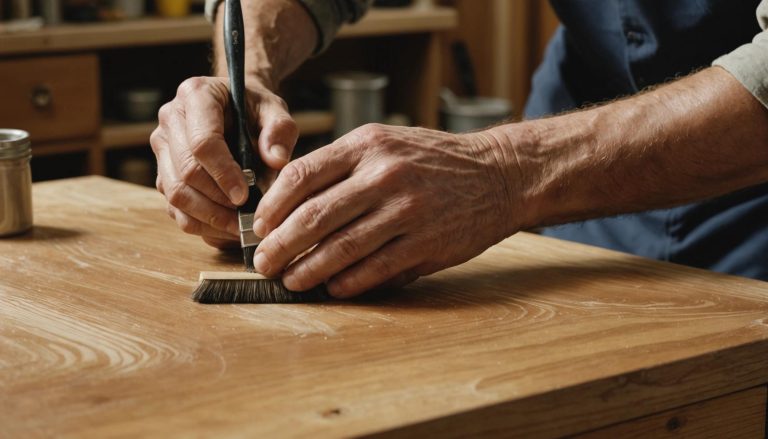
- Glaze application — A tinted glaze is brushed or wiped onto the surface.
- Wiping back — Excess glaze is removed, leaving color in the recesses and details.
- Drying time — The glaze cures before the topcoat goes on.
- Protective sealer — A clear topcoat (matte, satin, semi-gloss, or gloss) seals everything and sets the final SHEEN.
Types of Cabinet Glaze Sheen Levels Explained
Not all sheens are created equal. Each level reflects light differently — and each has its own personality. Let’s walk through the main options we work with.
Matte (Flat) Sheen
Matte finishes reflect almost NO light. They’re soft, understated, and perfect for a warm, cozy feel. Matte hides imperfections well (great for older cabinets) but can be a little harder to wipe clean in high-use kitchens.
Satin Sheen
Satin is the crowd favorite. It has a gentle, velvety glow — not too shiny, not too flat. It balances beauty and durability, which makes it a top pick for busy Houston households.
Semi-Gloss Sheen
Semi-gloss brings noticeable shine and reflects a good amount of light. It’s easy to clean and very durable, so it works beautifully in kitchens and bathrooms where moisture and spills happen daily.
High-Gloss Sheen
High-gloss is bold, dramatic, and mirror-like. It reflects the MOST light and makes a serious statement. The catch? It shows every fingerprint, drip, and surface flaw — so the prep work has to be flawless.
How to Choose the Right Sheen Level for Your Cabinets
Choosing a sheen isn’t just about looks — it’s about lifestyle. A family kitchen has different needs than a formal powder room. Before you commit, think about how the space is used, how much natural light it gets, and the overall style you’re chasing. We’ve helped homeowners across Houston match glaze sheens to everything from modern farmhouse to old-world elegance, and our guide to cabinet glaze finishes for different kitchen styles can help spark ideas.
Here’s a simple step-by-step way to narrow it down:
- Assess the room’s traffic. High-use kitchens benefit from satin or semi-gloss for easy cleaning.
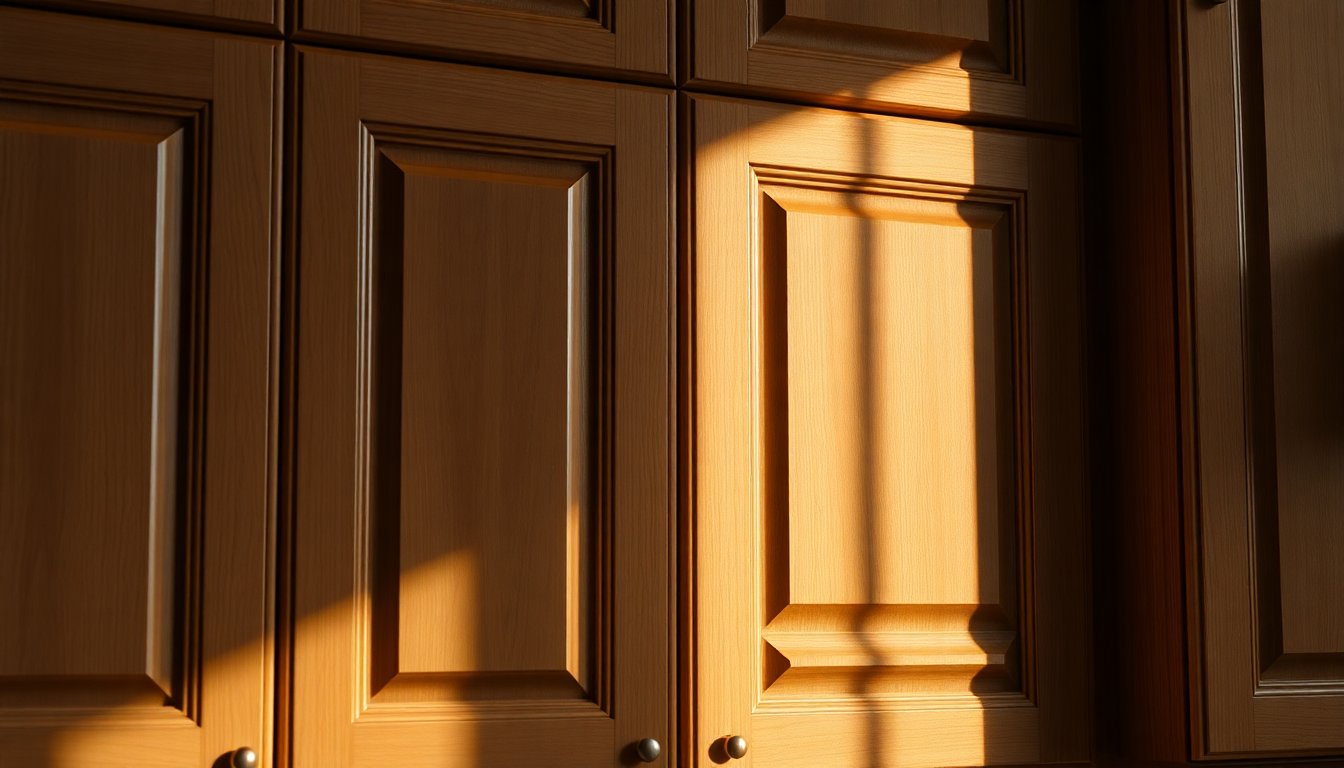
- Check the lighting. Bright rooms can handle matte; darker rooms shine with higher sheens.
- Consider your style. Traditional and antique looks love matte or satin, while modern spaces often go glossy.
- Think about maintenance. More shine = easier to wipe, but also more visible smudges.
- Review your cabinet condition. Older cabinets with flaws hide better under matte or satin.
- Test a sample. ALWAYS view a sample in your actual space before deciding.
Matte vs Satin vs Semi-Gloss vs High-Gloss Glaze Finishes
Sometimes it helps to see everything side by side. Each sheen has trade-offs between beauty, durability, and maintenance. Below is a quick comparison to help you visualize how these finishes stack up against one another — because the “best” one really depends on YOUR space and habits.
| Sheen Level | Light Reflection | Durability | Best For | Downside |
|---|---|---|---|---|
| Matte | Very low | Moderate | Cozy, traditional, antique looks | Harder to clean |
| Satin | Low-medium | High | Everyday kitchens (versatile) | Minor shine may show flaws |
| Semi-Gloss | Medium-high | Very high | Kitchens and bathrooms | Reflects some imperfections |
| High-Gloss | Very high | Very high | Modern, dramatic statements | Shows every flaw and smudge |
As a general rule — satin and semi-gloss are our most requested finishes because they hit that sweet spot between elegance and practicality. But if you want DRAMA, high-gloss delivers. And for warmth and softness, matte is unbeatable.
How to Apply Cabinet Glaze for a Consistent Sheen
Application is where the magic (or the mess) happens. A consistent sheen depends on careful technique, proper drying, and an even topcoat. Rushing any step can leave you with blotchy spots or uneven shine. If you want the full walkthrough, we cover the process in detail in our guide on applying cabinet glaze finishes — but here’s the core method we follow.
- Clean and prep thoroughly. Degrease every surface — glaze won’t stick to grime.
- Sand and prime. A smooth base coat is the foundation of an even sheen.
- Apply the base color. Let it fully cure before glazing (patience pays off here).
- Work in small sections. Brush or wipe glaze on one area at a time so it doesn’t dry unevenly.
- Wipe back consistently. Use the same pressure and motion across every door and drawer.
- Let it cure completely. Rushing the topcoat traps moisture and ruins the sheen.
- Apply a uniform topcoat. This is what LOCKS in your chosen sheen — apply thin, even layers.
- Add a second coat if needed. More coats deepen protection (and can boost gloss).
Consistency is EVERYTHING. The same product, the same tools, and the same technique on every piece is what separates a professional finish from a DIY headache.
Common Cabinet Glaze Finish Mistakes to Avoid
We’ve seen plenty of well-meaning projects go sideways. The good news? Most mistakes are completely avoidable once you know what to watch for. Here are the pitfalls that trip people up most often — and the ones we’re always careful to prevent on our own projects.
- Skipping prep work. Grease and dust ruin adhesion (and your finish).
- Applying glaze too thick. Heavy glaze looks muddy and uneven.
- Letting glaze dry before wiping. Work in small sections to stay in the “open window.”
- Inconsistent wiping pressure. This creates blotchy, uneven color.
- Choosing the wrong sheen for the room. High-gloss in a flawed kitchen = every imperfection on display.
- Rushing the topcoat. Cure times matter — don’t cut them short.
- Using mismatched products. Mixing incompatible glazes and topcoats can cause peeling or cloudiness.
- Not testing first. Always sample before committing to the whole project.
Conclusion
Cabinet glaze finishes are one of the easiest ways to add depth, character, and value to your home — and the SHEEN level you choose makes all the difference. Matte gives you softness. Satin offers versatility. Semi-gloss brings durability. And high-gloss delivers pure drama. The right choice comes down to your space, your lighting, and your lifestyle.
At Fargos Art, we specialize in custom cabinet glaze finishes throughout Houston — including River Oaks, Memorial, Tanglewood, Upper Kirby, West University Place, Bellaire, Katy, Spring Branch, and Sugar Land. If you’re ready to transform your cabinets with a flawless, hand-applied glaze finish, let’s create something beautiful together.