Best Way to Apply a Faux Glaze Finish to Cabinets (Expert Tips)
Are you eager to learn the best way to apply a faux glaze finish to cabinets and give your kitchen a stunning makeover? You’re in the right place! Here at Fargos Art, we’re passionate about transforming ordinary cabinets into extraordinary works of art with the finest faux glaze finishes. With our expertise in cabinet glaze finishes and antique glaze cabinet refinishing, you can trust us to guide you through the best techniques for the most dazzling results.
In this article, we’ll walk you through every essential step of the process—from the materials you’ll need to the expert techniques we recommend, how to achieve different effects, and even common pitfalls to avoid. Whether you’re a DIY enthusiast or just exploring your options before calling in the pros, read on to discover how easy and rewarding it is to apply a faux glaze finish to your cabinets and elevate the look of your space!
What Materials and Tools Are Needed for Applying Faux Glaze to Cabinets?
To successfully apply a faux glaze finish to cabinets, having the right materials and tools is essential. The process requires precision, so gathering everything beforehand ensures a smoother application. Whether you’re a DIY enthusiast or a professional, these supplies will help you achieve the desired look.
- Glazing Medium: The key ingredient for creating a faux glaze effect. Choose a high-quality medium that complements your cabinet’s paint.
- Paint brushes and Rollers: Various sizes are necessary for different areas. Use quality brushes for detailed work and rollers for larger surfaces.
- Painter’s Tape: Protects areas that should not be glazed. Essential for clean lines and edge protection.
- Sponge or Lint-Free Cloth: Ideal for softening or wiping away excess glaze, giving the surface a smooth finish.
- Drop Cloth: Protects floors and surrounding areas from drips and spills, keeping the workspace tidy.
- Mixing Containers: Use separate containers for mixing glaze with paint to achieve your desired color tone.
- Sandpaper: Fine-grit sandpaper for prepping the surface and ensuring paint adhesion.
- Protective Gear: Include gloves and masks to protect against fumes and skin contact with materials.
- Stir Sticks: Handy for thoroughly mixing paints and glazing mediums, ensuring a consistent color application.
- Sealant: A clear coat or varnish to protect the finish once the glaze has dried, extending the life of your work.
Having these tools and materials on hand will prepare you for a seamless and efficient faux glazing process. For maintaining your cabinets post-application, consider learning about the best way to clean glazed cabinets. Next, we’ll cover how to prepare your cabinets for glaze application.
How Do I Prepare Cabinets Before Applying a Faux Glaze Finish?
Preparing your cabinets is a CRUCIAL first step before applying any faux glaze finish. Proper preparation ensures the glaze adheres well and the final result is stunning. Here’s a straightforward guide to help you prepare your cabinets like a pro.
- Remove all hardware: Take off cabinet doors, knobs, and handles. This allows you to work on a flat surface and ensures even coverage.
- Clean the surfaces: Use a gentle cleanser or a mix of dish soap and warm water to remove grease, dirt, and grime. This is important for a smooth finish.
- Sand the cabinets: Lightly sand the surfaces to create a texture for the glaze to grip. Use a fine-grit sandpaper for best results.
- Repair any damage: Check for dents or scratches. Use wood filler to patch any imperfections, and sand smooth once dry.
- Prime the surfaces: Apply a quality primer to ensure the glaze adheres properly. Allow it to dry completely before moving on.
- Cover surrounding areas: Use painter’s tape to protect surrounding walls or surfaces from any potential splatters.
- Ensure proper ventilation: Work in a well-ventilated area or open windows to safely manage fumes from cleaning products and primer.
With preparation complete, you’re ready to move on to applying the faux glaze technique. Up next, we will dive into the specific techniques to get that perfect finish. For additional insights, explore how cabinet glaze finishes can be applied to painted cabinets.
What Technique Should I Use to Apply the Faux Glaze Finish for Best Results?
Applying a faux glaze finish can transform your cabinets, giving them a unique and sophisticated look. Here’s how to achieve the best results.
Choosing the Right Brush and Application Method
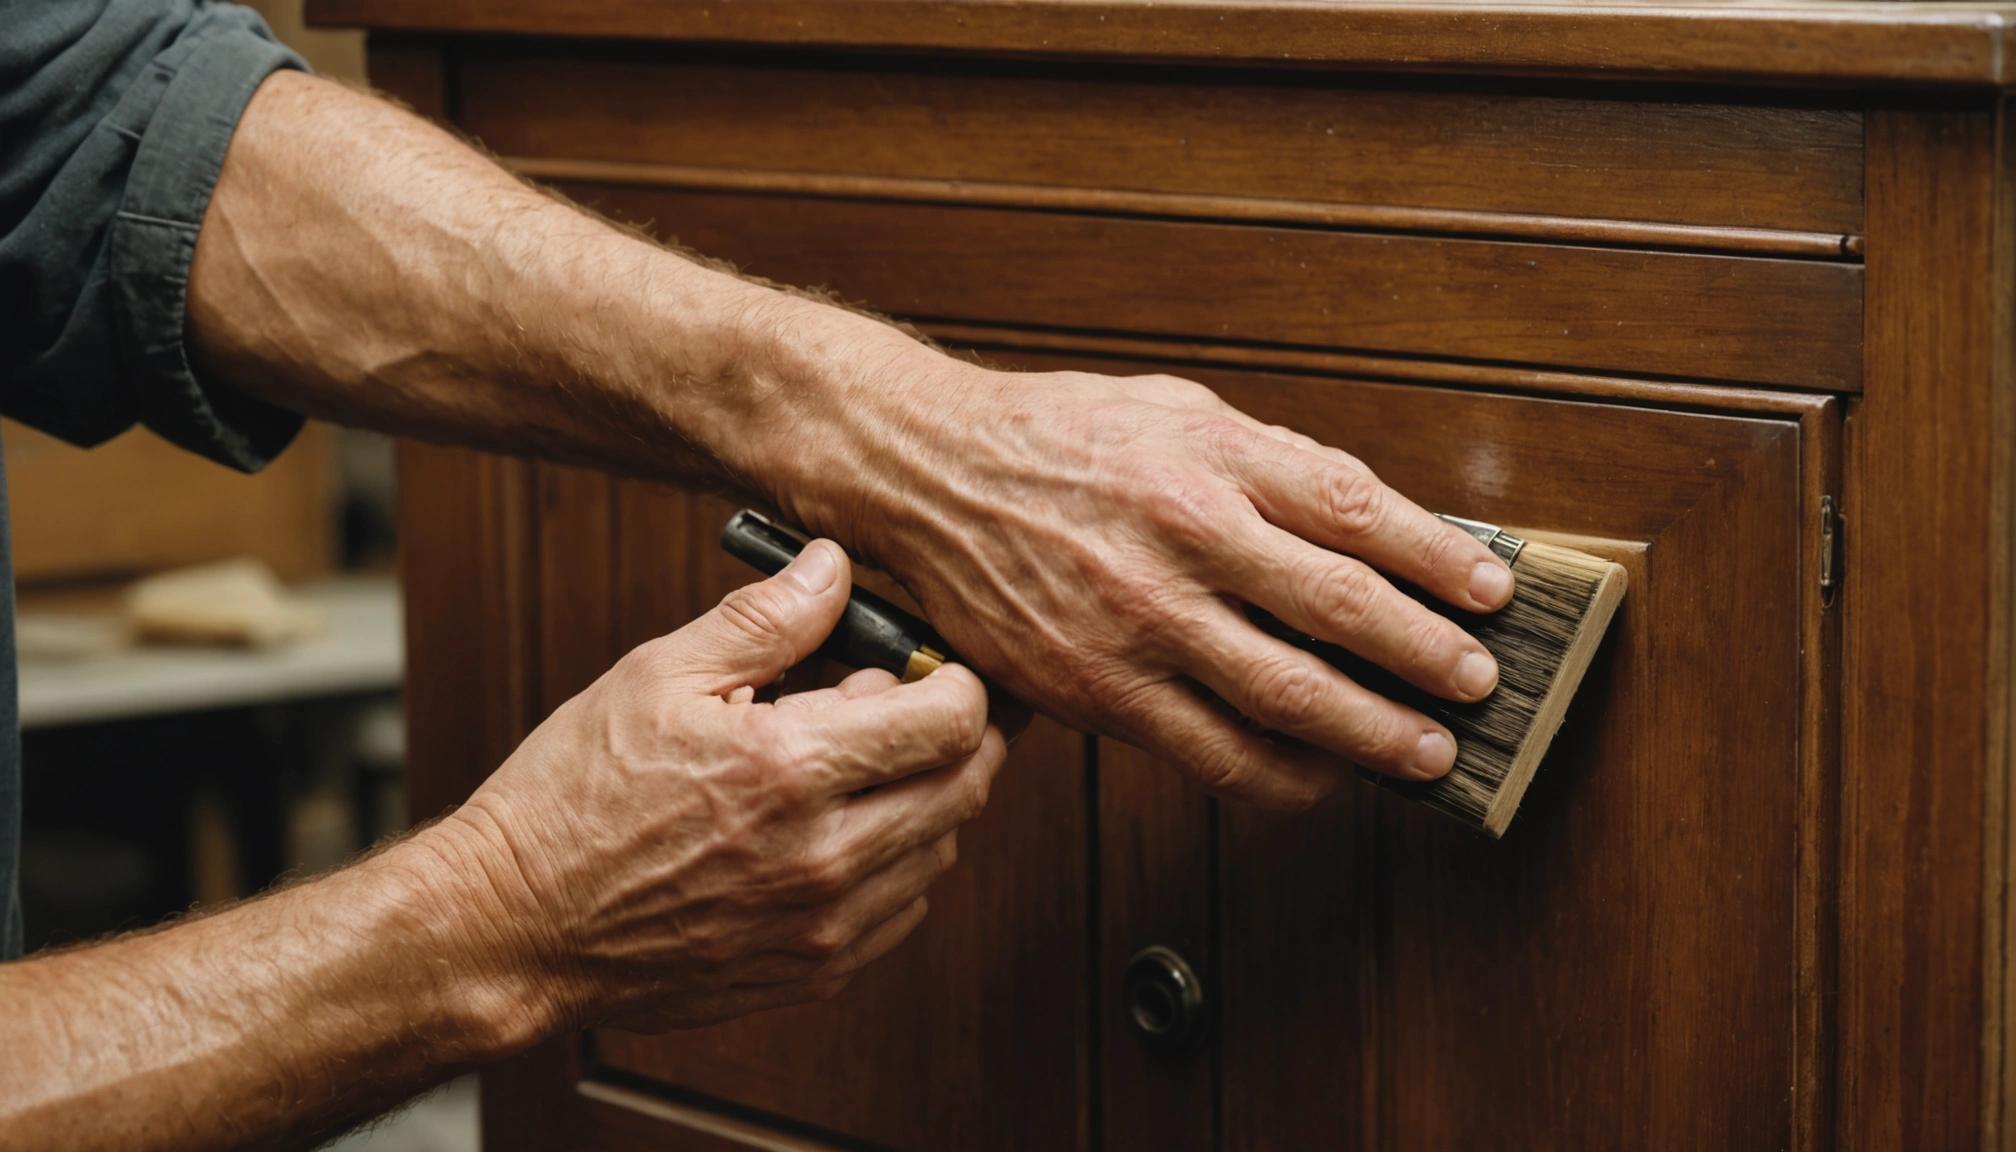
The right brush makes all the difference. A quality natural bristle brush offers better control over the glaze application. Start by dipping the brush lightly—just enough to cover the tips.
Apply the glaze in thin, even strokes. Don’t rush. Work on small sections, focusing on achieving an even coating without heavy buildup.
Using Sponges for Unique Textures
For a distinct texture, consider using a sponge. This can create a dappled or mottled effect that adds depth. Simply dab the sponge into the glaze (squeezing out any excess) and then tap it gently onto the surface. For more inspiration, explore different sponge techniques and ideas.
Experiment with different sponge patterns and pressures for various looks. Remember, PRACTICE the technique on a scrap piece before committing to the cabinets.
Incorporating Rags or Cloths for a Soft Finish
Want a softer, more subtle finish? Rags or soft cloths can do the trick. Apply the glaze with a brush, then use a clean rag to gently rub or blot the surface.
This method blends the glaze seamlessly into the paint, creating a naturally aged or antiqued appearance. Adjust the pressure for lighter or darker effects.
Blending Techniques for Customization
Don’t be afraid to mix techniques. Combining brush strokes with sponge or rag applications can yield unique, custom results.
Each method adds its own character, allowing you to tailor the finish to your taste. Take your time testing combinations until you achieve the desired look.
With these techniques, your cabinets will boast a stunning faux glaze finish—sure to impress and enhance your space.
How Can I Achieve Different Faux Glaze Effects on Cabinets?
Applying a faux glaze finish to your cabinets can dramatically change their look and feel, adding depth and character without the need for a complete overhaul. Each technique offers a unique effect, giving you the creativity to tailor the cabinets to your desired aesthetic. Here are some popular methods to achieve various faux glaze effects:
- Antiquing Glaze: This method gives cabinets a weathered, vintage look. To achieve this, apply a darker glaze over a lighter-colored base and then wipe it back, focusing on the recessed areas.
- Color Washing: Perfect for adding subtle color variations and an aged patina. Mix glaze with your paint choice and apply it thinly, allowing the base color to show through.
- Distressed Look: Achieve a rustic, worn-in style by sanding the edges and corners after glazing. This method reveals the base coat beneath, creating a distressed appearance.
- Marbling Effect: Use a combination of glazes in complementary colors to mimic the natural veining found in marble. Feathering and swirling techniques help in creating this realistic marble look.
- Strié: This technique involves using a brush to drag the glaze across the cabinet surface, creating a striped or striated effect that adds texture and dimension.
- Crackling: For those who prefer a more dramatic finish, crackle glaze can create a texture reminiscent of aged, cracked paint. Apply the crackle medium between two coats for the effect.
Each technique requires practice—so don’t rush! Experiment on scrap materials until you feel confident (and enjoy the process). For more insights and inspiration, explore various cabinet glaze finishes. Up next, we’ll cover common mistakes to avoid, ensuring your glazing project is a success.
What Are Common Mistakes to Avoid When Applying a Faux Glaze Finish?
Creating a stunning faux glaze finish requires attention to detail and the right techniques. Unfortunately, some common mistakes can lead to less-than-ideal results. Being aware of these pitfalls will help you achieve that professional look with ease!
Skipping Surface Preparation
One major mistake is skipping the crucial step of preparing your cabinets. A dirty or uneven surface can ruin the glaze finish. Always clean and sand your cabinets thoroughly before applying glaze.
Using the Wrong Tools
The tools you choose make a big difference. Using sub-par brushes or rollers can result in streaks or uneven coverage. Invest in high-quality tools designed for glazing techniques.
Applying Too Much Glaze
More is not always better. Applying too much glaze can lead to a thick, blotchy appearance. Use a light hand when applying glaze—better to build it up gradually if needed.
Rushing the Process
Patience is key! Rushing through the glazing process can lead to mistakes and poor finish results. Take your time to ensure each step is done correctly.
Not Following Manufacturer’s Instructions
Every glaze product can have specific requirements. Failing to follow the manufacturer’s instructions can lead to subpar results or even damage to the cabinets. Always read and adhere to the guidelines provided. For those interested in antique glaze techniques, explore more about antique glaze cabinet refinishing to enhance your project’s outcome.
Up next, we’ll delve into the different glaze effects you can achieve and how to customize them for unique cabinet styles.
How Do I Properly Seal and Maintain Cabinets After Applying a Faux Glaze?
After you’ve achieved that stunning faux glaze finish on your cabinets, proper sealing and maintenance are CRUCIAL to preserve its beauty. Sealing not only protects the finish from wear and tear but also makes cleaning easier. Here’s how to do it right:
- Choose the Right Sealer: Opt for a high-quality polyurethane or clear acrylic sealer. These sealers are durable and will protect the glazed surface effectively.
- Apply with Care: Use a high-quality brush or a foam applicator to apply the sealer evenly across all surfaces. Be sure to cover every nook and cranny to ensure full protection.
- Follow Proper Drying Times: Allow the sealer to dry completely according to the manufacturer’s instructions. This usually means letting it cure for 24-48 hours.
- Sand Between Coats: For a smoother finish, lightly sand the surfaces between coats with fine-grit sandpaper. Wipe away any dust from sanding before applying the next coat.
- Apply Multiple Coats: At least two to three coats are recommended for maximum durability. Make sure each coat is completely dry before applying another.
- Regular Cleaning: Maintain your cabinets by gently cleaning them with a damp cloth and mild detergent as needed. Avoid harsh cleaners that can damage the sealer.
- Address Damage Promptly: If you notice any chips or scratches, touch them up quickly to prevent further damage to the glaze and underlying wood.
Consistent maintenance will keep your cabinets looking fresh for years to come. By following these steps, you ensure that your beautiful faux glaze finish remains protected and vibrant. For more tips on achieving the perfect finish, explore cabinet glaze finishes available in West University Place, TX.
Conclusion
Transforming your cabinets with a faux glaze finish can significantly enhance the ambiance of your space, merging sophistication and style. By mastering expert techniques and applying a faux glaze, you bring a touch of artistry to your cabinetry, infusing your home with warmth and character. For those seeking professional help or detailed guidance, expert service providers like Fargos Art offer specialized services in cabinet glaze finishes that ensure impeccable results tailored to your tastes.
Located in Houston and serving surrounding areas such as River Oaks, Memorial, and more, Fargos Art prides itself on delivering quality artistry and attentive customer service. Whether you’re interested in a complete cabinet transformation or other accent finishes, reach out to us for a consultation. Contact Ileana Farias today at (832) 277-6757 or send an email to fargosartco@gmail.com. Experience the seamless blend of art and function as we bring your vision to life.