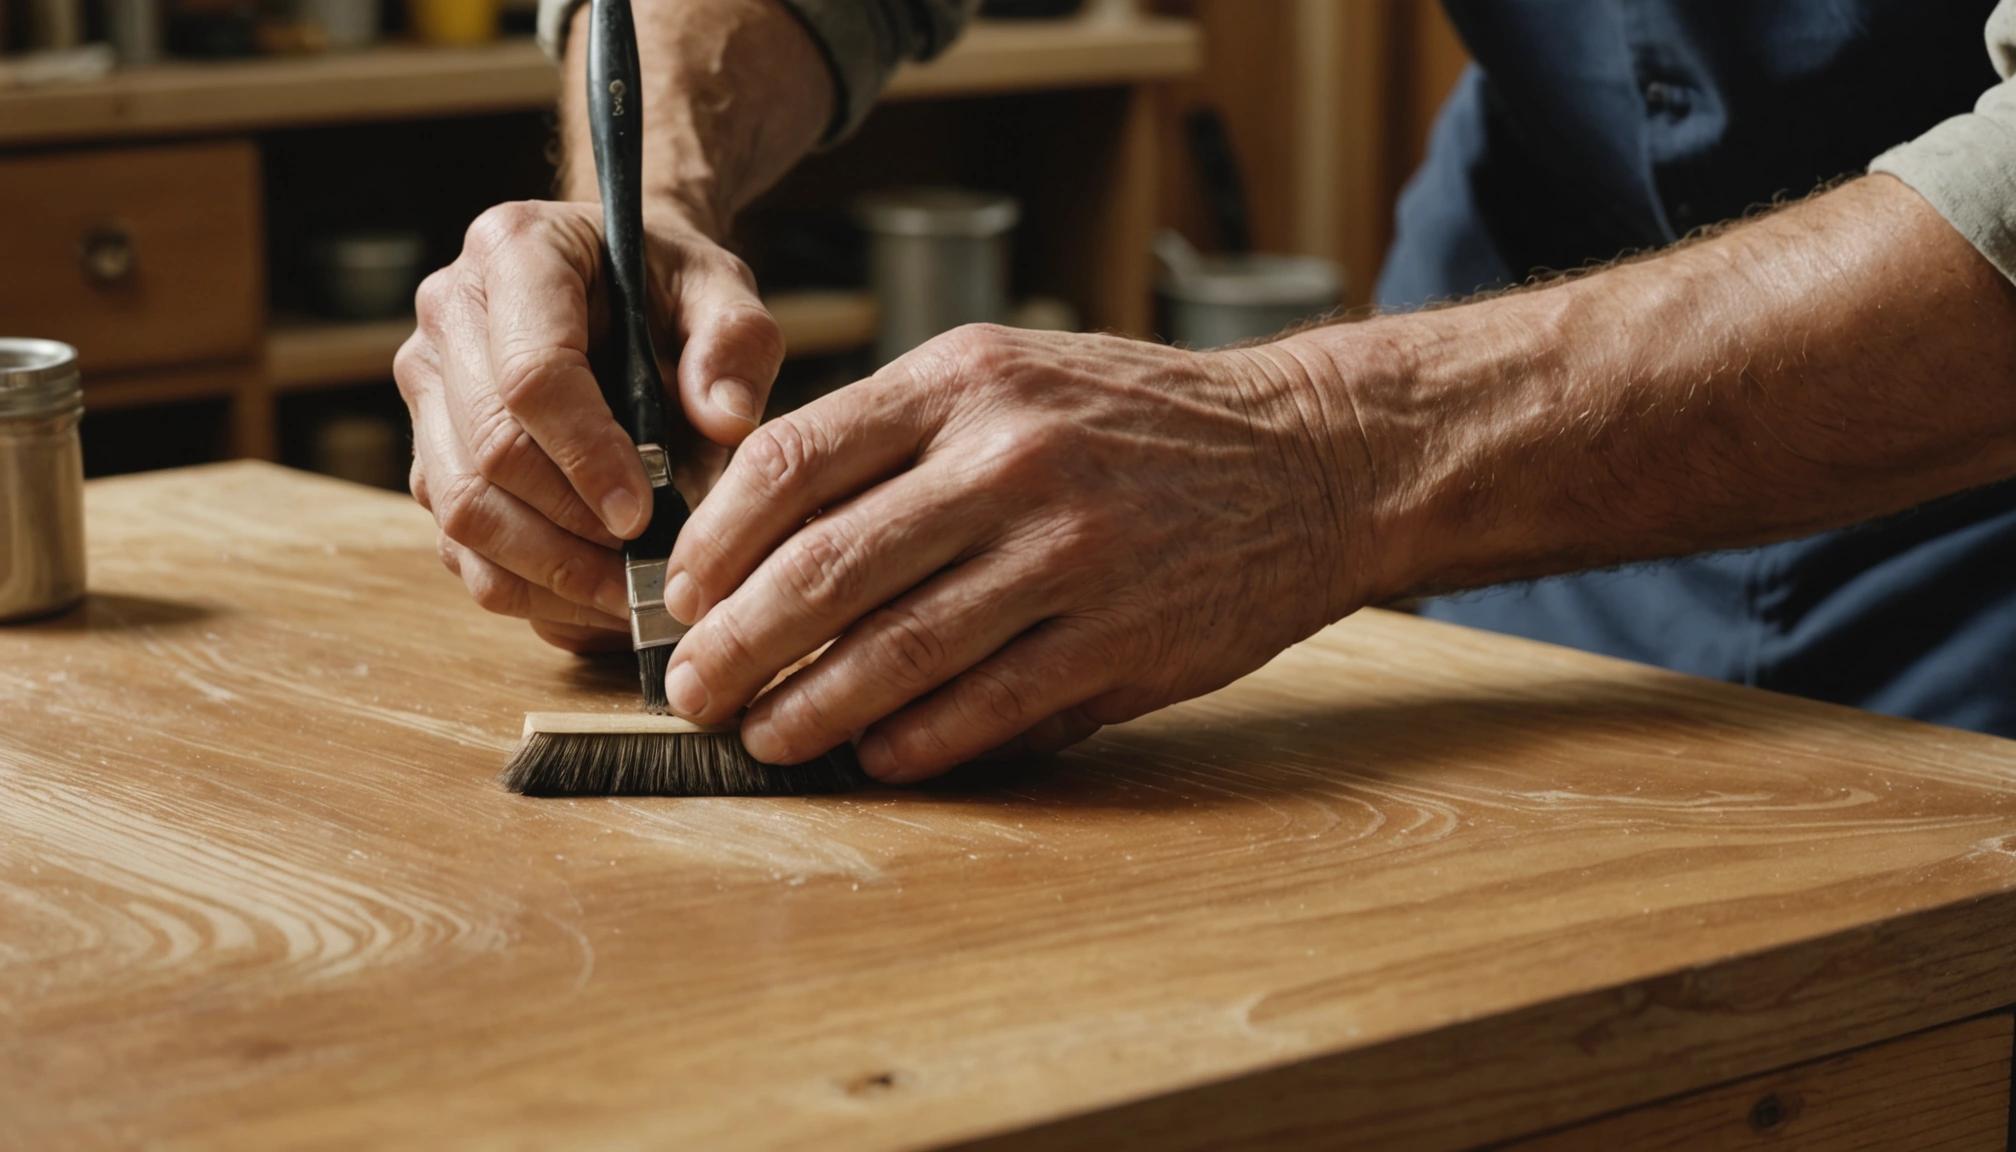
Best Techniques for Applying Cabinet Glaze Finishes (How-To Guide)
Ever wondered what the buzz is about cabinet glaze finishes and why they’re all the rage? At Fargos Art, we specialize in transforming your living spaces with our spectacular cabinet glazing techniques. Cabinet glaze finishes add depth, dimension, and a touch of elegance to your cabinetry, enhancing the aesthetic appeal of your home.
In this comprehensive guide, we will uncover the secrets behind choosing the perfect glaze, prepping your cabinets for the process, and expertly applying this beautiful finish. Stick around as we also highlight common pitfalls to avoid and share tips on caring for your newly glazed cabinets to ensure they remain stunning for years to come. Join us on this fun and creative journey to revamp your cabinets like a pro!
What Are Cabinet Glaze Finishes and Their Benefits?
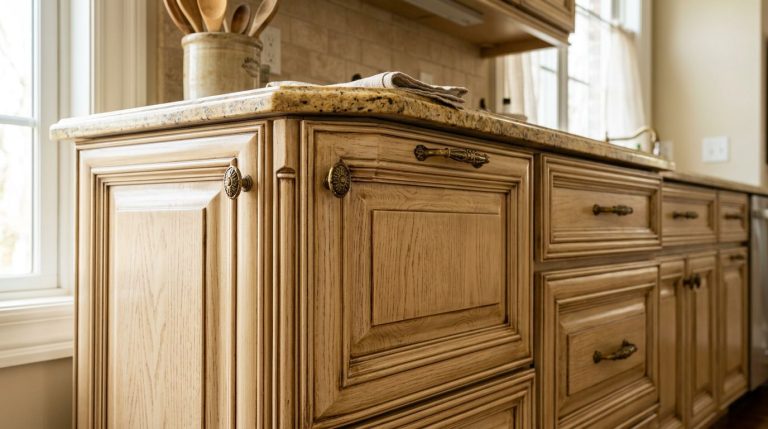
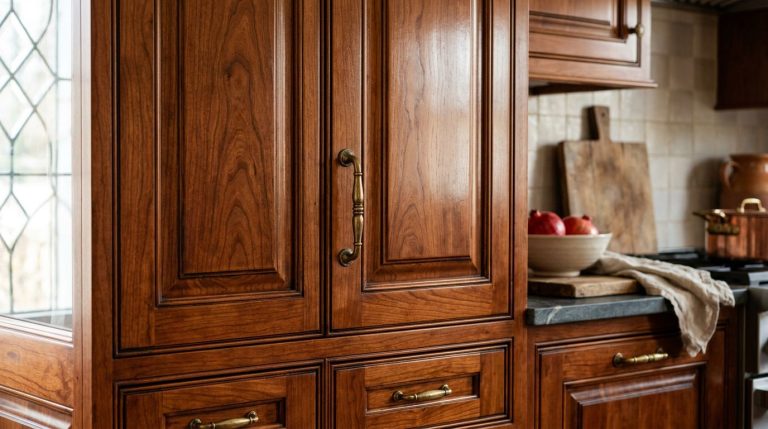
Cabinet glaze finishes introduce a beautiful, aged appearance to cabinetry, enhancing both depth and character. But what exactly are they?
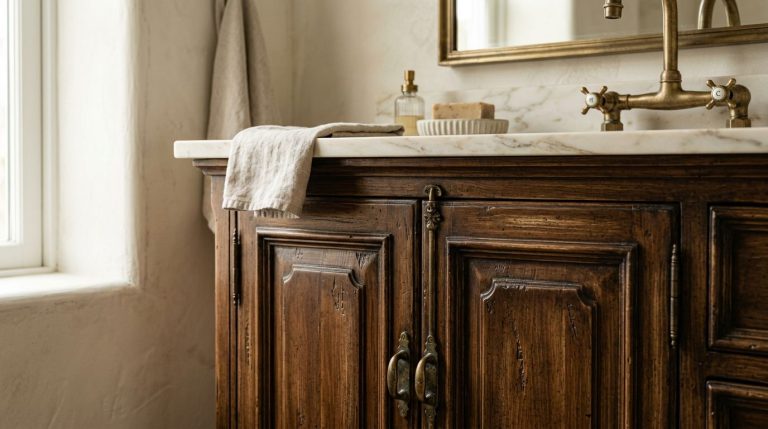
At their core, glaze finishes involve applying a semi-transparent color over cabinet surfaces. This overlay accentuates crevices and details, highlighting any grooves or intricate carvings. The result is a bespoke, hand-crafted look that’s simply unmatched.
So, why should you consider glaze finishes for your cabinets? For one, they bring a touch of elegance—transforming plain cabinets into focal points. It’s like giving your kitchen its own personality. Additionally, glazes provide a protective layer against dirt and grease, making cabinets easier to clean.
Whether you prefer a subtle sheen or an intricate antique effect, cabinet glazes offer versatility and sophistication to suit any home style. As the market evolves, these finishes continue to grow in popularity—not just for their aesthetic appeal, but also for their practicality. For more insights on how these finishes can be applied to painted cabinets, explore the detailed guide on applying cabinet glaze finishes to painted surfaces.
How to Choose the Right Glaze for Your Cabinets
Choosing the right glaze for your cabinets can elevate their appearance and add depth to your kitchen or bathroom spaces. It’s not just about picking a color—it’s about considering the overall look and feel you want to achieve. Here are some factors to consider when selecting a glaze:
- Cabinet Material: Some glazes work better on certain materials, like wood or MDF, so it’s crucial to consider the cabinet material before choosing a glaze.
- Color Compatibility: Think about how the glaze color complements the existing color palette of your room. A warm glaze can add richness, while a cool glaze can offer a sleek finish.
- Finish Type: Decide on the level of sheen you prefer. Matte glazes provide a subtle look, whereas glossy glazes make for a more dramatic finish.
- Project Goals: Consider if you’re looking to highlight natural wood patterns or create a more uniform look. Glazes can either enhance natural features or provide a new character to your cabinets.
- Application Ease: Some glazes are easier to work with than others. If you’re DIY-ing, opt for user-friendly options to ensure a smooth application process.
- Durability Needs: Evaluate how much wear and tear your cabinets will endure. Heavy-use areas might require more durable glaze options to withstand daily impacts.
With the right glaze, you can transform your cabinets from plain to eye-catching, adding character and style to your space. Up next, learn the necessary steps to prepare your cabinets for a perfect glaze application. For ongoing maintenance, discover the best way to clean glazed cabinets to keep them looking pristine.
Preparing Your Cabinets for Glazing: Essential Steps
Before diving into the glazing process, proper preparation of your cabinets is CRUCIAL. This step ensures that you achieve a professional finish and that the glaze adheres well. Preparation isn’t just about cleaning—it’s about setting the stage for a successful project. For more insights, explore our comprehensive guide on cabinet preparation techniques.
Here’s how you can prepare your cabinets before applying the glaze:
- Remove Cabinet Doors and Hardware: Take off all doors, knobs, and hinges. This makes it easier to apply the glaze evenly and avoid any unwanted streaks. Store hardware safely to prevent loss or damage.
- Clean the Surfaces Thoroughly: Use a mild detergent or degreaser to clean all surfaces. This step removes oils, dust, and grime that could affect the final finish.
- Sand the Wood Surfaces: Lightly sand the cabinets with fine-grit sandpaper. This creates a slightly rougher surface that helps the glaze stick better. Wipe off any dust with a damp cloth afterward.
- Tape Off Edges: Apply painter’s tape to protect areas you don’t want glazed—such as glass panels or edges adjoining walls.
- Apply a Primer (if needed): Depending on the wood type and glaze being used, you might need to apply a primer first. Check the glaze instructions to see if this step is necessary.
- Ensure Proper Ventilation: Make sure your workspace is well-ventilated to help the glaze dry properly and to avoid the build-up of fumes.
Proper preparation sets the tone for the entire glazing process. A little extra time spent here will pay off BIG in the long run with a stunning cabinet finish.
Step-by-Step Guide to Applying Cabinet Glaze Finishes
Applying a glaze finish to your cabinets can transform their appearance—adding depth and character. Whether you’re going for a distressed, antique look or something more modern, the glazing process is key. For those looking for professional results, consider exploring cabinet glaze finishes that are expertly applied.
Step 1: Gather Your Supplies
Make sure you’ve got everything ready before starting. You’ll need glaze, paintbrushes, a clean cloth, sandpaper, a paint tray, and painter’s tape. Having all your tools on hand streamlines the process.
Step 2: Prepare the Work Area
Lay down drop cloths to protect your floors. Remove cabinet doors, hardware, and hinges, placing them flat to ensure an even glaze application. Tape off edges to avoid unwanted glaze on other surfaces.
Step 3: Sand and Clean the Cabinets
Lightly sand the cabinet surfaces to aid glaze adherence. Clean thoroughly with a gentle cleanser to remove dust and residues. Dry completely before proceeding.
Step 4: Apply the Base Coat
If desired, paint a base coat on your cabinets (often white, cream, or a light color to make glaze effects pop). Allow it to dry fully before moving on to glazing.
Step 5: Mix and Apply the Glaze
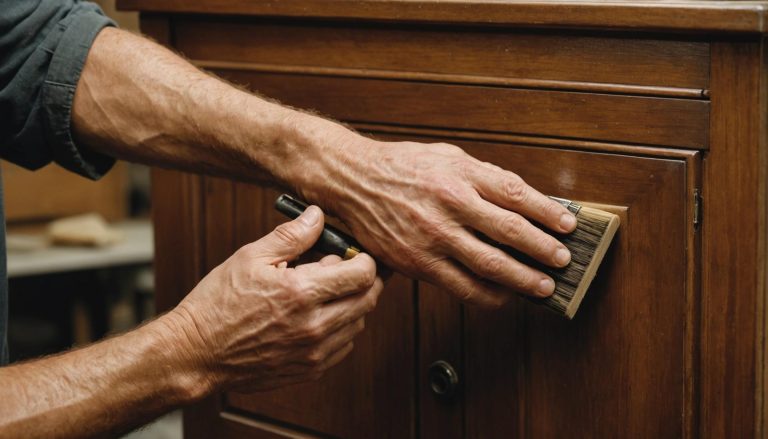
Stir your glaze well to ensure uniformity. Apply with a brush or cloth, working in small sections to prevent the glaze from drying too quickly.
Use circular or linear motions, depending on the desired effect. Don’t worry if you apply too much—you can always remove excess.
Step 6: Wipe and Blend
Use a clean, dry cloth to wipe off excess glaze before it dries. Varying the pressure can create different effects—light pressure for subtlety, heavier for boldness. Blend edges to achieve a natural look.
Step 7: Allow to Dry
Let the glaze dry completely. This may take several hours depending on the product used and environmental conditions. Be patient!
Step 8: Seal the Finish (Optional)
For extra protection and durability, apply a clear topcoat or sealer. This is particularly recommended for kitchen cabinets that endure frequent use and cleaning.
With these steps, your cabinets should have a stunning glaze finish that elevates any space! Next up, watch out for common pitfalls during the glazing process.
Common Mistakes to Avoid When Glazing Cabinets
When applying glaze finishes to cabinets, a flawless finish can be a showstopper—but there are some common pitfalls to avoid. Understanding these mistakes can save time and effort and lead to a more professional look.
Here’s a quick roundup of what NOT to do:
- Skipping Surface Prep: A clean, smooth surface is a must. Never apply glaze without thoroughly cleaning and sanding the cabinets first.
- Ignoring Test Swatches: Always test your glaze on an inconspicuous area before committing—colors can appear different once applied.
- Applying Too Much Glaze: Less is often more. Overloading your brush or rag can lead to uneven application and drips.
- Rushing the Drying Process: Allow plenty of drying time between coats—impatience can lead to smudges and smears.
- Certain Inconsistent Application Techniques: Stick with the same technique throughout to avoid a patchy look. Whether it’s brush strokes or wiping motions, consistency is key.
- Overlooking Temperature and Humidity: Room conditions matter. High humidity or temperature fluctuations can affect how glaze dries and adheres.
- Skipping Final Sealant: Protect your hard work! A final topcoat or sealant will preserve the finish and add durability.
By avoiding these common mistakes, you’ll achieve a beautiful, even glaze on your cabinets with lasting results. For more insights on achieving an antique glaze finish, consider exploring antique glaze cabinet refinishing techniques. Next, let’s dive into how to maintain and care for your newly glazed cabinets for long-lasting beauty.
How to Maintain and Care for Glazed Cabinets
Glazed cabinets can bring elegance and sophistication to your kitchen or bathroom. However, to keep them looking their best, regular maintenance is necessary. Here, we’ll cover essential tips to ensure your glazed cabinets remain pristine and continue to add charm to your space.
Routine Cleaning Tips
Routine cleaning is essential to prevent dust and grime from affecting the glaze. Use a soft, damp cloth to wipe the surface gently. Avoid harsh chemicals—these can damage the glaze! Instead, opt for a mild detergent or specialized cabinet cleaner if needed.
Protecting the Cabinet Finish
Protect your cabinets from damage by being mindful of their surroundings. Avoid direct sunlight, which can cause fading over time, and be cautious with heat sources and humidity. Using curtains or blinds can help shield cabinets from intense sunlight.
Dealing with Spills and Stains
Quickly address spills to avoid stains on the glaze. Wipe spills immediately with a dry cloth to prevent moisture damage. For tougher stains, a mixture of baking soda and water can be applied with a soft cloth—gently rub in circular motions.
Polishing for Longevity
Occasionally, it’s good to polish your glazed cabinets. This helps maintain their shine and protect the finish. Choose a non-abrasive polish designed for wooden surfaces, applying it sparingly and wiping off any excess. For more information on maintaining cabinet finishes, explore the various cabinet glaze finishes available.
By adhering to these maintenance tips, your glazed cabinets will remain a standout feature, with their stunning finish preserved for years to come. Up next, we’ll dive into common pitfalls to avoid during the glazing process, ensuring your DIY efforts are a success.
Conclusion
Applying a cabinet glaze finish can transform the look of your kitchen or bathroom, adding depth and character to your cabinetry. By mastering these techniques, you can achieve a beautifully aged appearance that enhances the aesthetic of your space while protecting and enriching the wood. Whether you’re a DIY enthusiast or prefer a professional touch, utilizing these methods will ensure a high-quality finish that highlights your home’s unique style.
For those looking to achieve impeccable cabinet glaze finishes, consider reaching out to Fargos Art, where expertise meets creativity. Our skilled team, led by Ileana Farias, offers a range of services including Cabinet Glaze Finishes, Antique Glaze Cabinet Refinishing, and more to clients across Houston and surrounding areas such as River Oaks, Memorial, and Katy. Contact us today for a personalized consultation at (832) 277-6757 or via email at fargosartco@gmail.com. Let us help you bring your vision to life with our custom finishes and artistic flair.