Signs Cabinets Need Antique Glaze Refinishing (Expert Guide)
Antique glaze cabinet refinishing is one of those finishes that quietly makes a kitchen feel timeless — until it doesn’t. Over time, that rich, hand-applied glaze can fade, chip, or start looking cloudy. And when it does, your cabinets can go from “elegant heirloom” to “tired and dated” almost overnight.
At Fargos Art in Houston, we’ve spent years restoring and refinishing glazed cabinetry across River Oaks, Memorial, Tanglewood, and beyond. In this expert guide, we’ll walk you through the telltale signs your cabinets need antique glaze refinishing — plus how to tell wear from damage, what causes the breakdown, and what the whole process costs. Let’s dig in.
What Is Antique Glaze Refinishing for Cabinets
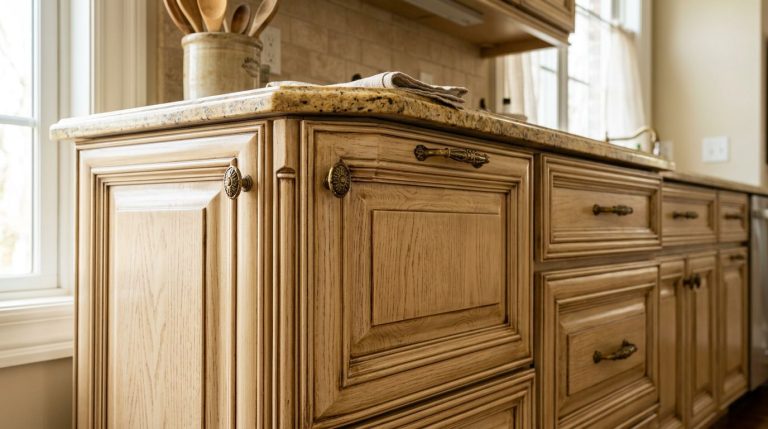
Antique glaze refinishing is a decorative finishing technique that adds depth, warmth, and an aged look to your cabinets. It’s not just paint — it’s an ARTISTIC layering process. A tinted glaze is applied over a base coat, then wiped, brushed, or manipulated to settle into corners, grooves, and details. The result? Cabinets that look rich, dimensional, and (yes) beautifully “antiqued.”
Refinishing means we restore or completely renew that glaze when it starts to wear down. Sometimes that’s a light touch-up. Other times it’s a full strip-and-reapply. Here’s what antique glaze refinishing typically involves:
- Cleaning and prep — removing grease, grime, and old sealers
- Repairing surface damage — filling chips, sanding rough spots
- Reapplying the base coat when needed for even color
- Hand-applying fresh glaze to restore that layered, aged depth
- Sealing with a protective topcoat to lock everything in
Done right, refinishing brings back the character that made you love those cabinets in the first place. If you’re curious about the full workflow, we break down our detailed antique glaze cabinet refinishing process so you know exactly what to expect.
Common Signs Your Cabinets Need Antique Glaze Refinishing
Not sure if it’s time? Cabinets tend to send clear signals when the glaze is failing. Here are the most common ones we see.
1. The Glaze Looks Faded or Washed Out
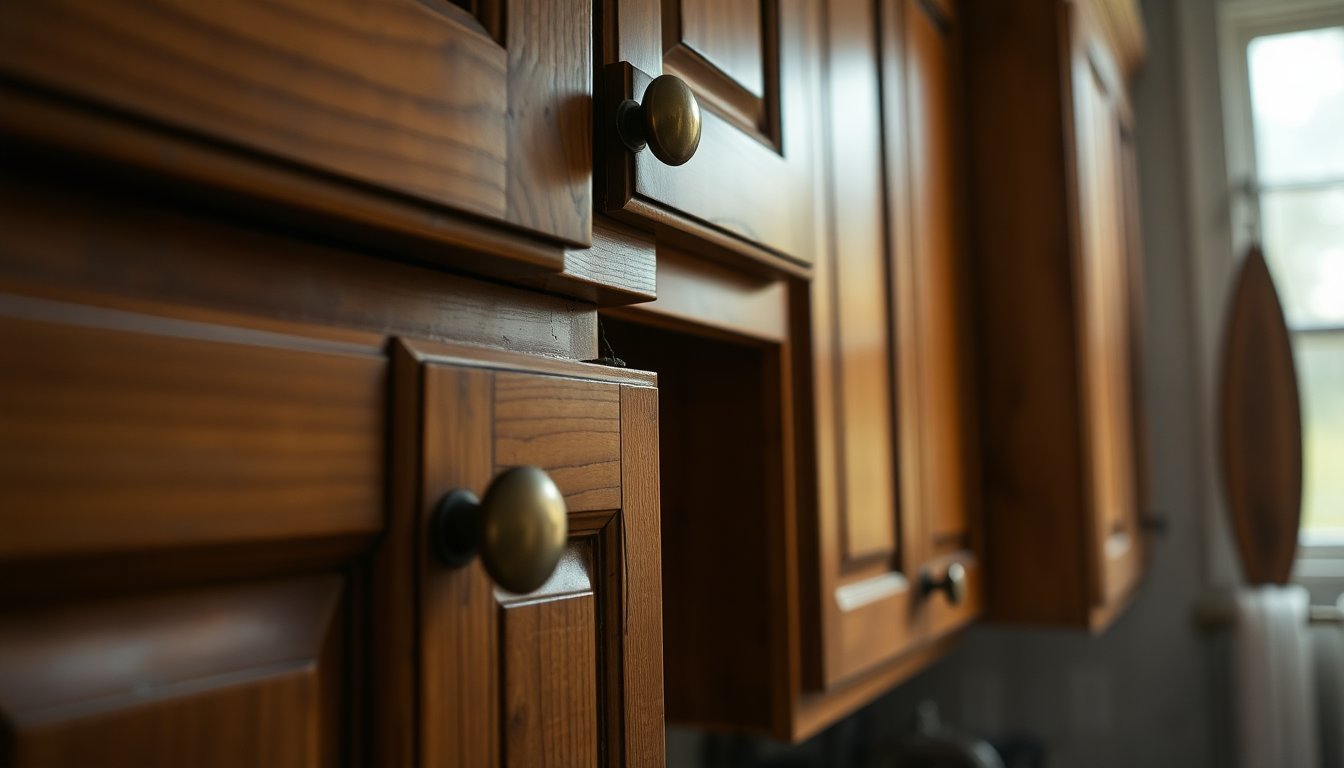
That deep, warm tone that once made your cabinets glow? If it’s looking flat and pale, the glaze has likely oxidized. Sunlight and daily cleaning slowly strip away pigment — and once the color goes, so does the character.
2. Cloudy or Milky Patches
A hazy, cloudy film usually means the topcoat is breaking down. Moisture can also get trapped under the sealer, creating a milky look. It’s not dirt (trust us — scrubbing won’t fix it).
3. Chipping and Peeling
Chips near handles, edges, and corners are a dead giveaway. Once the glaze starts peeling, it exposes the base coat underneath — which then wears even faster. This one spreads if ignored.
4. Sticky or Tacky Surfaces
If your cabinet doors feel gummy to the touch, the finish is degrading. This often happens when older sealers react to heat, humidity, or cleaning chemicals. Not fun — and not something a wipe-down solves.
5. Uneven Color or Blotchy Spots
High-touch areas (think the sink cabinet or the trash pull-out) wear faster. When one spot looks noticeably lighter than the rest, the glaze has thinned unevenly.
6. Visible Water Rings or Stains
Water damage leaves dark rings or discoloration — especially around the dishwasher, sink, and coffee station. Once moisture penetrates the finish, refinishing is the only real fix.
7. The Cabinets Just Look “Dated”
Sometimes there’s no obvious damage — the style just feels tired. A fresh glaze can update the tone, add drama, or soften a room without a full replacement. HUGE difference for a fraction of the cost.
How to Tell the Difference Between Wear and Damage
Here’s where a lot of homeowners get confused. Not every scuff means your cabinets need a full refinish — and not every “small” issue is harmless. The trick is knowing whether you’re dealing with cosmetic WEAR or structural DAMAGE.
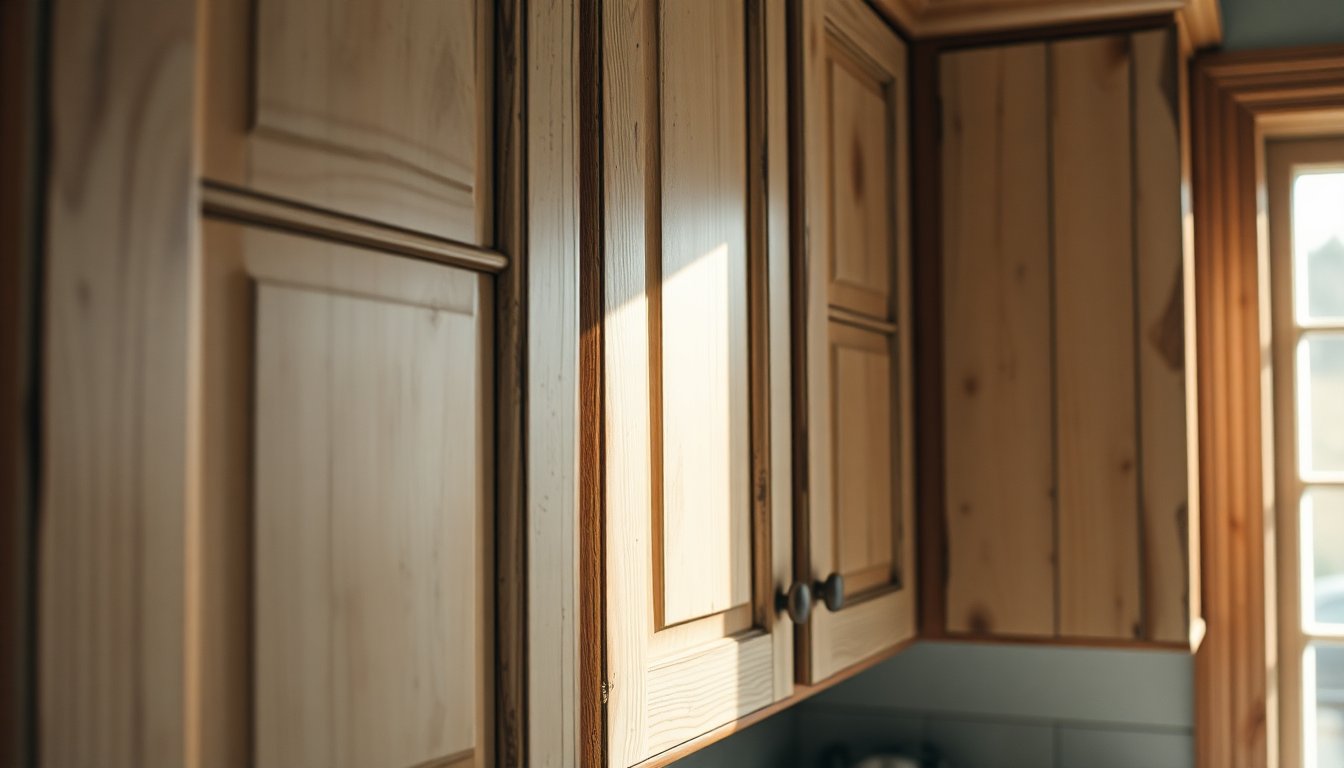
Wear is surface-level. It’s the natural result of daily use — a little dulling, some minor thinning of the glaze, light scratches. Damage goes deeper. It compromises the finish’s ability to protect the wood underneath, and it tends to get worse fast. Use this quick breakdown:
- Wear: Slight fading, minor scratches, dull sheen, light thinning at handles
- Wear: Cosmetic dullness that improves with a good cleaning
- Damage: Peeling, cracking, or flaking glaze
- Damage: Water stains, warping, or soft spots in the wood
- Damage: Sticky or bubbling topcoats
- Damage: Bare wood showing through the finish
Rule of thumb: if the wood is exposed or moisture is getting in, it’s DAMAGE — and that needs attention soon. For homeowners who want to understand the repair path themselves, our step-by-step guide to refinishing glazed cabinets lays out how each issue gets addressed.
Factors That Cause Antique Glaze to Deteriorate
Understanding WHY glaze breaks down helps you slow it down. Here in Houston, a few culprits show up again and again.
Humidity and Moisture
Houston is HUMID — no surprise there. Constant moisture in the air stresses finishes, softens topcoats, and encourages that cloudy, milky look. Kitchens and bathrooms are hit hardest.
Grease and Cooking Residue
Cabinets near the stove take a beating. Airborne grease builds up, dulls the glaze, and reacts with cleaning products over time. That sticky feeling? Often grease plus a failing sealer.
Harsh Cleaning Products
This is a BIG one. Ammonia, bleach, and abrasive cleaners strip glaze fast. Even “gentle” all-purpose sprays can break down protective coats with repeated use. Gentle soap and water is almost always the safer bet.
Sun Exposure
UV rays fade pigment — plain and simple. Cabinets near big windows (very common in Memorial and River Oaks homes) will fade unevenly, especially the doors that catch direct afternoon light.
Age of the Original Finish
Even the best glaze doesn’t last forever. Older sealers yellow, crack, and lose their grip. If your cabinets were finished 10-15+ years ago, natural aging alone may be the issue.
Everyday Wear and Tear
Fingers, rings, oils from hands, opening and closing hundreds of times a week — it all adds up. High-traffic doors and drawers simply wear faster than the rest.
DIY vs Professional Antique Glaze Refinishing
We get it — the DIY route is tempting. There are tutorials everywhere, and a fresh glaze LOOKS simple enough. But antique glazing is a technique-heavy process, and small mistakes show BIG. Blotchy glaze, uneven wiping, drips in the corners — these are hard to hide once the topcoat goes on.
DIY can work for very small touch-ups or a low-stakes piece of furniture. For a full kitchen (or a home you love), professional refinishing protects your investment. Here’s how the two approaches really compare:
- Skill and technique — Glazing requires a practiced hand. Pros know how to layer, wipe, and blend for that seamless aged look. DIY often results in visible streaks.
- Prep work — Professionals properly clean, degrease, and prep surfaces so the finish actually LASTS. Skipped prep is the #1 reason DIY jobs fail early.
- Color matching — Matching an existing glaze tone is tricky. Experts custom-mix to blend old and new without obvious lines.
- Durability — Pro-grade sealers and application methods stand up to Houston humidity far better than store-bought kits.
- Time and mess — A full refinish is labor-intensive. Pros do it faster, cleaner, and with proper ventilation and dust control.
- Long-term value — A professional finish looks better AND lasts longer, which saves money down the road.
Whichever route you choose, upkeep matters. We share simple maintenance habits in our antique glaze cabinet care tips so your finish stays gorgeous for years, not months.
How Much Does Antique Glaze Cabinet Refinishing Cost
Cost is the question everyone asks — and honestly, it varies. Pricing depends on the size of your kitchen, the condition of the existing finish, and how much repair work is needed before glazing even begins. A light refresh costs far less than a full strip-and-reglaze.
To give you a realistic sense, here are the main factors that shape the final price:
- Number of cabinets — More doors and drawers means more surface area (and more hand-glazing time)
- Condition of the current finish — Heavy damage or peeling requires extra prep and repair
- Type of glaze and finish — Custom colors, multiple layers, or specialty sealers add cost
- Repairs needed — Filling chips, fixing water damage, or replacing hardware
- Level of detail — Ornate cabinetry with heavy molding takes more time to glaze properly
- Accessibility — Tall cabinets, tight kitchens, or difficult layouts affect labor
Here’s a general breakdown to help set expectations:
| Project Type | What’s Involved | Relative Cost |
|---|---|---|
| Light Refresh | Cleaning, touch-ups, re-glaze on minor areas | $ (Lowest) |
| Standard Refinish | Full re-glaze plus new topcoat, moderate prep | $$ (Mid-range) |
| Full Restoration | Strip, repair, re-base, re-glaze, seal | $$$ (Highest) |
The good news? Refinishing is DRAMATICALLY cheaper than replacing cabinets — often a fraction of the price. And because it’s a decorative finish, you also get to refresh the LOOK, not just the durability. Great value for Houston homes in Tanglewood, Upper Kirby, West University Place, Bellaire, Katy, Spring Branch, and Sugar Land.
Conclusion
Antique glaze finishes are beautiful — but they don’t last forever. Watch for the warning signs: fading, cloudiness, chipping, sticky surfaces, and water stains. Knowing the difference between simple wear and real damage helps you act at the RIGHT time (before a small issue becomes an expensive one).
While DIY has its place, professional refinishing delivers the durability, color matching, and flawless finish that a home you love deserves — especially in Houston’s humid climate. At Fargos Art, we’d love to help you bring those cabinets back to life. If your cabinets are showing any of these signs, it may be time to schedule a refinishing consultation and rediscover what made you fall for them in the first place.