DIY Cabinet Glazing: Expert Tips (For Home Projects)
Have you ever thought about giving your cabinets a fresh, eye-catching look without breaking the bank? DIY cabinet glazing might just be the perfect solution for your home projects! At Fargos Art in Houston, we understand the transformative power of a well-done cabinet glaze. With our expert tips, you’ll soon discover why this popular DIY trend is a favorite among homeowners looking to revamp their space with style.
In this article, we’ll guide you through the ins and outs of cabinet glazing, from choosing the right glaze to the tools you’ll need, and step-by-step instructions that make the process a breeze. Plus, we’ll highlight common mistakes to avoid and how to care for your newly glazed cabinets. Join us on this creative journey and let’s bring some artistic flair to your home together!
What is Cabinet Glazing and Why is it Popular in DIY Projects?
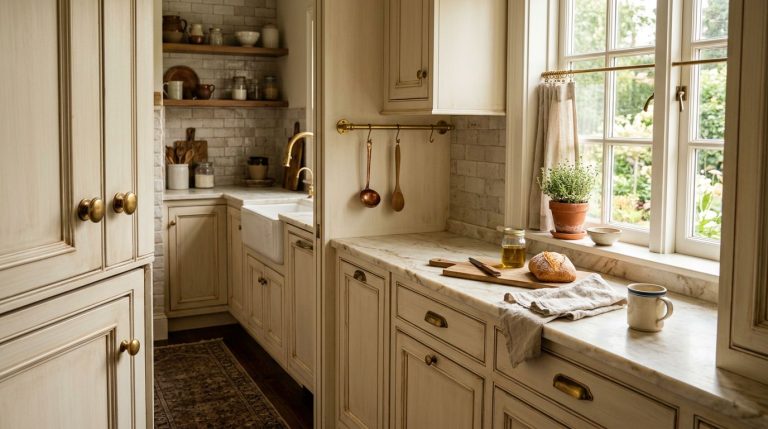
Cabinet glazing is a technique that involves applying a semi-transparent glaze over painted or stained cabinets. This added layer not only enhances the aesthetic of the cabinetry by bringing out their depth and detail, but also offers a vintage or antique charm. It’s a way to give cabinets character and a custom finish that stands out.
The popularity of glazing in DIY projects has soared—primarily because it’s a relatively simple way to give old or plain cabinets a sophisticated upgrade without a complete replacement. Here’s why many DIY enthusiasts are drawn to it:
- Aesthetic Appeal: Adds complexity and richness to cabinets, creating an aged or high-end look.
- Cost-Effective: A budget-friendly option to refresh kitchen or bathroom spaces without extensive renovations.
- Customizable: Allows endless creative possibilities as you can mix and match different glaze colors and techniques.
- Protective Layer: Provides an extra layer of protection to the cabinet surfaces, helping to seal paint or stain.
- Beginner-Friendly: Suitable for DIYers of all skill levels—requires basic tools and can be completed in a weekend.
Cabinet glazing is about more than just updating a color—it’s about creativity and adding personality to your space. In the next section, we’ll explore how to choose the right glaze to get the perfect finish.
How to Choose the Right Glaze for Your Cabinet
Choosing the right glaze for your cabinet project can greatly influence the final look and feel. Glaze adds depth to the cabinet’s texture, enhances its color, and can even highlight its details. However, picking the perfect glaze isn’t just about aesthetics—consider the cabinet material, style of your kitchen, and the look you want to achieve.
Here are some key aspects to evaluate when selecting a glaze:
- Type of Finish: Determine whether you want a glossy, matte, or satin finish. Each type gives a different vibe and aesthetic appeal.
- Color-tone: Choose a glaze color that complements or contrasts with the base color of your cabinet. Popular choices include neutral tones for a subtle look or darker shades for dramatic effects.
- Material Compatibility: Ensure the glaze you pick is suitable for the cabinet material, whether it’s wood, MDF, or laminate.
- Durability: Opt for glazes that offer protection against wear and tear, especially in high-traffic areas like kitchens.
- Ease of Application: Some glazes are easier to apply than others. If you’re a DIY beginner, look for user-friendly options.
- Maintenance: Consider how much maintenance the glazed surface will require. Some types might need more regular cleaning than others.
Taking these factors into account will guide you to the ideal glaze that not only enhances your space but also aligns with your project needs and personal taste.
What Tools and Materials Do You Need for DIY Cabinet Glazing?
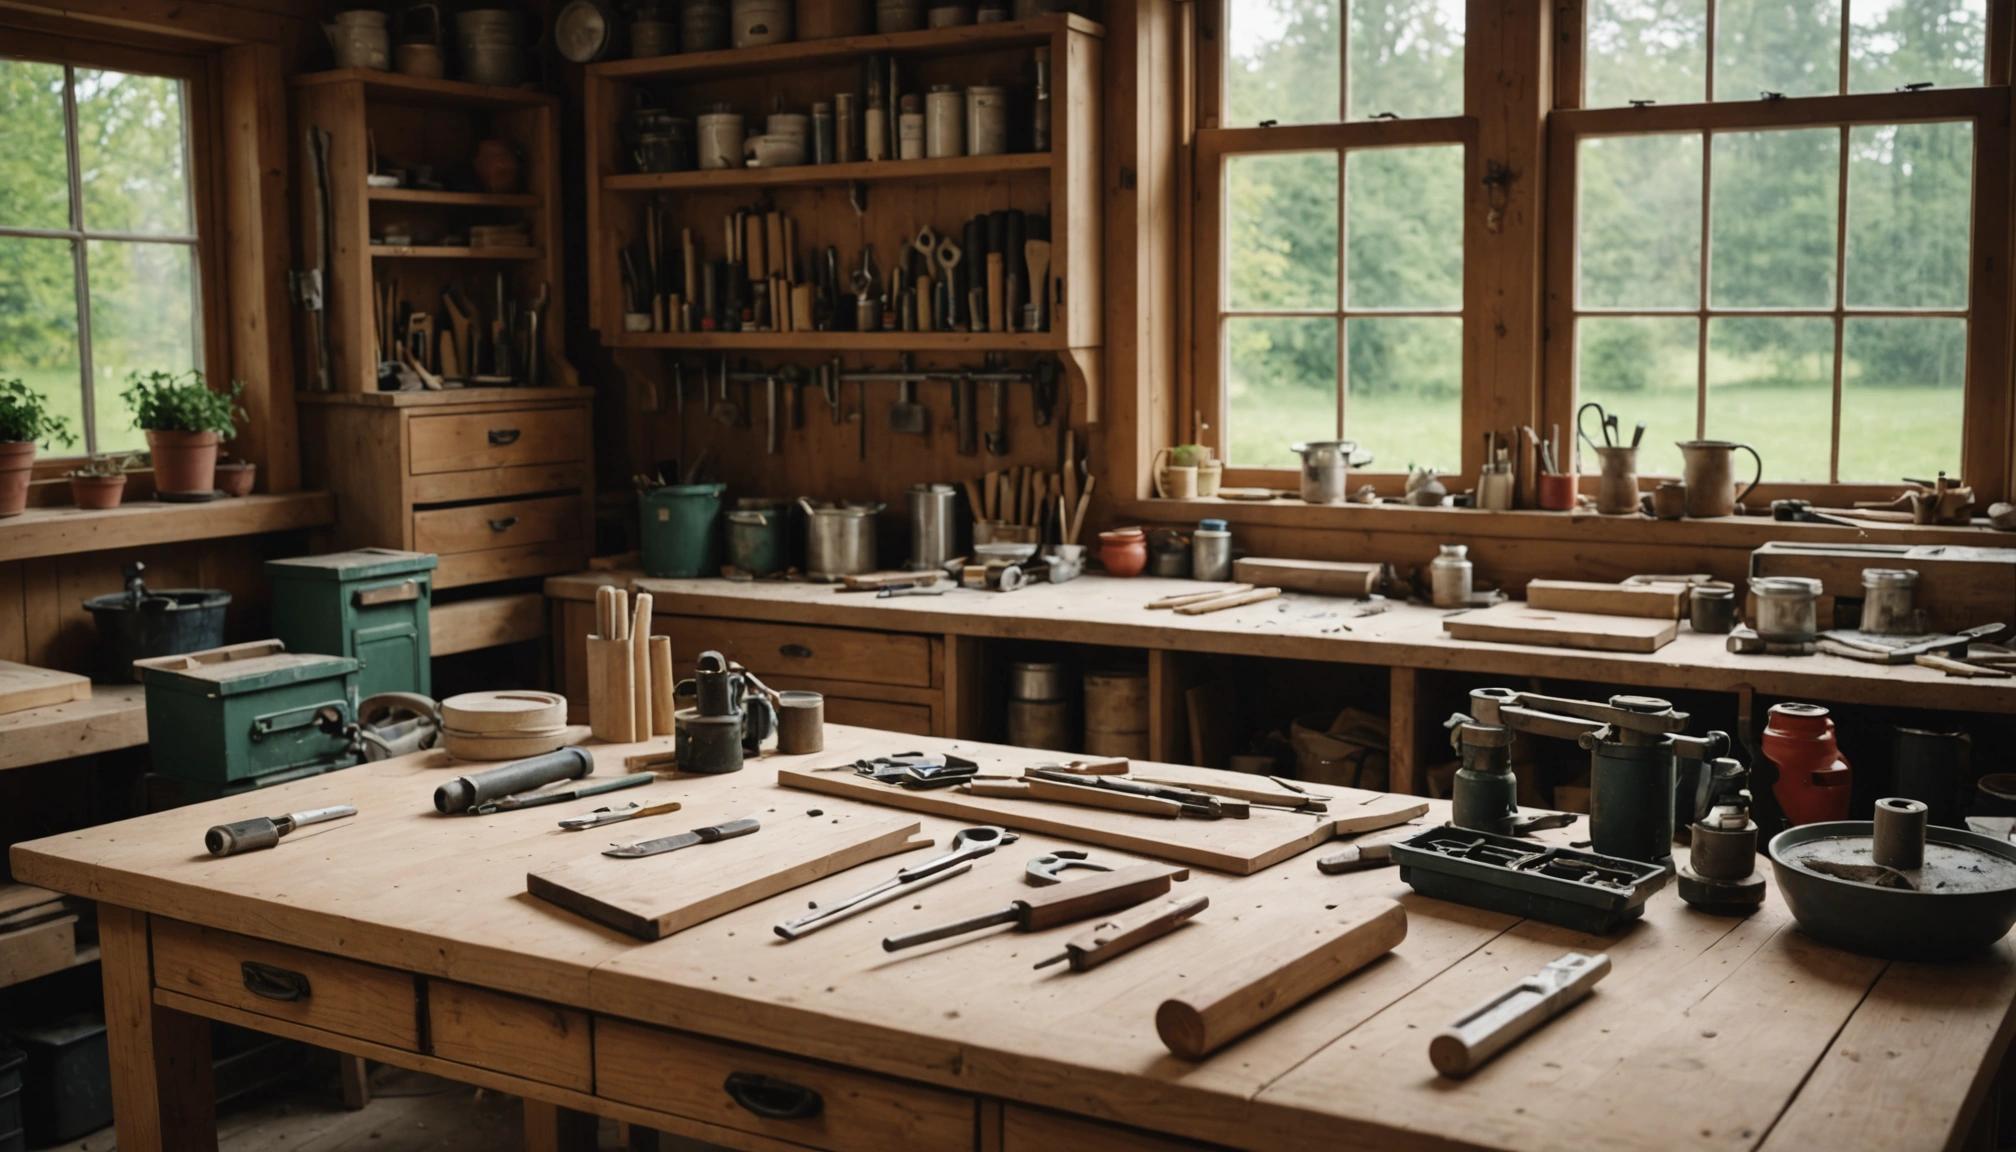
Ready to take the plunge into cabinet glazing? Before you start, you’ll need the right tools and materials. Having everything on hand ensures a smooth process and a professional-looking finish. Let’s dive in:
Essential Tools and Materials:
- Sandpaper: Use varying grits (like 120 and 220) for smoothing surfaces and prepping cabinets.
- Cleaning Solution: A mixture of water and mild detergent to clean the cabinet surfaces before glazing.
- Drop Cloths: Protect floors and counters from drips and splatters.
- Painter’s Tape: Essential for marking off areas you don’t want to glaze.
- Paintbrushes: A quality set of brushes for application—angled brushes work best for corners and detailed work.
- Glazing Compound: Choose your glaze (oil-based or water-based) depending on the look and durability you desire.
- Clear Topcoat: Protects your glaze and enhances durability. Consider polyurethane for a glossy finish.
- Stir Sticks: Handy for mixing your glaze to ensure uniformity.
- Rags or Sponges: Use for applying glaze or wiping off excess—a key part of achieving the perfect finish.
- Screwdriver: For removing any hardware like knobs or handles from cabinets.
With these tools and materials, you’re all set to transform your cabinets. Next, we’ll guide you through each step of the glazing process to ensure your project is a success.
Step-by-Step Guide to Glazing Your Cabinets
Transforming your cabinets with a glaze can add depth and character to your kitchen or bathroom. It’s an excellent DIY project that gives a high-end look without breaking the bank. Here’s a step-by-step guide to help you achieve a professional finish:
- Gather Your Materials: Before you start, make sure you have everything you need—glaze, brushes, rags, sandpaper, drop cloths, and cleaner. You wouldn’t want to stop mid-project to find supplies.
- Remove Cabinet Doors: Carefully take the doors off the hinges. This makes it easier to glaze every corner and ensures you won’t get paint on the rest of your kitchen.
- Clean the Surfaces: Use a mild household cleaner or a mixture of soap and water to clean the cabinet surfaces. This removes grease and grime that could prevent the glaze from adhering properly.
- Sand Lightly: Lightly sand the cabinet doors and frames—use fine-grit sandpaper. This roughens up the surface just enough to help the glaze bond better.
- Apply the Glaze: Using a brush, apply the glaze to the cabinet surfaces. Work in small sections, brushing on the glaze and then wiping it off with a clean rag to achieve your desired look.
- Wipe Away Excess Glaze: Once the glaze is applied, use a clean rag to wipe off the excess. The idea is to create an aged or patina effect, highlighting the cabinetry details and creases.
- Let It Dry: Allow the glaze to dry completely. Check the product instructions for specific drying times—usually, a few hours, but sometimes overnight for best results.
- Reattach the Doors: Once everything is dry, reattach the doors to the cabinet frames carefully. Make adjustments as needed to ensure proper alignment.
- Admire Your Work: Take a step back and admire the beautifully transformed look of your glazed cabinets! It’s amazing the difference a little glaze can make.
This simple yet effective project provides your cabinets with a unique and custom appearance. It’s a great way to enhance your home and showcase your DIY skills! Next, we’ll discuss some common mistakes to be aware of during the glazing process.
Common Mistakes to Avoid When Glazing Cabinets
Glazing cabinets can enhance the aesthetic of your kitchen or bathroom by adding depth and a vintage touch to the wood. However, a few common errors can hinder the final result and compromise your hard work. Here’s what to watch out for:
Skipping Surface Preparation
One of the biggest blunders is neglecting to properly prep the surface. Failing to clean or sand the cabinets thoroughly can result in a poor finish−or worse, the glaze not adhering at all. Always start with a clean, smooth surface.
Choosing the Wrong Glaze
Selecting inappropriate glaze types can also derail your project. Not every glaze is suitable for every kind of wood or desired finish. Carefully research and choose a glaze that complements your cabinet material and desired look.
Rushing the Process
Patience is KEY! Hastening through the glazing process can lead to uneven application and streaks. Take your time with each step−apply evenly and don’t be afraid to redo sections for uniformity.
Over-Application of Glaze
Less is more. A common mistake is applying too much glaze, which can muddy the wood’s grain and details. Start with a light coat, and add gradually as needed.
Neglecting Protective Coating
After glazing, it’s crucial to apply a protective finish. Skipping this step can leave your beautifully glazed cabinets vulnerable to damage from moisture and everyday wear.
By being mindful of these common mistakes, you can achieve a professional-looking finish that enhances your cabinetry. Up next, we’ll discuss how to maintain and care for glazed cabinets to preserve their beauty.
How to Maintain and Care for Glazed Cabinets
Glazed cabinets add elegance to your home and can elevate the look of any kitchen or bathroom. Keeping them looking their best requires regular maintenance and care. With just a little attention, you can preserve their beauty and ensure their longevity.
Here are practical tips to maintain and care for your glazed cabinets:
- Regular Dusting: Use a soft, dry cloth to remove dust and prevent build-up on the glaze surface. This keeps your cabinets looking fresh and polished.
- Avoid Harsh Cleaners: Stick to mild, non-abrasive cleansers. Harsh chemicals can damage the glaze and dull its shine.
- Immediate Spill Clean-Up: Wipe up spills as soon as they happen to prevent staining or damage to the finish.
- Avoid Excess Water: Too much moisture can seep into the glaze and underlying wood, causing warping or discoloration. Always dry thoroughly after cleaning.
- Gentle Polishing: Use a quality furniture polish occasionally to enhance the shine and protect the glaze. Opt for products designed specifically for wood finishes.
- Check Hardware Regularly: Tighten handles, knobs, and hinges regularly to keep your cabinets in top shape and prevent unnecessary wear on the glaze.
- Mind Temperature Changes: Avoid placing hot items directly against the cabinet surface, as extreme heat can cause blistering or warping.
- Regular Inspections: Look for signs of wear or damage and address them promptly. Early interventions can save you time and money on repairs.
By following these simple steps, you’ll extend the life of your glazed cabinets while keeping them looking stunning day after day.
Conclusion
Embarking on a DIY cabinet glazing project can transform your space and refresh your home’s interior design. By understanding and applying expert tips, you can achieve a professional-looking finish that enhances your cabinetry’s aesthetic. This rewarding home improvement project not only boosts your home’s value but also gives you the creative satisfaction of personalizing your living space with a unique touch.
If your project requires a professional touch, Fargos Art in Houston is here to assist. We specialize in Cabinet Glaze Finishes, Antique Glaze Cabinet Refinishing, and more, serving areas from River Oaks to Sugar Land. Our team has the expertise to deliver stunning results tailored to your vision. Contact us at (832) 277-6757 or email us at fargosartco@gmail.com for personalized and high-quality cabinet refinishing services. Let Fargos Art help you create beautiful, artfully finished home interiors!