Antique Glaze Cabinet Refinishing Hardware Matching (Expert How-To Guide)
At Fargos Art in Houston, we love bringing tired kitchens back to life. One of our favorite ways to do that is with antique glaze cabinet refinishing. This technique adds depth, warmth, and old-world character to plain cabinets. It also happens to be one of the most requested finishes we offer across Houston and the surrounding neighborhoods.
But here is the part many homeowners forget. The glaze is only HALF the story. The hardware you choose has to match the finish or the whole look falls flat. In this guide, we will walk you through the process, the tools, and the hardware matching tips that make a real difference.
What Is Antique Glaze Cabinet Refinishing?
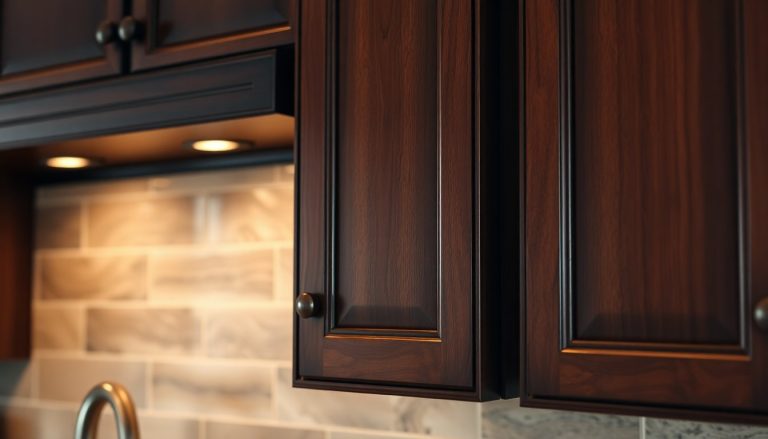
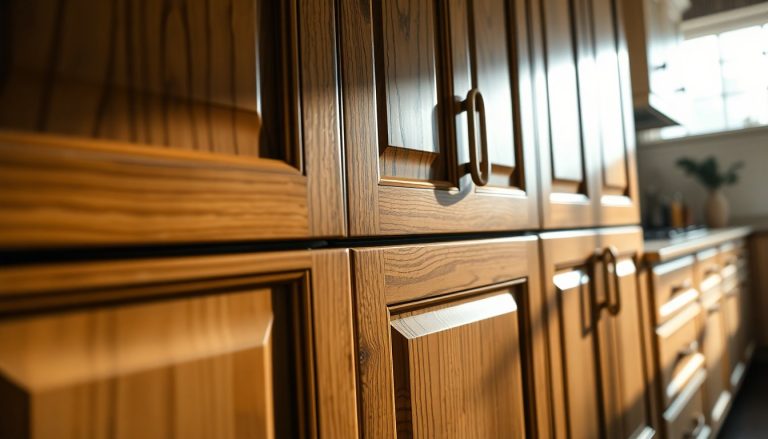
Antique glaze cabinet refinishing is a decorative painting technique that gives cabinets an aged, hand-crafted look. We apply a base coat of paint, then brush a tinted glaze over the surface. The glaze settles into corners, grooves, and edges. That creates soft shadows and highlights that mimic years of natural wear.
The result is warm and rich. It works beautifully in traditional kitchens, but it can also soften a modern space. We tailor the glaze color and intensity to fit each home. Some clients want a subtle antique touch. Others want a bold, dramatic contrast. Both are possible with the right approach to the antique glaze cabinet refinishing process.
Why Homeowners Love the Antique Glaze Look
Glazed cabinets feel timeless. They hide small imperfections and add character that flat paint simply cannot. The finish also pairs well with natural stone, tile, and wood floors. That makes it a smart choice for kitchens and bathrooms alike.
Where Antique Glaze Works Best
This finish shines on cabinets with detail. Think raised panels, beadboard, and carved trim. The more texture your cabinets have, the more the glaze has to grab onto. Flat, slab-style doors can still work, but the effect is more subtle.
Antique Glaze vs Standard Repainting
Standard repainting gives you a clean, uniform color. Antique glazing gives you dimension. It is a layered process, not a single coat. That layering is what creates the vintage feel that so many Houston homeowners want.
How to Apply Antique Glaze to Cabinets Step by Step
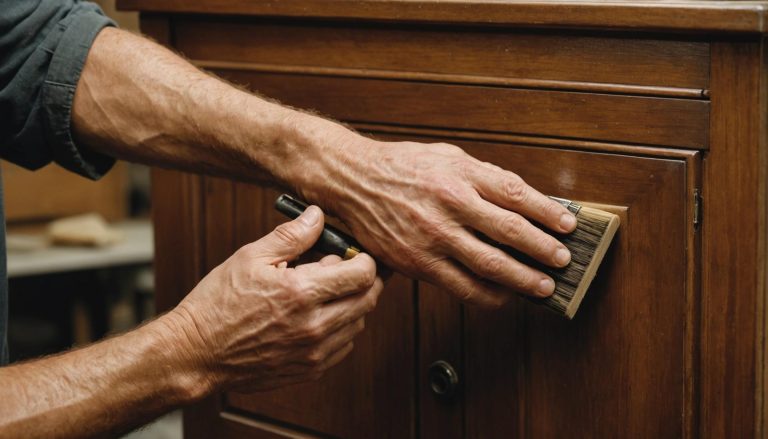
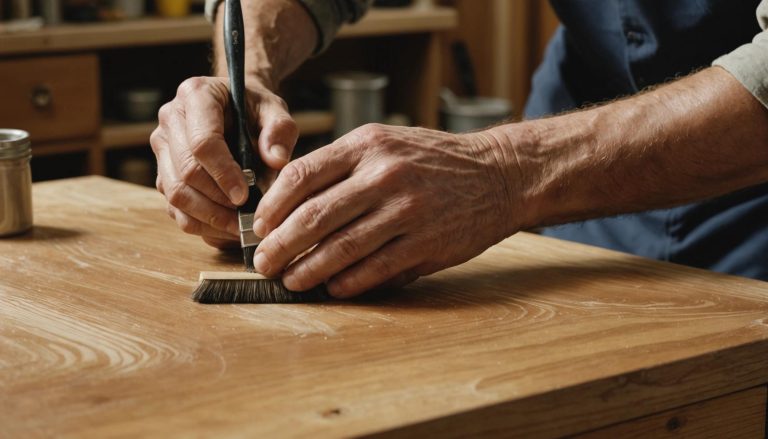
Applying antique glaze takes patience and a steady hand. The glaze stays workable for a short time, so you have to move in sections. Below is the process we follow on nearly every project. If you want a deeper breakdown, our team put together a full refinish glazed cabinets step-by-step guide that expands on each stage.
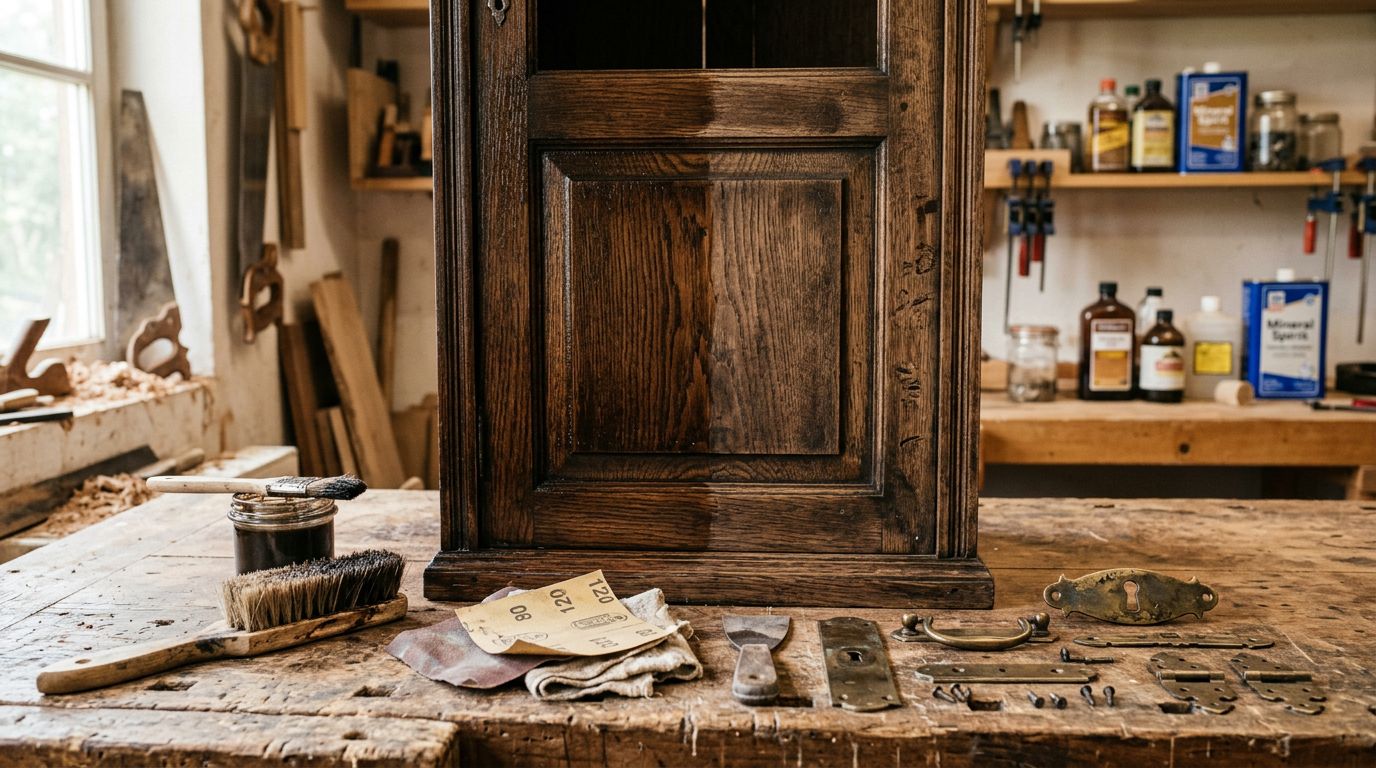
- Remove the doors and hardware. Take off every door, drawer front, hinge, and knob. Label each piece so reassembly is easy later.
- Clean every surface. Grease and grime ruin adhesion. We scrub with a degreaser and wipe everything down until it is spotless.
- Sand and prep. Lightly sand to give the primer something to grip. Then wipe away all dust.
- Apply primer. A quality bonding primer is a MUST. It keeps the base coat from peeling down the road.
- Paint the base coat. Roll or spray on two thin coats of your chosen base color. Let each coat dry fully.
- Mix the glaze. Blend your glaze medium with the tint color. Test it on a scrap piece first.
- Brush on the glaze. Work in small sections. Brush the glaze into corners, grooves, and edges.
- Wipe back the glaze. Use a clean rag to remove excess. Leave more in the recessed areas and less on the flat surfaces.
- Blend and feather. Soften any hard lines with a dry brush. This is where the magic happens.
- Seal the finish. Once the glaze cures, apply a clear topcoat to protect it from moisture and daily use.
- Reinstall doors and hardware. Put everything back together carefully and enjoy the transformation.
How to Match Hardware to Antique Glazed Cabinets
Hardware is the jewelry of the kitchen. On glazed cabinets, the right pulls and knobs pull the whole design together. The wrong ones can clash and cheapen the look. Some homeowners tackle the finish themselves, and if you are weighing that choice, our comparison of DIY vs professional antique cabinet glazing covers what to expect either way.
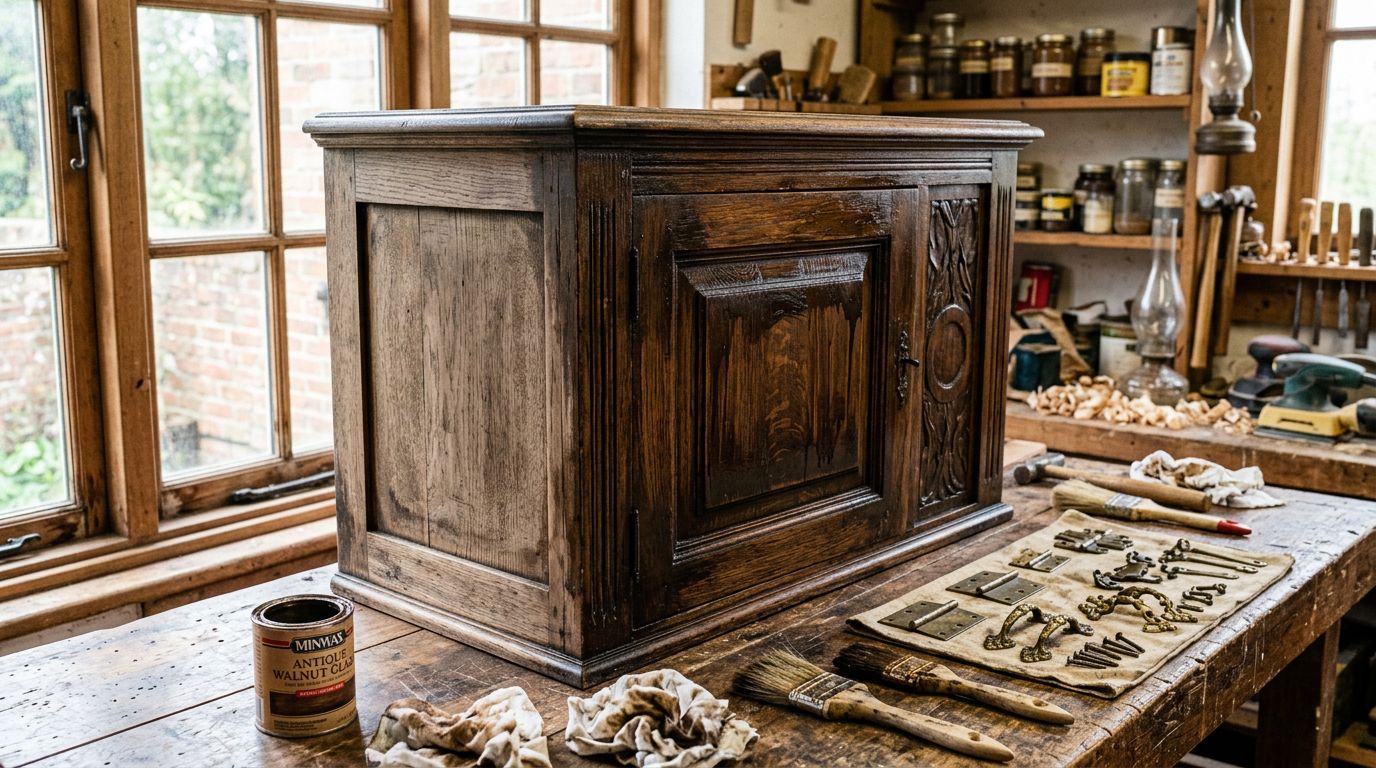
When matching hardware, we always think about undertone, finish, and style. Here are the key points we keep in mind.
- Match the undertone, not just the color. A warm glaze pairs with warm metals like bronze or brass. A cooler glaze works with pewter or nickel.
- Consider the glaze color. Brown and amber glazes love oil-rubbed bronze. Gray and taupe glazes look great with brushed nickel.
- Think about contrast. Dark hardware on light cabinets creates a bold pop. Tone-on-tone feels soft and subtle.
- Stay consistent. Use ONE metal finish throughout the space. Mixing too many metals looks messy.
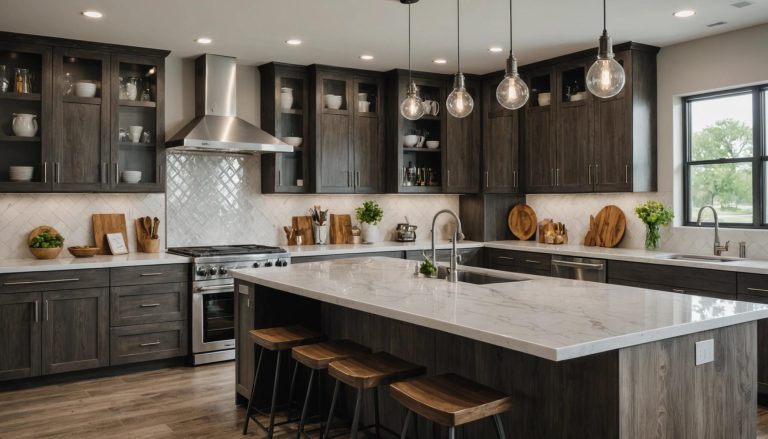
- Factor in the whole room. Faucets, lighting, and appliances all play a role. The hardware should feel like it belongs with them.
- Test before you buy. Hold a sample knob against the finished cabinet in natural light. Colors shift depending on lighting.
Best Hardware Finishes for Glazed Cabinet Styles
Not every finish suits every glaze. Below we break down the hardware finishes that pair best with common glazed cabinet styles we create for clients in River Oaks, Memorial, and beyond.
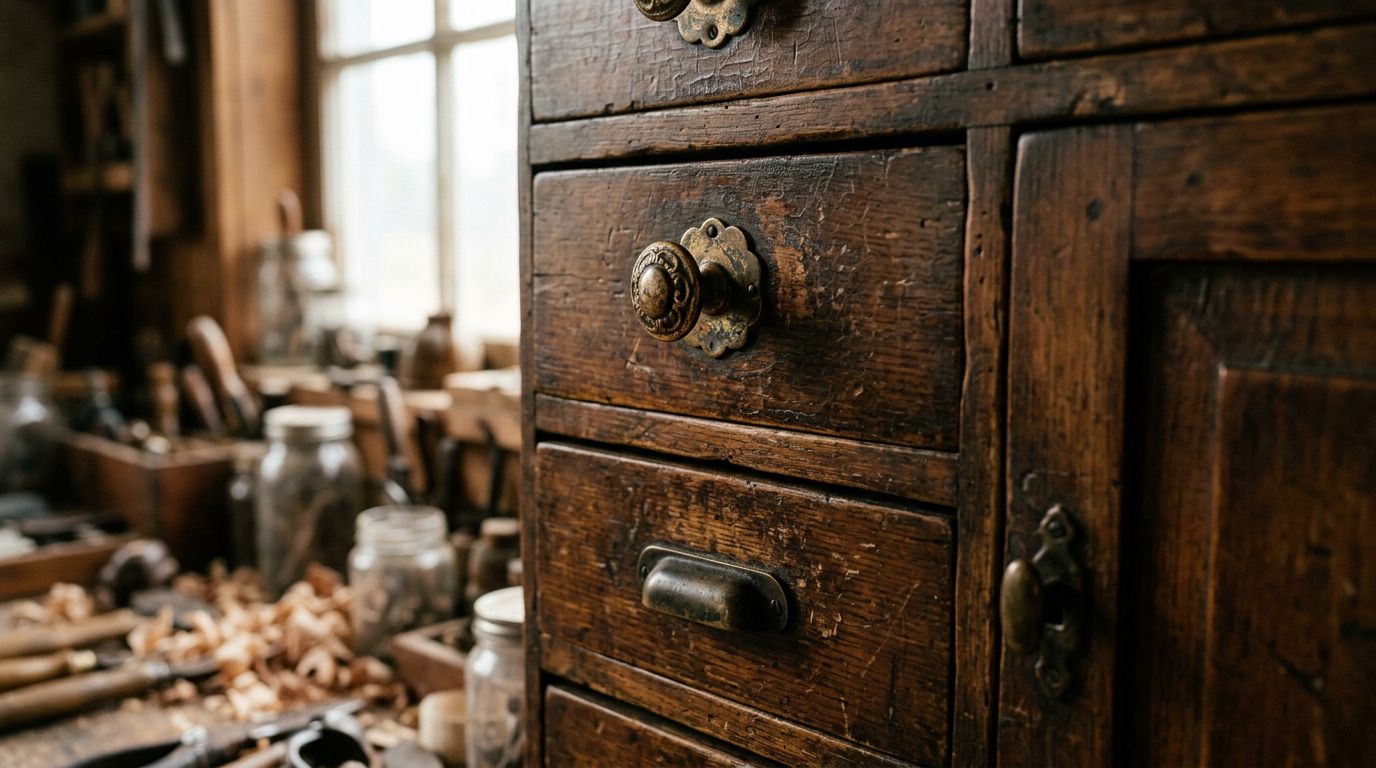
Oil-Rubbed Bronze for Warm Brown Glazes
Oil-rubbed bronze is a classic match for rich brown and amber glazes. The dark, earthy tone echoes the depth of the glaze. It gives kitchens a cozy, traditional feel. This combo is a favorite in Tanglewood and Sugar Land homes.
Antique Brass for Cream and Ivory Cabinets
Antique brass adds a soft golden glow. It looks stunning against cream, ivory, or off-white glazed cabinets. The aged brass finish plays into the vintage vibe without feeling flashy.
Brushed Nickel for Gray and Taupe Glazes
If your glaze leans cool, brushed nickel is your friend. It has a muted silver tone that keeps things elegant. This works well in transitional kitchens that blend modern and classic touches.
Pewter for Weathered and Distressed Looks
Pewter has a soft, matte quality. It pairs beautifully with heavily distressed or weathered glaze finishes. The result feels rustic and lived-in, which is perfect for farmhouse-style spaces.
Wrought Iron for Bold, Dramatic Kitchens
Wrought iron or matte black hardware makes a strong statement. It works on darker glazed cabinets where you want serious contrast. It also ties in nicely with iron stair railings and other black accents in the home.
What Tools and Materials Do You Need for the Job?
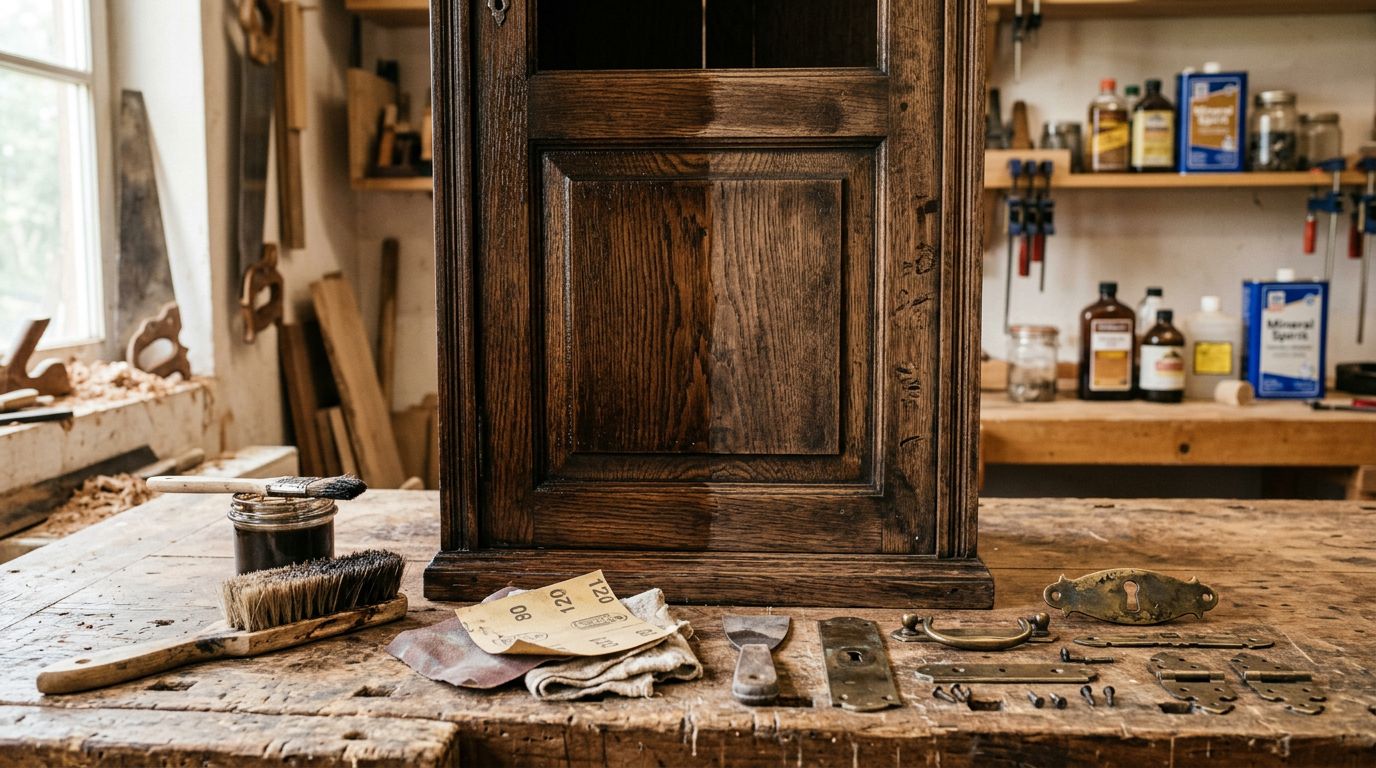
Good results start with the right supplies. Skimping on tools leads to streaks, drips, and uneven glaze. Whether you plan to DIY or just want to understand our process, here is what a proper antique glaze job requires.
- Degreaser and cleaning cloths to prep the surface.
- Sandpaper in medium and fine grits for scuffing and smoothing.
- Bonding primer to lock the paint in place.
- Quality cabinet paint for the base coat.
- Glaze medium and tint mixed to your chosen color.
- Angled brushes for cutting in and working glaze into grooves.
- Foam rollers for smooth base coats.
- Clean lint-free rags for wiping back the glaze.
- A dry blending brush to feather and soften lines.
- Clear topcoat or sealer to protect the finish.
- Painter’s tape and drop cloths to keep the workspace clean.
- New hardware chosen to match your glaze tone.
Common Mistakes to Avoid When Refinishing and Matching Hardware
We have seen plenty of DIY projects go sideways. Most mistakes are easy to avoid once you know what to watch for. Here are the errors that trip up homeowners most often.
- Skipping the cleaning step. Grease ruins adhesion. Cabinets MUST be clean before you prime.
- Not priming. Without primer, the base coat can peel and chip within months.
- Rushing the drying time. Glaze needs time to set. Rushing leads to smears and muddy color.
- Applying too much glaze. A little goes a long way. Heavy glaze looks dirty, not antique.
- Working too large an area. The glaze dries fast. Work in small sections so you can wipe it back in time.
- Choosing hardware that clashes. Cool hardware on a warm glaze looks off. Always match undertones.
- Mixing too many metals. Stick to one finish for a cohesive look.
- Forgetting to seal. An unsealed glaze wears down fast in busy kitchens.
- Testing on the cabinet itself. Always test glaze and hardware on samples first.
Conclusion
Antique glaze cabinet refinishing is one of the best ways to add character and value to your kitchen. The secret is in the layering, the patience, and the finishing touches. When you match your hardware to the glaze undertone, the whole space feels intentional and complete.
At Fargos Art, we bring this craft to homes across Houston, River Oaks, Memorial, West University Place, Katy, and beyond. If you are dreaming of warm, timeless cabinets with hardware that ties it all together, we would love to help you make it happen. Reach out to Fargos Art and let us transform your space.