How to Refinish Glazed Cabinets? (Step-by-Step Guide)
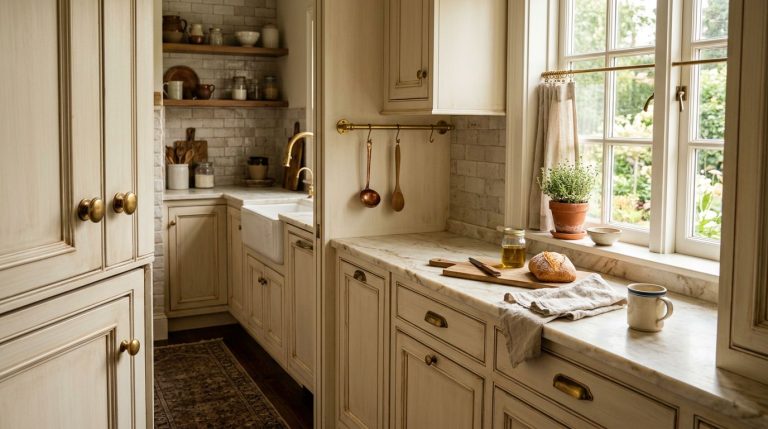
Are you curious about how to refinish glazed cabinets to give your kitchen or bathroom a stunning makeover? At Fargos Art, based right here in the heart of Houston, we are passionate about transforming spaces with our expert touch! If you’re looking to bring new life to your glazed cabinets, you’ve come to the perfect place.
In this comprehensive step-by-step guide, we’ll share everything you need to know about refinishing glazed cabinets, from gathering the right materials and preparing your cabinet surfaces, to applying the perfect new glaze or stain. Plus, we’ll dive into effective techniques for sealing and protecting your freshly refinished cabinets and offer tips on maintenance to keep them looking beautiful for years to come. Let’s get started on this creative journey together!
What Materials and Tools Are Needed to Refinish Glazed Cabinets?
Refinishing glazed cabinets transforms your space, giving it a fresh and updated look. Before diving into the project, make sure you have the right materials and tools on hand—it’s KEY for a smooth process. Gathering everything ahead of time saves you from last-minute trips to the store and ensures a seamless workflow.
Here’s what you’ll need to get started:
- Sandpaper: Essential for removing old finishes—get varying grits from coarse to fine.
- Paint Stripper: Helps to effectively remove the existing glaze or finish.
- Putty Knife: Useful for scraping off old layers of paint or glaze.
- Painter’s Tape: Protects areas you don’t want to refinish—perfect for masking edges.
- Cleaning Supplies: Degreaser and cloths are critical for cleaning cabinets before starting.
- Primer: Prepares the surface for a new finish; choose one suitable for your cabinet material.
- New Glaze or Paint: Your chosen finish for revitalizing the cabinets—pick based on your style preference.
- Brushes/Rollers: Essential for applying paint or glaze; opt for quality tools for a professional finish.
- Screwdriver: Needed for removing cabinet doors and hardware.
- Protective Gear: Gloves and goggles to keep you safe during the process.
For a detailed look at the antique glaze cabinet refinishing process, up next, we’ll look at how to prepare your cabinets for refinishing. This step sets the foundation for a perfect finish, so don’t skip it!
How Do I Prepare Glazed Cabinets for Refinishing?
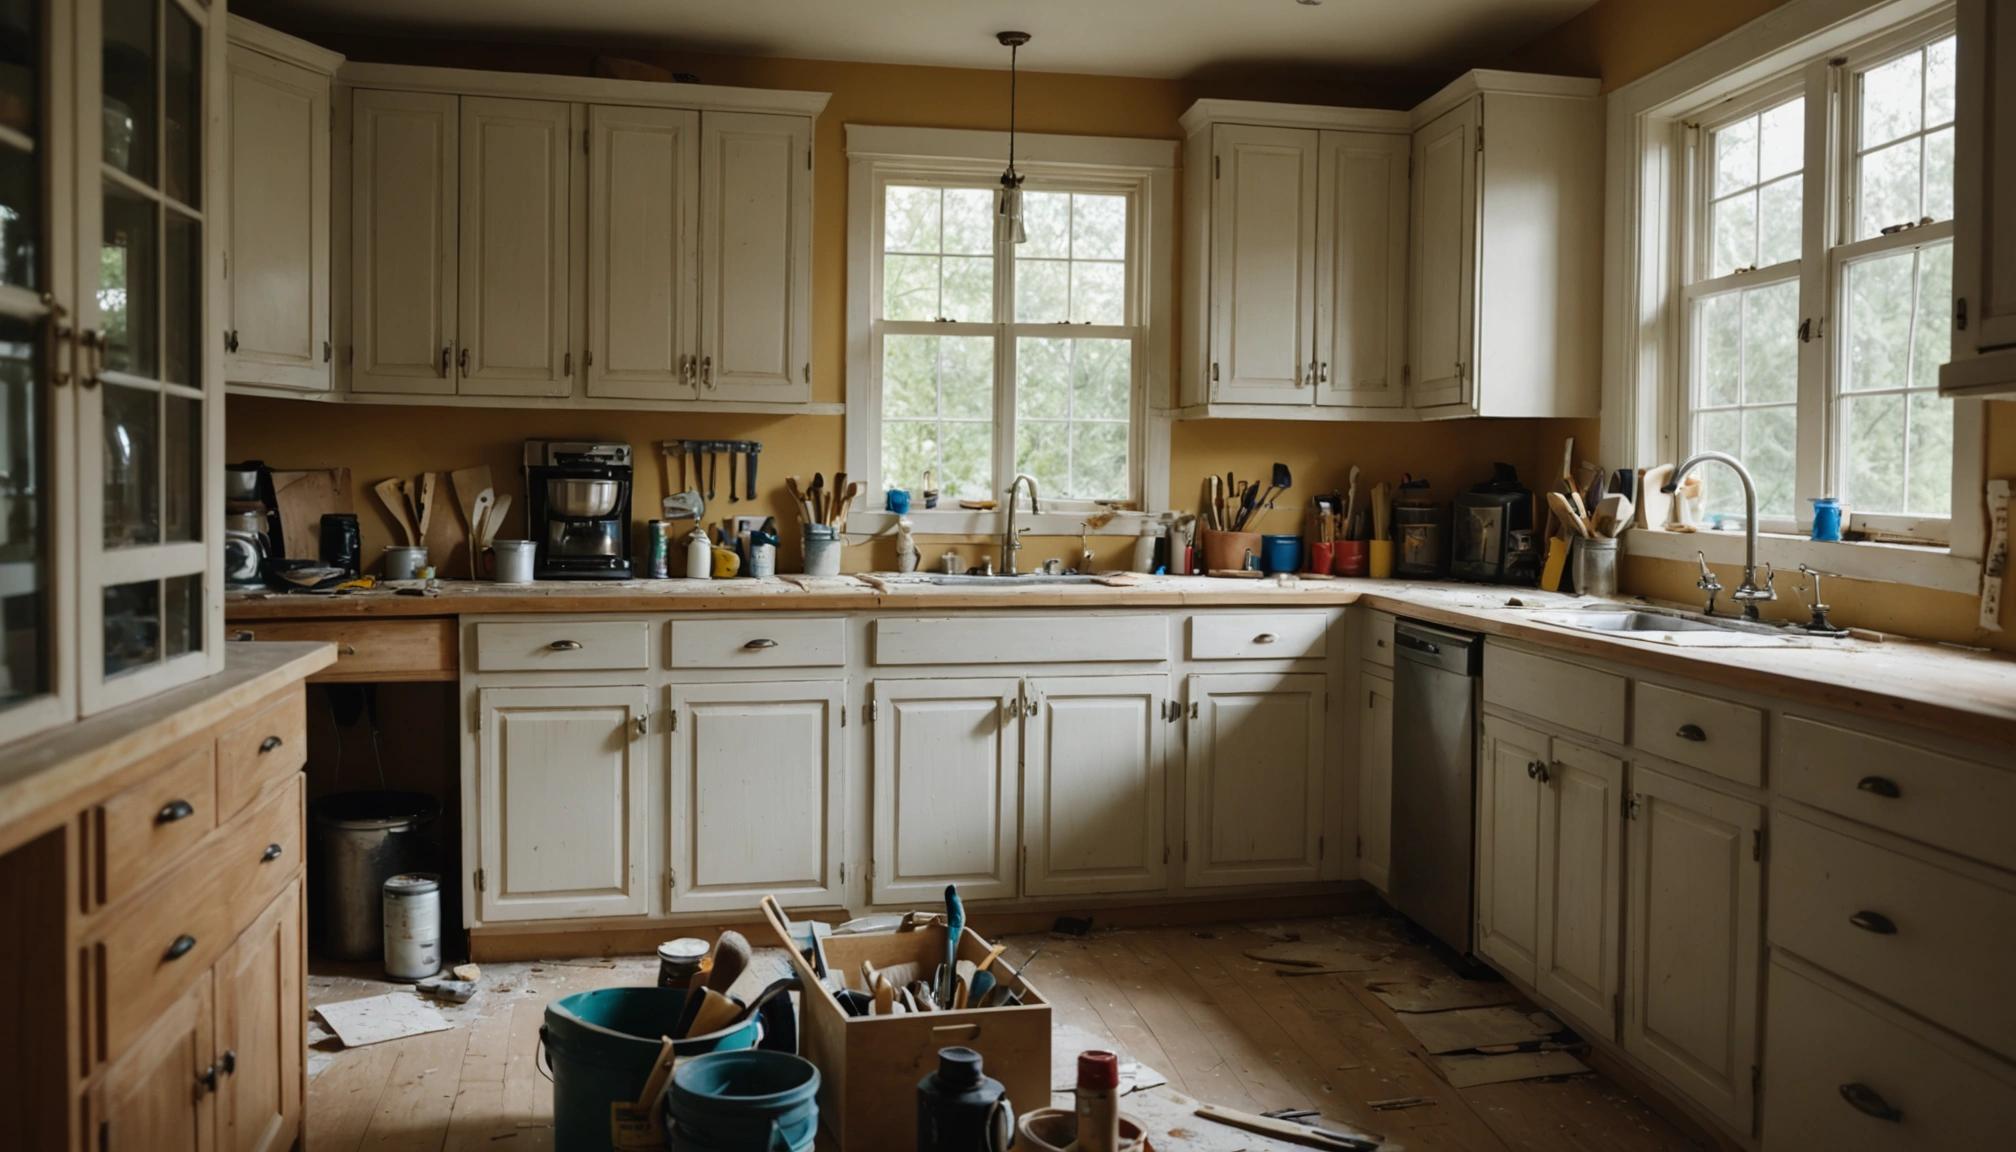
Preparing glazed cabinets for refinishing is a crucial step in ensuring a professional and long-lasting finish. This process starts by emptying your cabinets—a task that’s more important than you may think. Removing all contents not only makes the task easier but also prevents dust and debris from settling on items inside.
Next, thoroughly clean the cabinet surfaces using a gentle cleanser. Soap and water work well, or you might consider a mild degreaser if there’s a buildup of grease and grime. Removing all residue ensures the new finish adheres properly. Remember, CLEAN surfaces are key to successful refinishing.
Once clean, you need to remove the cabinet doors. This might seem like a daunting task, but it’s essential for accessing all areas evenly. Place hardware like screws and hinges in labeled bags for easy reassembly. Keeping everything organized saves time and frustration later.
Now, gently sand the surfaces. This step helps to remove any remaining glaze and creates a rough surface for the new finish to bond to. Use a fine-grit sandpaper—preferably 220-grit—and sand lightly. The goal is to create a scuffed surface, not to strip the wood completely.
Finally, wipe down everything with a tack cloth to remove dust from sanding. This prevents particles from getting trapped in the new finish. Once all surfaces are dust-free, the cabinets are ready for the next steps in the refinishing process. For additional insights, explore some expert tips on DIY cabinet glazing. Proper preparation is the foundation of a great outcome, so don’t rush!
What Are the Steps for Removing the Old Finish from Cabinets?
Removing the old finish from cabinets is a critical step in the refinishing process. This ensures a fresh surface for a new look—without the old glaze interfering. The process can be time-consuming but is essential for a quality finish. Ready to dive in?
- Gather Your Supplies: Before beginning, make sure you have sandpaper, a scraper, chemical stripper, gloves, eye protection, and a mask. You’ll need all these for safety and efficiency.
- Prep the Area: Clear the cabinets of any contents and remove doors and hardware (draws too). Place them on a flat workspace covered by a drop cloth to catch debris and drips.
- Apply the Chemical Stripper: Using a paintbrush, apply a thick layer of chemical stripper to the cabinet surfaces. Follow the manufacturer’s instructions—each stripper might require different application times.
- Wait and Scrape Off the Finish: Allow the stripper to sit until the finish starts to bubble (usually 15-30 minutes). Then, use a plastic scraper to carefully remove the old finish without damaging the wood.
- Sand the Surface: Once most of the finish is off, sand the cabinet surfaces with medium-grit sandpaper to remove any remnants. Follow up with fine-grit sandpaper for a smooth surface ready for the next coat.
- Clean Thoroughly: Wipe down the cabinets with a tack cloth or a damp rag to remove dust and debris exactly, leaving a clean slate for the new finish.
Next up, we’ll discuss how to apply a new glaze or stain to give your cabinets that refreshed, polished look. For detailed guidance on applying cabinet glaze finishes, check out this resource.
How Do I Apply a New Glaze or Stain to Cabinets?
Once you’ve stripped your cabinets of their old finish, it’s time to bring a fresh look with new glaze or stain. The application process is a crucial step—it’s where your personal touch shines. Before starting, decide whether you want a translucent glaze to bring out subtle wood textures or a rich stain for bolder color.
First, prepare your workspace. Ensure the area is ventilated and well-lit. You’ll need clean, dry surfaces, so take a moment to wipe away any dust. Laying down drop cloths will protect your surroundings from accidental drips and spills.
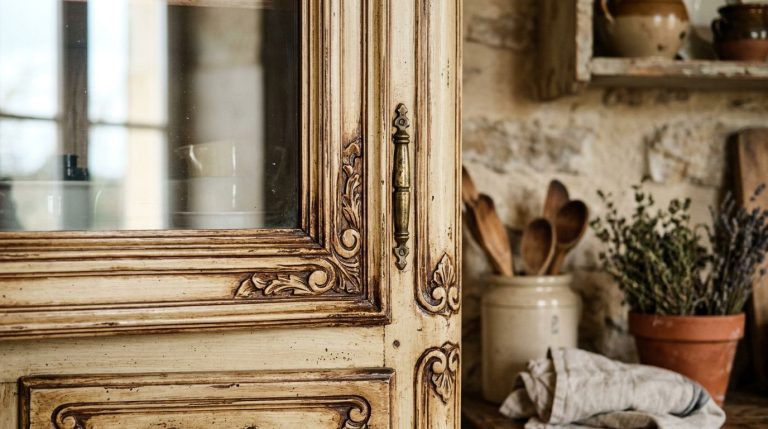
For a glaze, gently brush or wipe it onto the cabinet surface—following the grain is key! You can then use a clean cloth to remove excess for your desired effect. Glaze adds character, so there’s room to play around with the finish. If you’re interested in exploring different techniques, consider learning more about antique glaze cabinet refinishing.
Staining requires a bit more precision. Apply the stain evenly with a brush or cloth, ensuring consistent coverage. Allow it to soak, typically around 5-15 minutes depending on the intensity of color you desire. Wipe off any excess—you don’t want blotches.
Always test your glaze or stain on a small unseen area first. This helps gauge the final outcome and ensure you’re happy with the color.
Remember, applying a finish is an art. Use this opportunity to experiment and create a look that truly fits your style.
What Techniques Can Be Used to Seal and Protect the New Finish?
You’ve stripped away the old finish and applied a new glaze or stain to your cabinets—now what? To make sure your hard work pays off and lasts, sealing and protecting that fresh finish is ESSENTIAL. Here’s how you can do it.
Choosing the Right Sealer
The first step in protecting your newly refinished cabinets is selecting an appropriate sealer. Polyurethane, varnish, or lacquer are common choices. Each gives a different finish—ranging from high gloss to matte. Consider the look you’re after and the durability you need when choosing.
Oil-based sealers offer a tough protective layer but take longer to dry, while water-based sealers dry faster with less odor. YOUR preference will guide your choice. For more inspiration on cabinet finishes, explore cabinet glaze finishes in Houston, TX.
Applying the Sealer Evenly
Even application is key! Use a high-quality brush or a sprayer for the best results. Apply thin, even coats, and allow each layer to dry completely before adding the next. Lightly sand between coats with fine-grit sandpaper for a smooth finish.
Pay extra attention to edges and corners—these areas are prone to wear and often get neglected during sealing.
Maintenance Tips for Longevity
Keep your cabinets looking fresh by avoiding abrasive cleaners that can strip away the sealer. Instead, use a soft cloth and gentle cleaner.
Regular dusting and wiping away spills immediately will prolong the life of your cabinet’s finish. If over time, the finish begins to wear, a light reapplication of the sealer can breathe new life into your cabinets without a complete refinish.
These steps ensure your cabinets stay beautiful and durable for years to come.
How Do I Maintain and Care for Newly Refinished Glazed Cabinets?
Proper maintenance is key to preserving the beauty and longevity of your newly refinished glazed cabinets. Regular cleaning and care will ensure they continue to look fresh and vibrant. Here are some practical tips to keep them in top condition:
- Gentle Cleaning: Use a soft, damp cloth for regular cleaning. Avoid harsh chemicals or abrasive pads that can damage the glaze.
- Prompt Spill Cleanup: Wipe up spills immediately to prevent staining or damage to the finish. Water and common kitchen substances can harm the glaze if left unattended.
- Avoid Excessive Moisture: Be cautious of excessive moisture exposure, particularly around sinks and dishwashers. Keep these areas dry to protect the finish.
- Regular Dusting: Use a microfiber cloth to dust the cabinets weekly. This simple step prevents the buildup of dust and grime over time.
- Use Cabinet Protectors: Consider using liners or shelf protectors inside cabinets to minimize direct contact with sharp or rough-edged items.
- Check Hardware: Periodically check and tighten loose knobs or hinges to maintain the structural integrity of your cabinets.
- Avoid Weight Stress: Don’t overload cabinet shelves. Excess weight can warp the wood or damage the finish over time.
By incorporating these maintenance practices, your newly refinished glazed cabinets will remain a stunning feature in your home for years to come. For more detailed guidance on antique glaze cabinet refinishing techniques, up next, we’ll explore techniques for sealing and protecting the new finish to further enhance durability and appeal.
Conclusion
Refinishing glazed cabinets can be a rewarding DIY project that breathes new life into your kitchen or bathroom spaces. Following a step-by-step approach ensures that you achieve a professional and long-lasting finish. However, if you’re looking for perfection in detail and high-quality results without the hassle, hiring skilled professionals is an excellent choice. Professional refinishing not only brings your vision to life but also enhances the value and aesthetic appeal of your home significantly.
At Fargos Art, we specialize in transforming your cabinets with our exceptional glaze finishes and refinishing services in Houston and surrounding areas, including River Oaks, Memorial, Tanglewood, and more. Our experienced team is committed to delivering exquisite results tailored to your taste and needs. Reach out to us at (832) 277-6757 or email us at fargosartco@gmail.com to discuss your project and let us turn your vision into reality. We look forward to creating something beautiful with you!