Can You Glaze Over Existing Cabinets? (How-To Guide)
Ever looked at your cabinets and wondered, “Can you glaze over existing cabinets?” Well, you’re in luck! At Fargos Art, we specialize in breathing new life into cabinets with our expert glazing techniques. Whether you’re going for a sleek modern feel or an antique charm, our team is here to guide you every step of the way.
In this how-to guide, we’ll dive into everything you need to know about cabinet glazing. From preparation tips and selecting the right glaze, to avoiding common pitfalls and maintaining your new finish, we’ve got it all covered. Join us as we embark on this creative journey to transform your kitchen space. Let’s glaze those cabinets into the masterpiece they were meant to be!
What Is Cabinet Glazing and Why Consider It?
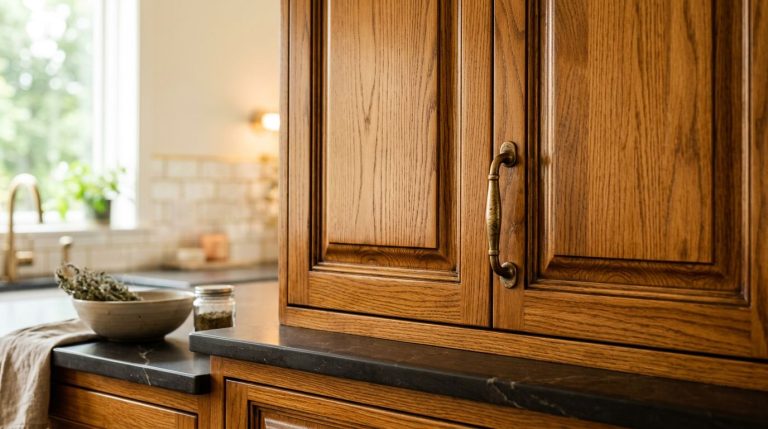
Cabinet glazing is a decorative technique used to enhance the appearance of existing cabinetry by applying a thin coat of glaze over the cabinet surface. This glaze settles into the crevices and details, adding depth, warmth, and a sense of age or character to your cabinets. The process can transform plain or tired-looking cabinets into rich, textured focal points.
One of the main reasons homeowners consider cabinet glazing is for its ability to create a custom, high-end look without requiring a full kitchen remodel (which can be time-consuming and costly). It’s a more affordable alternative to replacing cabinets, allowing you to dramatically change the aesthetic of your kitchen or bathroom at a fraction of the cost.
Glazing also provides a protective layer that can help maintain the cabinetry’s appearance over time. This makes it a practical choice for those who not only want to update the look of their space but also want to ensure the longevity and durability of their cabinets.
And the best part? The versatility. Glazing can be done in a range of colors and finishes, making it easy to tailor the look to match your personal style and home decor. Whether you’re going for a rustic farmhouse vibe or a sleek, contemporary feel, cabinet glazing offers endless possibilities for customization. For those interested in exploring this technique further, consider checking out DIY cabinet glazing expert tips for additional guidance.
How to Prepare Your Existing Cabinets for Glazing
To achieve a professional-looking glaze on your cabinets, proper preparation is key. It ensures the glaze adheres well and gives you the desired finish. Skipping this step can lead to an uneven or disappointing result.
Here are essential steps to prepare your cabinets for glazing:
- Clean Thoroughly: Remove all grease, grime, and dust from your cabinets using a gentle cleaner. Any residue left can interfere with the glaze application.
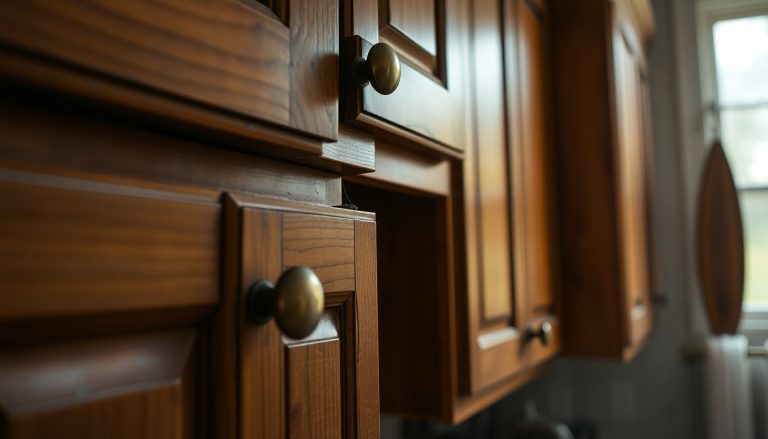
- Remove Hardware: Take off all handles, knobs, and other hardware. This prevents them from being accidentally coated with glaze and allows you to work on a smooth surface.
- Sand the Surface: Lightly sand the cabinet surfaces to create a texture that the glaze can adhere to. Use fine-grit sandpaper for best results.
- Repair and Fill: Inspect the cabinets for any dents or scratches. Use wood filler to repair any imperfections for a smooth finish.
- Prime if Necessary: If your cabinets have a heavily varnished or glossy surface, consider applying a primer. This helps the glaze to stick better.
- Mask Off Areas: Use painter’s tape to cover any areas or edges you do not want to be glazed. This ensures a clean application and finish.
- Ventilation: Ensure that your working area is well-ventilated, as you’ll be using chemicals. Open windows or use fans to circulate air.
With proper preparation, you’re all set to start glazing—bringing new life and elegance to your existing cabinets. Next, we’ll go through a detailed step-by-step guide to glazing over your cabinets for a successful transformation.
Step-by-Step Guide to Glazing Over Cabinets
Transforming your cabinets with a fresh glaze can breathe new life into your kitchen or bathroom. It’s a creative way to add depth and character without the cost of a full replacement. Glazing might seem daunting, but with the right steps, you can achieve a professional look. Here’s a straightforward guide to help you glaze over your existing cabinets:
- Clean the Cabinets: Begin by thoroughly cleaning your cabinets to remove any dirt, grease, or grime. This ensures the glaze adheres properly.
- Sand the Surface: Lightly sand the cabinet surfaces using fine-grit sandpaper. This step is crucial for helping the glaze stick better.
- Apply a Base Coat: Use a base paint color of your choice. Allow it to dry completely before moving on to the next step.
- Prepare Your Glaze: Mix your glaze according to the instructions. You can customize the color by adding paint to the glaze to achieve the desired shade.
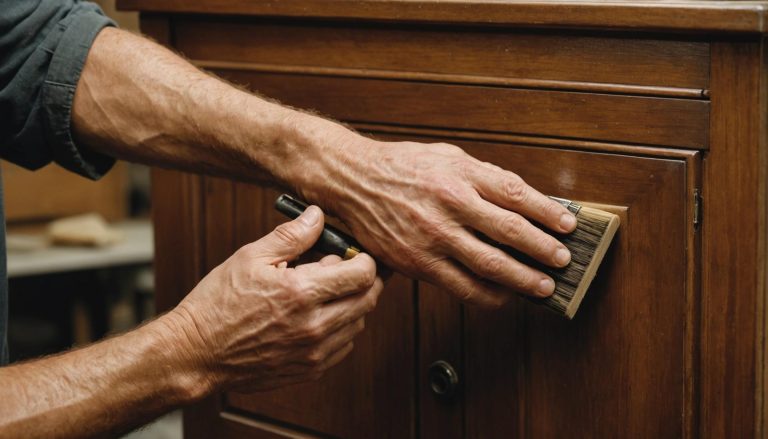
- Apply the Glaze: Using a brush or a rag, apply the glaze to the cabinets in sections, working quickly to avoid the glaze drying out.
- Wipe and Blend: While the glaze is still wet, use a clean cloth to wipe and blend it, achieving the depth and antique look you’re aiming for. For more detailed tips on achieving the perfect finish, explore applying cabinet glaze finishes.
- Let it Dry: Allow the glaze to dry thoroughly. This could take several hours or overnight depending on the product used.
- Seal the Finish: Once dry, apply a clear polyurethane coat to protect the glaze and ensure durability.
- Reattach Hardware: Reattach any hardware you removed from the cabinets, and enjoy your newly transformed space!
With patience and the right technique, glazing over cabinets can be a rewarding DIY project that dramatically changes the look of your space.
Choosing the Right Type of Glaze for Your Cabinets
Selecting the perfect glaze for your cabinets is crucial—it defines the final appearance and durability of your project. With various options available, each type of glaze offers different aesthetics and performance characteristics.
Oil-Based vs. Water-Based: Your first decision revolves around choosing oil-based or water-based glaze. Oil-based glazes provide a richer, more traditional look, ideal for creating intricate or antique finishes. They’re durable, but have longer drying times and a strong odor (ventilation is a must!). On the other hand, water-based glazes dry quickly, are easy to clean up, and have a lower odor, making them more user-friendly for beginners.
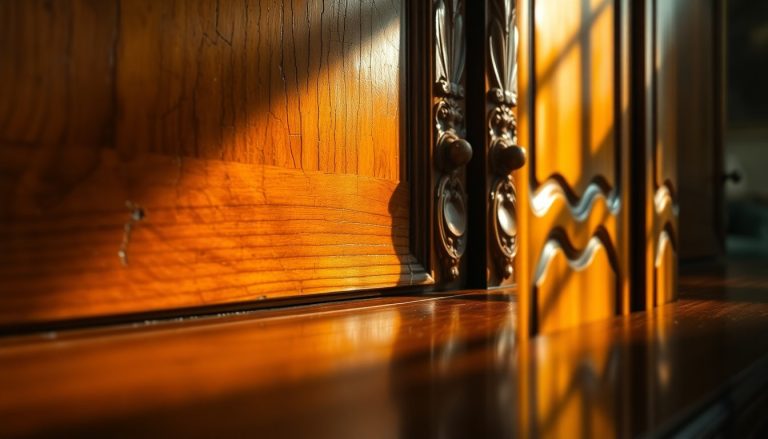
Tint and Transparency: Another factor to consider is the glaze’s tint and transparency. Do you want a subtle enhancement to your cabinet’s color, or a bold contrast? Transparent glazes lightly enhance woodgrain details without obscuring the underlying color, while opaque or heavily tinted glazes add depth and distinction.
Finish Type: The sheen of the glaze also impacts the final look. High-gloss finishes reflect more light and make the space appear larger and more modern. Matte or satin finishes, however, provide a soft, classic look that hides imperfections better and is less prone to fingerprints. To explore a variety of finish options, consider visiting cabinet glaze finishes available in Houston, TX.
Ultimately, the right glaze for your cabinets aligns with your desired style and practical considerations. By matching the glaze type with your cabinet material and the room’s design, you achieve a harmonious look that enhances your space beautifully.
Common Mistakes to Avoid When Glazing Cabinets
Glazing cabinets can transform the look of your kitchen or bathroom, adding depth and character. However, this creative touch can become a DIY disaster if not done properly. It’s important to know what pitfalls to dodge as you embark on this project.
First off, rushing the prep work is a huge mistake. Proper preparation is the foundation of successful glazing. Skipping or skimping on cleaning, sanding, or applying a base coat can lead to uneven results or a glaze that doesn’t adhere well. Take your time and follow each preparation step thoroughly.
Another common misstep is choosing the wrong glaze. Not all glazes are suited for every cabinet material or desired effect. Make sure to pick a glaze that complements your existing cabinets and aligns with the final look you’re aiming for. If you’re looking for professional advice, consider exploring antique glaze cabinet refinishing options.
Remember, glazing is as much about subtlety as it is about skill. Overdoing it—applying too much glaze or not wiping off the excess—can result in cabinets looking overly dark or messy. Moderation is key, so apply the glaze sparingly and wipe away the excess gently for that perfect finish.
To help guide you, here are some common pitfalls to steer clear of:
- Ignoring Prep Work: Don’t rush the cleaning, sanding, or base coat application. It’s crucial for long-lasting results.
- Wrong Glaze Choice: Select a glaze suitable for your cabinet material and style goal—test it on a small area first.
- Excessive Application: Apply glaze sparingly. Overloading it can make your cabinets appear heavy and unpolished.
- Lack of Patience: Allow adequate drying time between coats to avoid smudging or uneven textures.
- Skipping Protective Finish: Finish off with a topcoat to protect your hard work and preserve the freshly glazed look.
Avoiding these common mistakes will help ensure that your cabinet glazing project is a success. With a bit of care and attention to detail, you can achieve a professional-looking finish that rejuvenates your space.
Maintaining and Caring for Your Newly Glazed Cabinets
Now that your cabinets have a fresh new glaze, you’ll want to keep them looking their best. Proper maintenance not only preserves their beauty but also extends their lifespan. Here’s how you can care for your newly glazed cabinets effectively:
Regular Cleaning
Clean your cabinets regularly to prevent dust and grime build-up. Use a soft cloth or sponge with a mild detergent. Ensure they’re thoroughly dried to prevent any water damage—especially around the edges and seams.
Avoid Harsh Chemicals
Steer clear of harsh chemical cleaners or abrasive scrubbing tools, as they can damage the glaze. Stick to gentle cleaning solutions and test any new product on a small, inconspicuous area first.
Humidity and Temperature Control
Fluctuations in humidity and temperature can affect the integrity of your glaze. Try to maintain a stable environment in your kitchen to prevent the wood from expanding and contracting too much. Using a dehumidifier or air purifier can help keep conditions stable.
Handling with Care
Be mindful of how you open and close cabinet doors. Avoid slamming them, as this can lead to chips and cracks in the glaze over time. Soft-close hinges are a great investment to safeguard against this.
Touch-Up Scratches and Chips
If you notice any minor scratches or chips, address them promptly with a touch-up kit that matches your glaze. This will help keep the appearance uniform and prevent further damage. For more information on maintaining your glaze, explore the different cabinet glaze finishes.
Regular Inspections
Periodically inspect your cabinets for signs of wear or damage. Early detection allows for quick repairs, ensuring long-lasting results from your glazing project.
By following these care tips, your glazed cabinets will remain a stunning feature in your kitchen—resilient and beautiful for years to come.
Conclusion
Glazing over existing cabinets is an excellent way to refresh your kitchen or bathroom without the need for a complete renovation. By updating your cabinets with a glaze finish, you can bring out their natural beauty and add a layer of sophistication to your space. If you’re considering this transformation, it’s important to use the right techniques and materials to achieve optimal results. Trusting a professional with this task can ensure a flawless finish and long-lasting appeal.
At Fargos Art, we specialize in cabinet glaze finishes and antique glaze cabinet refinishing, providing services across Houston and surrounding areas like River Oaks, Memorial, and Sugar Land. Our expert team, led by Ileana Farias, is ready to guide you through the process and deliver outstanding results. If you’re ready to enhance your cabinets or explore our other services, contact us today at (832) 277-6757 or via email at fargosartco@gmail.com. We look forward to helping you rejuvenate your home with our artistic touch!